Coordinate Geometry for Graphics
advertisement
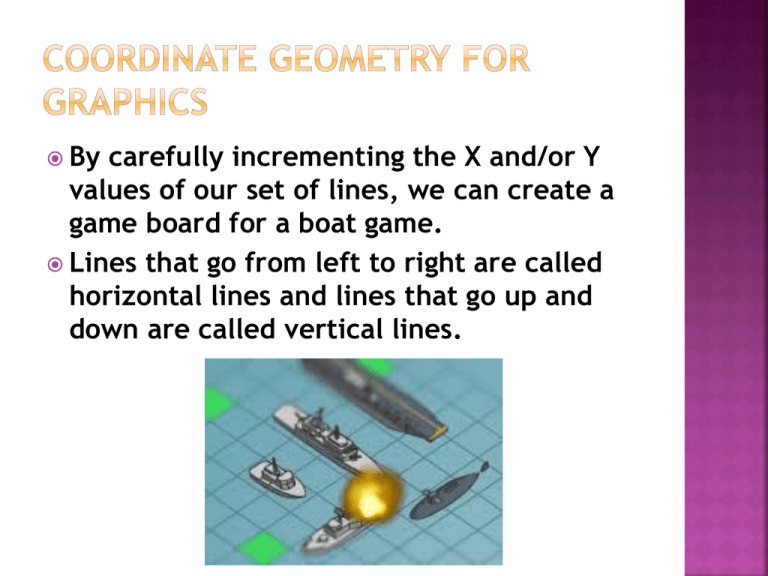
By carefully incrementing the X and/or Y values of our set of lines, we can create a game board for a boat game. Lines that go from left to right are called horizontal lines and lines that go up and down are called vertical lines. //horizontal grid line(0,50,800,50); line(0,100,800,100); line(0,150,800,150); line(0,200,800,200); line(0,250,800,250); noStroke(); fill(100,0,0); ellipse(225,225,35,35); fill(155,0,0); ellipse(225,225,25,25); fill(255,0,0); ellipse(225,225,15,15); Create a playing field grid that accurately expands upon the given patterns to fill the canvas. Create improved versions of the boat and explosion graphics. Coordinate Geometry for Graphics Making a grid line Making an explosion graphic Practice 1, 20% By placing large circles or ellipses, we can create a rainbow effect across the screen. Remember to start in the background first and have the smaller shapes go later in the code so that the graphic will have the smaller shapes appear on top or inside of the larger. Canvas Setup Code size(600, 600); background(255,255,255); stroke(255,255,255); strokeWeight(1); //search for RGB color codes to find some examples of colors for fill() fill(0,150,0); ellipse(0,0,160,160); fill(0,100,0); ellipse(0,0,140,140); Create a set of circular or elliptical shapes to encompass the entire canvas. Set aesthetically pleasing colors for the different shapes in the fill and/or the stroke commands. Elliptical Pattern Graphics Canvas Setup Code fill() and ellipse() code Practice 2, 20% Stick Figure Returns! In this part of our project, we will be using lines and ellipses to make stick figure people. The arms are usually drawn as two separate lines with an upper arm and a lower arm so that the figure can Flex their muscles. size(800, 600); //gray background background(100,100,100); //black lines stroke(0,0,0); //10 pixel thick lines strokeWeight(10); //head ellipse(200,200,80,80); //body line(200,240,200,340); //legs line(200,340,175,460); line(200,340,250,460); //upper arm line(200,240,170,300); Follow the pattern started in the example to finish the stick figure. The stick figure is lonely. Create some family and/or friends for him on the same canvas. Stick Figure Returns Setting up the Stick Figure Canvas Drawing the Figure Practice 2: Stick Figure 20% Some times it is a good idea to explore our games beyond the planet Earth and reach out into the beyond. In this unit we will be making start, orbital patterns, and planets. //stars stroke(255,255,255); ellipse(random(1,800),random(1,500),1,1); ellipse(random(1,800),random(1,500),1,1); ellipse(random(1,800),random(1,500),1,1); //sun fill(255,255,00); ellipse(400,255,100,100); //planet orbits noFill(); ellipse(400,255,200,150); ellipse(400,255,250,200); //planets fill(50,50,255); ellipse(500,255,15,15); Add more planets to the solar system with their predicted orbital paths. Create the proper number of stars to make the space look real. Look up the real solar system and try to make the planets look like they are correct. Making space on our canvas Making the stars Solar system Practice 4, 20% Linking To this project from the local directory • This project is called 30.htm • If a student were to link to it, the link would look something like this: • <a href=“30.htm”> Click here to see project 30 </a> If a student wanted to link to project 30.htm from an external source or to send the link through email, they would need the entire address. For example, John Smith would be like this: http://www.scottbunin.com/students/johns mith Calling the Index and other files • The index.htm will come up if a file is not specified and we load a directory on the Internet. • If we want to call a specific file, instead of the index, we have to name the file. • http://www.scottbunin.com/students/johmsmit h/30.htm An easy way to link to a classmate, is with the .. (double period) mark in the link such as this: ../billsmith/30.htm In this way, a student could link to their sibling Bill, who is also getting an A in this class. Practice 5, 20% • Link to another project in your own directory so a user can click on this project and go to a previous project. • Link to a classmates version of this project. Be sure to ask what they are naming their file! • Link back to the main index file. <head> <title>Happy Drawing 2</title> <script type="text/javascript" src="http://www.scottbunin.com/processing.js"></script> <script type="text/javascript" src="http://www.scottbunin.com/init.js"></script> </head> <body> <script type="application/processing"> size(800, 800); background(0,200,200); fill(100,100,100); //horizontal grid line(0,50,800,50); line(0,100,800,100); line(0,150,800,150); line(0,200,800,200); line(0,250,800,250); //vertical grid line(50,0,50,800); line(100,0,100,800); line(150,0,150,800); line(200,0,200,800); line(250,0,250,800); //boat strokeWeight(2); stroke(120,120,120);
