Rocket mass heater at organizmo
advertisement
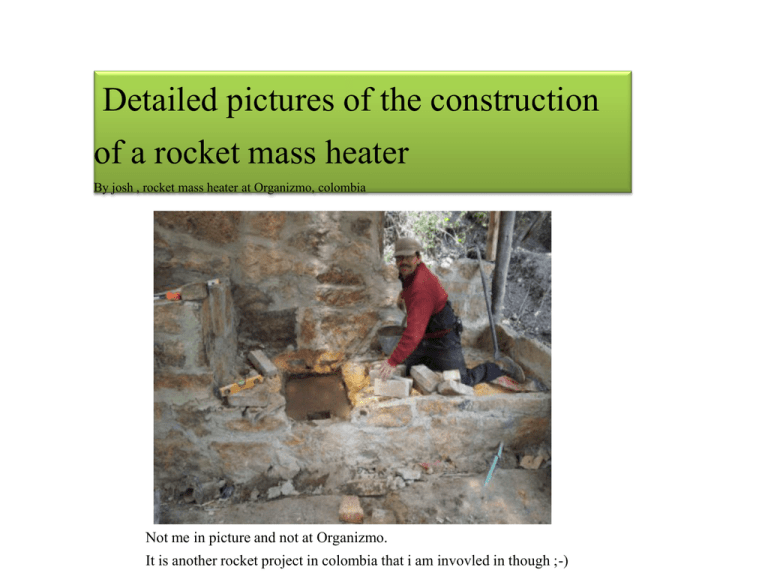
Detailed pictures of the construction of a rocket mass heater By josh , rocket mass heater at Organizmo, colombia Not me in picture and not at Organizmo. It is another rocket project in colombia that i am invovled in though ;-) Preparing the area First there is of plastic (pvc or similar) as a moister barrier. After that a layer of gravel a laid fairly level. On top of the gravel i poured a thin layer of watery concrete with gravel on top of everything and maintaining the level. Big rocks are layed on the border with concrete to hold them in place. This is all done to protect the cob and stove from moister from below and also raising It a bit off the ground. Laying a base for the bench A course of bricks in concrete because bricks is what i had, could be anything sturdy enough,It is just to raise the bench from the ground. Laying out the flues these are ceramic pipes Most common here is smoke ducts, they are usually quite coslty and these were a good dimension a about 8 inches. These pipes determined the dimensions for the rest of the stove. Since there are no connections for these pipes i used scraps of metal and chicken mesh covered in cement/cob mortar. (no- straw cob) Construction of the combustion unit Used in total about 50 bricks base layer first course of bricks : make sure it is wide enough for the courses of bricks and for the bricks that will hold the a barrel which you will see soon. the hole you see is a ash pit. Layer 1 these bricks are layed flat, this layer will determin the length of the burntunnel. Need to measure this before hand beacuase the bricks can be different. Layer 2 This layer the bricks are stacked on edge, around the entire layer beneath. Layer 3 On this level i had to cut off one third of two bricks to maker It work. Now it is ready for the heat riser! Creating barrel support and the "bridge" to the pipes. Creating the support for the barrel and directing the gases to the pipes. I find it easiest and strongest to do with bricks. It can be done with rock ,cob, or a combination of everything. Can you see what is wrong with the picture above? No? Well the bricks should be locked together like puzzle pieces. Ana-maria from organizmo reminded me! Bricks stacked straight on eachother will flop over. Now the bricks are stacked properly and mortared together with sand/clay. You can see the bridge to the pipes being created.the Hole there is going to be the cleanout. The bricks are plastered in and out, smoothed out And the bridge is made wire mesh and cobbed up. Heatriser and insulation in place! This inuslation method is not reccomended and is experimental. The heatriser is ceramic tubing, the insulation is a charcoal mix with wet clay and put In a chicken wire cylinder. Other tested insulation methods are advised. It is what was In-between hobbies include, Burning off paint from the barrel, mixing tons of cob (literally) and tincering with mini rocket experiments. Test drive Putting up the barrel and giving her a test run! This gives you a final chance make adjustments like: putting the barrel at the desired height or the height which gives the best draft. Ok it works! Now what? Sculpt a bench! Ready for plaster! Plasters After testing a few batches here is the best i came up with: plaster for top half 1 part clay 2 part sand 1 1/2 cow manure 1 part flour paste A few handfuls plant fiber ( fique) Platster for bottom half 1 part clay 2 parts clay 1 part clay soil 1 part rice husks ready to go! This slide is ment to assist you if you are thinking of creating a rocket stove, or just as inspiration. It is not a detailed description it merely shows the main steps through pictures. If you search the web for rocket mass heater you will find the dimensions you need for your stove. I highly reccomend reading the book about rocket mass heaters. Alright! Hope you are making one right now! If not and you want to, send me an email and i can hopefully help you out! I am willing to come hold a rocket mass heater workshop with you as well! Thank you all at Organizmo for the help and support with the creation of this stove! http://organizmo.org/ Joshua Roxendal joshua@roxendal.com Http://pemakultur.ihop.nu


