Forklift Training
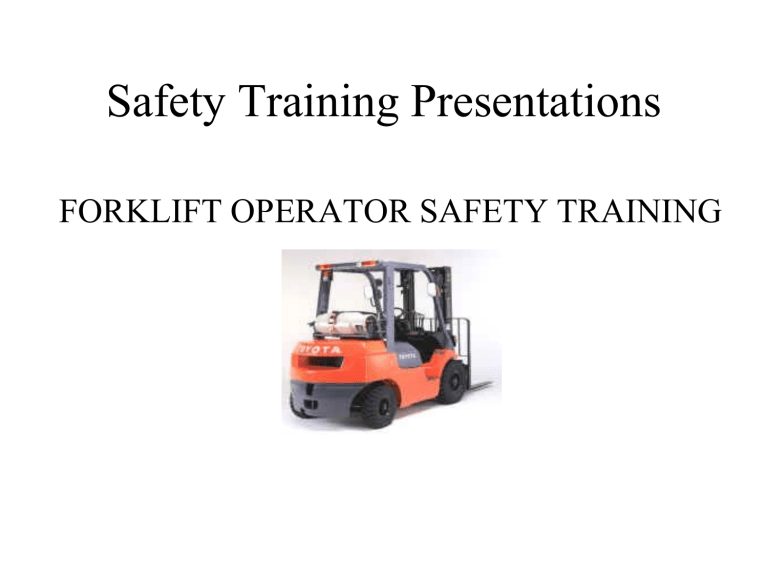
Safety Training Presentations
FORKLIFT OPERATOR SAFETY TRAINING
2
Forklift Operator Training
• Who needs forklift training?
– Anyone who operates a forklift
• Who must conduct the training?
– A knowledgeable trainer
• Why is training necessary?
– Forklifts pose many hazards
• Approx. 100 deaths and 38,000 injuries/year
• Most Common accidents:
– Tip over
– Struck by lift or struck by load
3
Forklift Safety Hazards
• Forklifts are very heavy
– Average automobile - 1,000 - 2,000 lbs.
– Average forklift - 4,000 - 8,000 lbs.
• Loads can be heavy
– Too heavy to lift by hand
• Forklifts or their loads can be unstable
– Forklifts can roll over easily
– Loads can fall off forks or cause roll over
4
Pre-Use Inspections
• Inspect forklift before each use
– Don’t know condition left in by last user
– Not inspecting the forklift prior to use could lead to a hazardous situation or cause serious damage to the forklift and/or the load
5
• Brakes
• Steering
• Horn
• Lights
• Oil
• Coolant
• Battery/LP Tank
• Hoist
Pre-Use Checklist
• Forks
• Engine/Drive Motor
• Tires
• Misc.
– Cage
– Seat belt
– General overall condition of the forklift
6
Pre-Use Inspection - Lift Mechanisms
• Inspect mast for damage
– Broken or cracked weld point
• Make sure roller tracks are greased and free to travel
• Inspect forks
– Cracks on ends, along blades or at heels
– Make sure not bent
• Check hydraulic lines and fluid levels
7
Pre-Use Inspection - Lift Mechanisms
• Inspect all lift and tilt cylinders
– Leaks
– Mounting hardware
• Inspect tires
– Excessive wear
– Proper inflation (if not solid rubber)
8
Propane Tank Inspection
• Inspect cylinder for damage
• Cracks and broken weld points
• Inspect
• Valves, nozzles and hoses
• Be aware of flammability
• Three ways to detect leaks
• listen for gas escaping
• smell odor
• look for frost on the coupling
9
Changing Propane Tanks
• No smoking!
• Shut off cylinder valve before turning off forklift to reduce pressure in the fuel line
– Liquid propane is approx. -40 degrees
• Wear heavy duty rubber gloves
• Wear safety glasses
• Make sure pressure relief valve points straight up when replacing the tank
10
Battery Charging
• Inspect batteries for worn parts and cables
• Beware of acid
– No smoking
– Wear faceshield, goggles, apron, rubber gloves
– Only add water after charging
• Make sure charger is off before disconnecting the battery
• Remove all jewelry
• Use hoist or roller system when replacing
11
Capacity Plates
• Must be on all forklifts
– If missing or illegible, replace
• Information found on capacity plates
– Model #
– Max load weight
– Max lift height
– Serial #
– Manufacturer information
12
Starting the Forklift
• Apply the foot brake
• Shift gears to neutral
• Turn the key
• Check gauges and indicators
• Check controls, steering and brakes for smooth operation
13
Operating the Forklift
• Know locations and functions of all controls and gauges
• Be aware of what is going on around you
• Be aware of potential problems with the forklift
• Be sure path of travel is free from hazards
• Traveling speed in doors should not be any faster than a quick walking pace
14
Handling and Moving Loads
• Check the Capacity Plate to be sure the forklift can handle the load
• Check the load for weight and stability
– If load is not marked
• Contact distributor/shipper of the load
• Lift the load 1-2 inches to test the stability of the rear wheels and the forklift
• If the forklift struggles, set the load down and if possible break load into smaller, more manageable loads
15
Stability Triangle
16
Stability Triangle
• The closer the center of gravity (CG) is to line BC the more stable the forklift is
• The closer the CG is to lines AB or AC the more unstable the forklift becomes
• If the CG ever goes outside the stability triangle, the forklift can tip
– Loads too heavy or offset
– Taking corner too fast
– Traveling surface is not level
17
Fulcrum Point
• The front wheels of the forklift are the fulcrum point
– The rear of the forklift has counter weights to help off set the weight of the load
• Unloaded forklift is unstable - all the weight is in the rear
– When the forks are loaded the weight of the forklift and load are more evenly balanced
• Loaded forklift is more stable
– When the load out weighs the counter weight the forklift can tip forward when the load is raised
18
Tipping Forklift
• What should you do?
– Must be wearing seatbelt
• Will keep you from falling out of caged area
– Hold tightly to steering wheel with both hands
• Keep hands and arms inside caged area
– Plant feet flat on floor and press down
• Keeps body stable and keeps legs in caged area
– Lean in opposite direction
19
Handling and Moving Loads
• Picking up load
– Approach the load straight on with the forks in the travel position
– Stop when the fork tips are approx. 1 foot away from the load
– Level forks and drive slowly forward until load is against backrest
– Lift the load high enough to clear what is under it
20
Handling and Moving Loads
• Picking up load (cont.)
– Look over both shoulders to make sure you are clear and slowly back out one foot
• Sound horn before backing if can’t clearly see behind you
– Slowly tilt mast back to stabilize the load
21
Handling and Moving Loads
• Setting down the load
– Drive to location, square up to load area and stop about one foot away
– Level the forks and slowly drive forward
– Lower the load
– Tilt the forks slightly forward
– Look over your shoulders and back straight out until the forks clear the load
22
Stacking and Unstacking
• Lifting a load
– Approach the load slowly with the forks in the travel position
– Stop approx. one foot away from the load and raise forks to correct height
– Level forks and drive forward until load is flush against backrest
23
Stacking and Unstacking
• Lifting a load (Cont.)
– Lift high enough to clear the bottom load, look over both shoulders to see if clear to back and slowly back straight out
– After clearing top of stack, stop and lower mast to travel position
– Tilt forks back
– Proceed to destination
24
Stacking and Unstacking
• Stacking a load
– Approach placement area slowly and square
– Stop about one foot away and lift mast high enough to clear the placement area
– Move forward slowly until the load is square over the stack
– Level the forks and lower the mast until the load is resting on the stack
– Slowly back straight out
25
Stacking and Unstacking
• Additional tips
– Never lift a load while moving
– Stop completely before raising the mast
– Make sure the top load is squarely stacked on bottom load
– Always approach and leave the load area slowly
– Always look over shoulders before backing up
26
Driving with a Load
• Travel with load tilted slightly back for stability
• Travel with the load at the proper height
• 4-6 Inches at fork tips
• 2 Inches at heels
• Drive in control
• Drive in reverse if you cannot see over the load
27
Driving on Inclines - Ramp/Slope
• Always drive with the heavier or less stable end of the forklift pointing up the incline
– If the forklift is loaded (heavier/less stable in front)
• Drive forward up the incline with the load
• Drive in reverse coming down the incline with the load pointed up the incline
– If the forklift is not loaded (heavier in rear)
• Drive forward down the ramp
• Drive in reverse going up the ramp
28
Stopped Forklift
• When Parked or unattended
– Forks flat on ground
– Turn off engine
– Set parking brake
– Do not block:
• Exits
• Emergency equipment
• Signs or postings
29
Pedestrians
• Pedestrians have the right of way
– Slow down at intersections
– Look before backing
– Use horn when coming around blind corners and at blind intersections
– Check mirrors at intersections if they are present in workplace
• Pedestrians must be cautious in areas where forklifts may be operating
30
Conclusion
• Forklifts are more hazardous than most people usually perceive them to be
• Pre-use inspections must be performed before each shift
• It is important to understand how the load will affect the stability of the forklift
• The operator must always be on the look out for hazards and pedestrians
31
