Glaciology
advertisement
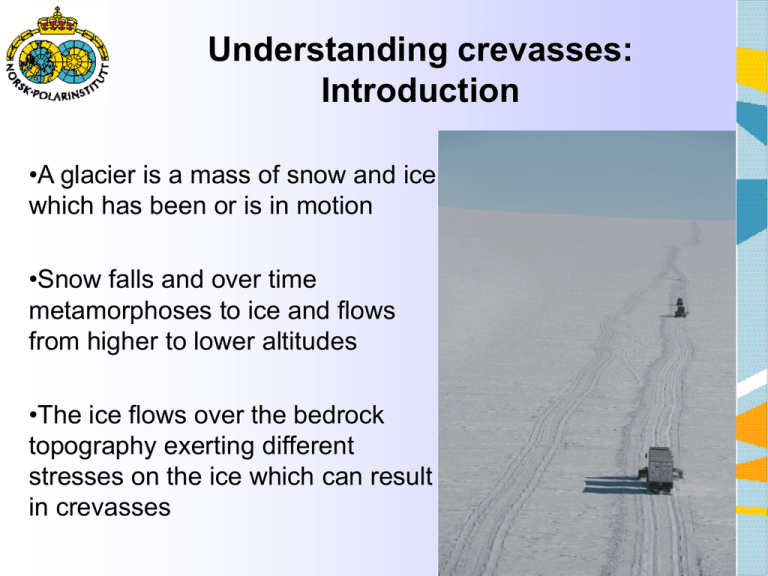
Understanding crevasses: Introduction •A glacier is a mass of snow and ice which has been or is in motion •Snow falls and over time metamorphoses to ice and flows from higher to lower altitudes •The ice flows over the bedrock topography exerting different stresses on the ice which can result in crevasses Glacier types • Morphological classification – – – – – – Plateau glacier Valley glacier Cirque Hanging glacier Ice stream Shelf ice • Temperature types – Warm glacier: constant around zero degrees throughout the ice mass (eg. Most European glaciers) – Cold glacier: temperature below zero (glaciers on Svalbard and Antarctic) – Some glacier massifs can consist of both types. Glacier motion • • Can be compared with cold sirup Movement due to gravity • • Internal movements Gliding along the bottom – Both processes occur together • Internal movements – Deformation due to realignment and movement of individual crystals – Temperature dependent – Ice thickness dependent • Gliding along the bottom – – – – – Bedrock angle Bedrock topography Access to water More in summer Daily cycle Crevasses • Crevasses form when the tension formed by the flow causes some ice to move faster than ice around it. – Variations in terrain – Marked roughness in the bedrock (not always obvious in Antarctic) – Widening or narrowing in the valley or ice stream – Ice stream flowing through slow moving ice – Hinge zone (tidal motion) – < 30m deep in European glaciers, 100m(?) in Antarctica • Types of crevasses – Marginal crevasses (at ice-rock boundary or fast ice – slow ice boundary) – Transverse crevasses (steeper slope / narrowing / hinge zone) – Longitudinal crevasses (widening / submerged ridge – Radial crevasses – Bergschrund Snow metamorphosis • • Snow is continuously subject to a process of change from new snow to glacier ice Mechanical degradation – – – • Chemical degradation – – – • Wind Weight of the snow pack Time Evaporation from crystal points Freezing onto flat parts of the crystal Melt water Density – – – New snow Firn Glacier ice = 0.1 – 0.3 g/cm = 0.55 g/cm = 0.8 g/cm • • In Europe the process takes 5-6 yrs In Antarctica the process takes ca. 100 yrs • Chemical construction – Depth hoar builds up in snow bridges weakening them Snow bridges • Crevasses are often covered with snow and impossible to spot from the surface • Support strength is dependent on: – Snow thickness – Snows density – Ice layers – Air temperature – Crevasse shape • Support strength – Strongest : Early in the season (Antarctic spring, November) – Weakest : End of season (February) – Daily cycle : stronger at night(?) • Weakening: – Snow evaporates /sublimes during the summer (warm days, solar radiation, wind) – Tiny amounts of melt water percolates down the side of crevasse walls destroying the bonds between the snow bridge and crevasse wall (hinge zone) – Uneven driving or sledges swinging up and down over hummocks • Strengthening: – Snow fall – Wind action compacting the snow – Freezing of melt water (?) – Mechanical intervention and physically reinforcing the crossing point – Repeated driving of heavy vehicles over the same tracks Cross crevasses perpendicular – This crevasse was approached at ca. 60° Detecting crevasses in snow covered terrain • • • • • • Depressions in the snow surface Low sun light throws shadows on the snow Depressions can collect dust Often easier to spot from a distance Aerial reconnaissance provides a good picture of the surface particularly late in the season GPR –ground penetrating radar Summary • Where are crevasses – – – – Hinge zone : shelf ice-inland ice boundary (also edge of ice rises) Ice streams : fast ice-slow ice boundary Glacier ice-rock boundary Terrain features : steeper, direction change, narrowing, widening, submerged ridge or peak, other irregularities, and nunataks – “Unexpectedly” in Antarctica (hidden terrain features!) – Easier to spot from distance / from air / GPR survey • Snow bridges – Antarctic snow bridges generally weak – Strongest in November, and weakest in February (at least in the hinge zone) – Probing surface will not necessarily identify weaknesses due to hard crust layers – Inspect crevasses to find narrowest crossing point – Always cross crevasses perpendicular
