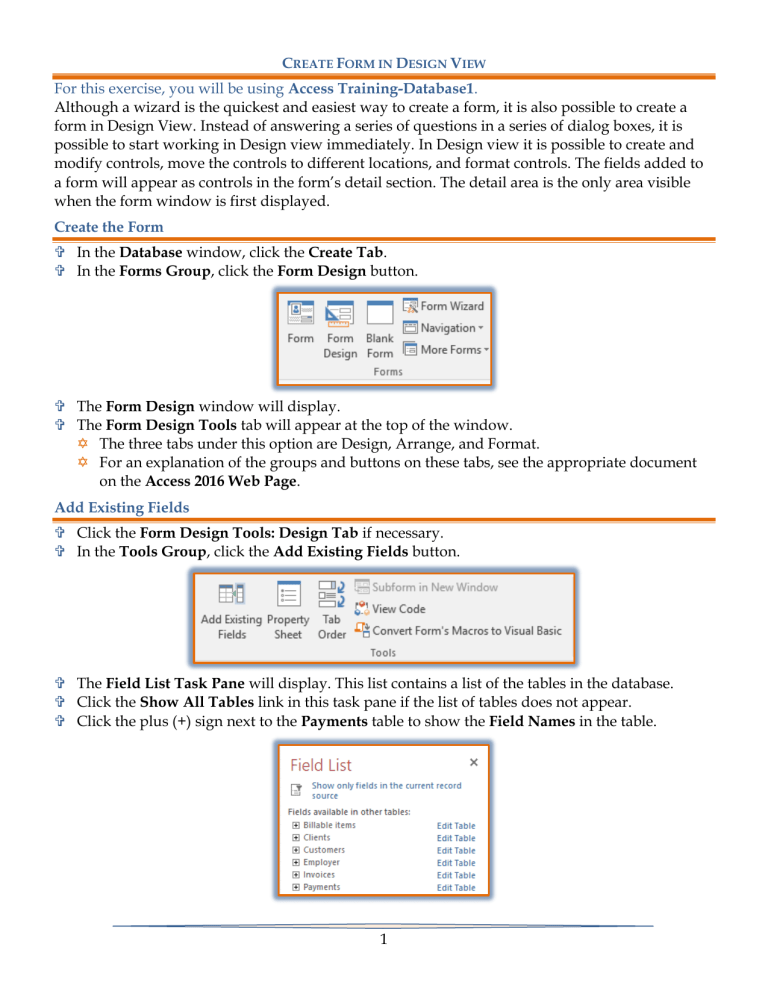
CREATE FORM IN DESIGN VIEW For this exercise, you will be using Access Training-Database1. Although a wizard is the quickest and easiest way to create a form, it is also possible to create a form in Design View. Instead of answering a series of questions in a series of dialog boxes, it is possible to start working in Design view immediately. In Design view it is possible to create and modify controls, move the controls to different locations, and format controls. The fields added to a form will appear as controls in the form’s detail section. The detail area is the only area visible when the form window is first displayed. Create the Form In the Database window, click the Create Tab. In the Forms Group, click the Form Design button. The Form Design window will display. The Form Design Tools tab will appear at the top of the window. The three tabs under this option are Design, Arrange, and Format. For an explanation of the groups and buttons on these tabs, see the appropriate document on the Access 2016 Web Page. Add Existing Fields Click the Form Design Tools: Design Tab if necessary. In the Tools Group, click the Add Existing Fields button. The Field List Task Pane will display. This list contains a list of the tables in the database. Click the Show All Tables link in this task pane if the list of tables does not appear. Click the plus (+) sign next to the Payments table to show the Field Names in the table. 1 Drag the ID Payment field to the 1.5-inch mark on the horizontal ruler. The label for the ID Payment field will appear to the left of the field control box. The Payments Table will appear in the Fields available for this view section of the Field List Task Pane. The rest of the tables in the database will appear in the Fields available in other tables list at the bottom of the task pane. Click the Client ID field in the Payments table list. Hold down the Shift key and click the Date of Payment field in the list. The list should be highlighted. Click and drag the fields to the grid, placing them directly below the ID Payment field. All fields do not have to be added to a form. It is possible to add selected fields one at a time. It is also possible to hold down the Ctrl key on the keyboard while selecting fields. Once the fields have been selected, they can be added to the form by dragging them into the Design grid. The fields can be placed anywhere and in any order on the form. When adding the fields to the Design Grid, make sure to leave enough room for the labels for each field. Close the Field List Task Pane. Save the form with the name Payments Detail. Modify Properties of a Form Click the View button to return to Design View, if necessary. In the Tools Group, click the Property Sheet button. In the Property Sheet window, select Form from the Selection type list. Select the Format tab, if necessary. Click the Width cell. Highlight or backspace over the current contents and type 3.5. Press the Tab key. The width of the Form will change to 3.5-inches. In the Selection type list, choose Detail. Click the Height cell. Change the Height to 4. Save the Form by clicking the Save button on the Quick Access Toolbar. 2 Add a Graphical, Tiled Background to a Form In the Properties window, in the Selection type list, choose Form. Click the Format tab. Click the Picture cell. Click the ellipsis button to the right of the cell. The Insert Picture dialog box will display. Locate the folder where the picture is stored. Double-click the Access Training Logo file. Click the Picture Alignment cell in the properties box. From the drop-down list, choose Top Left. Click the Picture Tiling cell in the Properties Box. From the drop-down list, choose Yes. The picture should completely cover the form. Save the form. Format Label Boxes Click the first Label box (left boxes) in the list. Hold down the Ctrl key and select the other three Label boxes. A border will appear around each of the select labels. Click the Form Layout Tools: Format Tab. Change the Color of the Font and Bold the Font. Resize the Labels so all the text will display by clicking the handles on the right side and dragging to the right. Save the form. 3


