Lab 1-2- Install Oracle VirtualBox and Create WinXP VM
advertisement
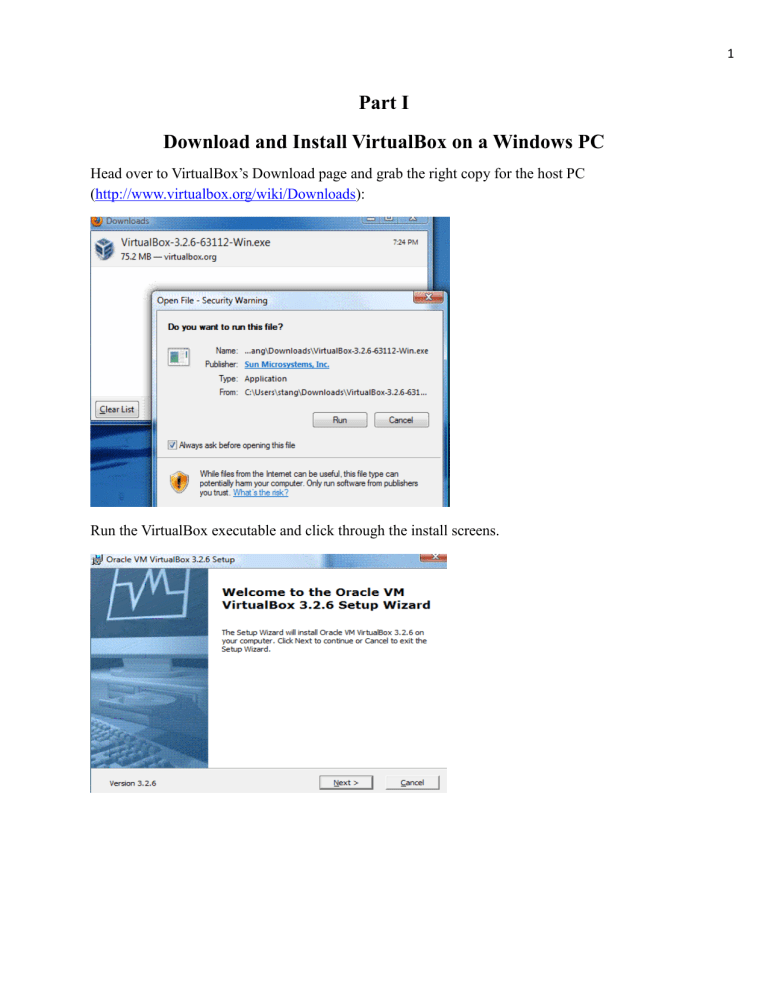
1 Part I Download and Install VirtualBox on a Windows PC Head over to VirtualBox’s Download page and grab the right copy for the host PC (http://www.virtualbox.org/wiki/Downloads): Run the VirtualBox executable and click through the install screens. 2 When we first create a virtual machine, VirtualBox by default will enable a virtual network adapter and select the Network Address Translation (NAT) mode for it. So a virtual machine can connect to Internet via the physical NIC card on the host computer. We get a warning that VirtualBox will temporarily disconnect our computer from network to set up NAT for the virtual network adapter. This setting has no impact on our host computer. 3 Proceed for installation of VirtualBox: When we are asked for installing device software or drivers, we indicate we always trust software from Sun Microsystems and click install: 4 Once VirtualBox installation is complete, click Finish to launch the Oracle VirtualBox! 5 Part II Create 2 Windows XP Virtual Computers Click New on VirtualBox to create our 1st virtual machine: Select Microsoft Windows XP as its operating system and give a name to the virtual machine, we called it Window Machine: The next screen asks for a memory allocation for the virtual machine. Be aware that the memory allocated to a virtual machine will not be available for the host computer when the virtual computer is run. So if too much memory is allocated to virtual machines, the performance of the host computer could be negatively impacted. As our host computer has 4GB memory, we decide to allocate 512MB to the virtual machine. 6 The next screen asks us to either create a new hard disk image or use an existing one. As this is a new installation, we create a new bootable hard disk image. 7 Hit Next again at the start of New Virtual Disk Wizard.We are offered the choice of dynamically expanding storage vs. fixed-size storage. Give 10GB for the virtual machine as fixed-size storage. Fixed-sized storage has better performance over dynamically expanding storage. Click Next and we see the virtual disk is successfully created. Now we complete setting up our first virtual machine! 8 9 Next step is to install Windows XP on our virtual machine. As we are going to install Window XP from a boot CD in the host computer’s CD/DVD drive, we need to mount the virtual CD/DVD drive and allow it to point to the CD/DVD drive on the host computer. 10 Put Windows XP CD in host computer’s CD/DVD drive and start the virtual machine: 11 Windows XP installation should start: Press Enter to continue installation: 12 Press Enter to set up Windows XP now. Press F8 to accept end-user license agreement. 13 Press Enter to set up Windows XP in virtual hard disk. Press Enter to create the new partition with the entire size of the virtual disk. 14 Press Enter to set up Windows XP in newly created partition on the virtual disk. Press Enter to format the newly created partition with NTFS file system. 15 Virtual hard disk formatting is in process. Windows XP setup is copying files for its installation. Windows XP installation starts. Follow the on screen instructions to complete the entire installation process. 16 17 18 Then repeat the same process to create the second virtual PC.
