Backup, Restore and iTunes Backup Extraction User
advertisement
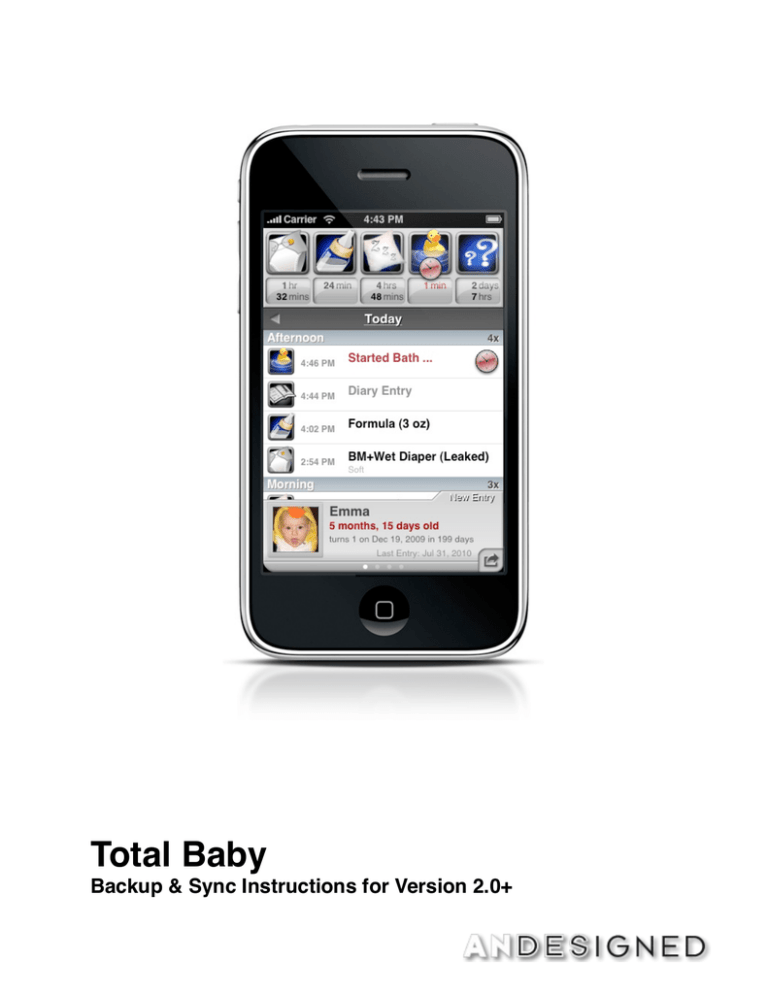
Total Baby Backup & Sync Instructions for Version 2.0+ Backup! Introduction and Setup! 3 3 How to Backup! 3 Backup using E-Mail! 4 Backup using Wi-Fi! 4 Syncing 101! Introduction and Setup! 5 5 How it Works! 5 Initial Sync Setup! 5 Syncing! 6 Starting the Sync Server! 6 First Sync Dialog! 7 Second Sync and Beyond...! 8 Adding a New Child to an Actively Synced Device! 9 Troubleshooting! 10 Missing Data and Diagnostic Features! 10 Networking Problems! 11 Backup Introduction and Setup Before you begin syncing for the first time it is important to Backup your data as syncing will completely erase one of your devices and replace it with data from the primary device. If you choose the incorrect device for Erasing (which tired parents have been known to do) this extra measure ensures your data is safe. It is also recommended to also backup every so often to ensure your data is safe from accidental app deletes, bad iOS upgrades, or your device getting lost of stolen. How to Backup You can backup your data over E-Mail (easiest) or by turning your iDevice into a server and connect to it via a Web browser from your computer. Tap the “E-Mail” button. or Tap the “Wi-Fi” button. Tap the Data Export Button Backup using E-Mail This is the easiest method to backup your data. Go to the E-Mail Export screen. Scroll down to the bottom of the output options and tap on “E-Mail Database Backup” button. Scroll Down and Tap the “E-mail Database Backup” button Backup using Wi-Fi Turn your iDevice into a server you can connect to with your computerʼs browser. Go to the Wi-Fi Export screen. If you have Wi-Fi turned on you will see a URL (http://...) provided. Type this into your computer to connect to a webpage Press “Backup Data and Photos” Syncing 101 Introduction and Setup How it Works Syncing works over local Wi-Fi or Bluetooth. It is highly recommend that you turn off Bluetooth on both devices and only use Wi-Fi as Bluetooth is much slower and takes considerably more time to begin the sync process and transfer data between devices. Total Baby will turn each device into a server capable of sending and receiving data. The local clock time on each device as well as the Child name(s) are used to determine what entries have changed and needs to be synced. This method allows for 2 or more devices to sync with each other. Initial Sync Setup As a security measure, sync is OFF by default. You must first select the same “Group Sync” code for all the devices you want to sync between. 1. Go to Settings, scroll to the bottom then tap “Timer Calculation, Display Units, etc.” 2. Scroll to the bottom and the tap on “Syncing.” 3. Tap on “Group Sync Code” and enter a 4 pin security number in all the devices you are syncing between. Tap here to go to the Global Settings. Tap “Group Sync Code” and enter in a security pin. Scroll to the bottom and then tap on Syncing. Syncing Starting the Sync Server It is important to realize that there is always a “Primary” and “Secondary” device when you sync for the first time. It is best to set-up your “Primary” device with all your child names etc. On the “Secondary” device you can just enter in a fake name and date as all this information will be replaced. Turn on the Sync server: 1. Go to main screen, then tap on the “Data Export” button. 2. Tap the “Wi-Fi (Sync & Backup) button.” 3. Follow steps 1 - 2 above on the “Secondary” device as well. Tap the “Wi-Fi” button. Tap the Data Export Button First Sync Dialog The devices will do a check to determine if they have been synced before and will try to match the Childʼs names between them. If no children names are matched you will be required to use the “ERASE this Device” option. This button should be selected from the “Secondary” device as all data will be erased and replaced with data from the “Primary” device. “ERASE this Device” is the recommended option to use when first establishing two devices to sync with each other. If you only want to sync certain Children (e.g. A baby-sitter who cares for the children of different families) you should add only the Child name(s) you want to sync to the “Secondary” device and choose the “Replace Matching Names” button. Sync option with NO Matching Children names Sync option with Matching Children names Second Sync and Beyond... After the initial sync has been completed you can independently add new Entries, or make updates or deletions to both the “Primary” and “Secondary” devices and when you want to get them back in sync, just activate the Sync server on both devices. When the sync has been completed you will see a “Sync Log” of what types are New, Updated, Deleted or if there is no changes at all. If something was synced in error or a wrong dialog was pressed you can always just tap on the “Restore” button in the upper-right to revert back to the backup before the sync was made. Before every sync is preformed all the data is back-up as a safety measure. Sync Log Showing No Change, all data is up-to-date. Sync Log Showing Timers, Entries and Contacts have been added and updated. Adding a New Child to an Actively Synced Device If you have been actively syncing between devices and now you want to sync a new child, you simply add the childʼs name to both the “Primary” and “Secondary” devices. When you go to sync again you will be presented with the dialog below, you must select a button option from the “Secondary” device. Replace Matching Names The children listed in the dialog will be “erased” then “replaced” with the data from the “Primary” device. Merge Matching Names The children listed in the dialog will be analyzed to determine what changes are necessary and preserve what has already been recorded. Generally you will always use the “Replace Matching Names” option because you want to have the data completely in sync which means to erase first and then replace afterwards. Troubleshooting Missing Data and Diagnostic Features Syncing uses both a versioning system and the local clock time to keep track of what data has changed and what needs to be synced. This method allows more than 2 devices to be synced, but if the clock time changes due to time zone or day-light savings, this last sync time may become incorrect and data may be skipped when syncing. To fix this issue you can set the sync time back a day or week, but please be careful as these options cannot be undone and there are no confirmation prompts. Go back to the Syncing settings (where you set you Group Sync Code) and you will see a listing of all devices (by name) and last sync date and time. 1. Tap on the Device row that has data which was not added to the current device during the last sync. 2. Tap “Set back a Day” or “Set back a Week” to set the Last Sync date back before the data was either added or updated. 3. Try syncing again and the “Sync Log” will show you what has changed. Tap the device name if you need to modify the last sync date or modify other sync related functions. If a device is no longer in use or you want to reset the entire syncing process of the current device you can tap on the “Delete Sync Device Ref.” button. When a device is synced a mapping of the Children names are created to determine which children are actively being sync and which child has just been added. If you were experimenting with naming Children and messed up this Child mapping you can simply tap the “Reset Child Mapping” button and then just use the “Merge Matching Names” or “Replace Matching Names “ next time you perform a sync. Networking Problems Networking iDevices are very complicated and rely on many things to happen in just the right order for syncing to work perfectly. If anything goes out of sequence or the network stalls you will see a “Networking Error” alert. Just hit “OK” and go back to the Main screen and try syncing again. If the iDevices cannot find each other, make sure your Wi-Fi router is set to allow all networking traffic on port 14011.

