Copying EmbroideryEditor folder for a PC without a CD or DVD drive
advertisement

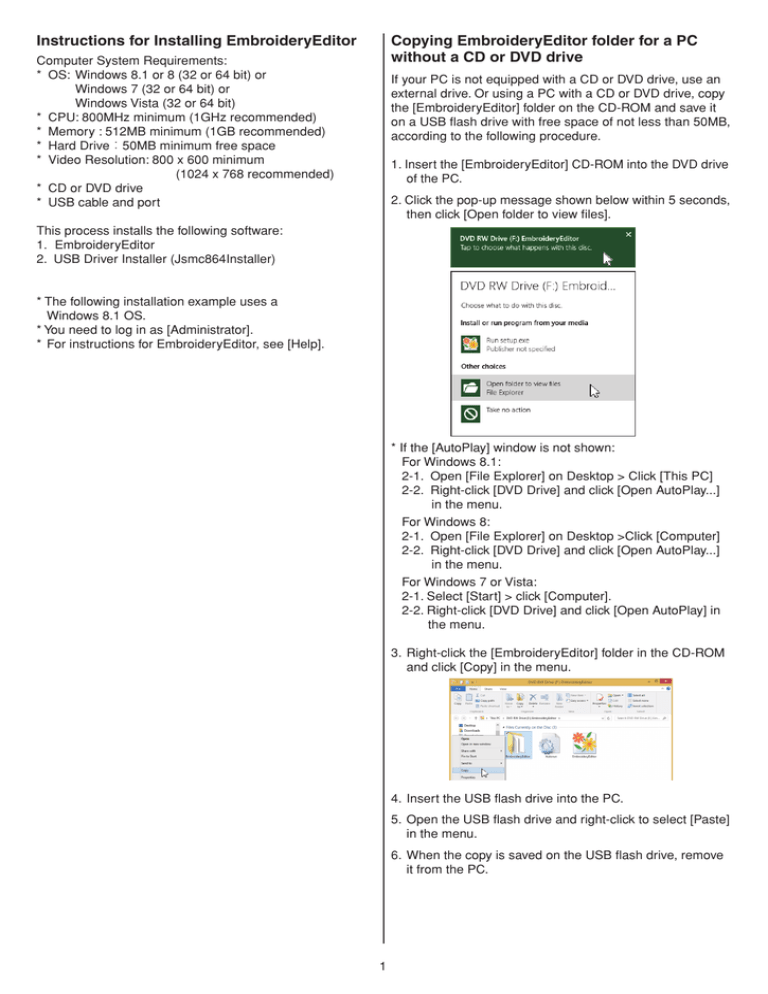
Instructions for Installing EmbroideryEditor Copying EmbroideryEditor folder for a PC without a CD or DVD drive Computer System Requirements: * OS: Windows 8.1 or 8 (32 or 64 bit) or Windows 7 (32 or 64 bit) or Windows Vista (32 or 64 bit) * CPU: 800MHz minimum (1GHz recommended) * Memory : 512MB minimum (1GB recommended) * Hard Drive:50MB minimum free space * Video Resolution: 800 x 600 minimum (1024 x 768 recommended) * CD or DVD drive * USB cable and port If your PC is not equipped with a CD or DVD drive, use an external drive. Or using a PC with a CD or DVD drive, copy the [EmbroideryEditor] folder on the CD-ROM and save it on a USB flash drive with free space of not less than 50MB, according to the following procedure. 1. Insert the [EmbroideryEditor] CD-ROM into the DVD drive of the PC. 2. Click the pop-up message shown below within 5 seconds, then click [Open folder to view files]. This process installs the following software: 1.EmbroideryEditor 2. USB Driver Installer (Jsmc864Installer) * The following installation example uses a Windows 8.1 OS. * You need to log in as [Administrator]. * For instructions for EmbroideryEditor, see [Help]. * If the [AutoPlay] window is not shown: For Windows 8.1: 2-1. Open [File Explorer] on Desktop > Click [This PC] 2-2. Right-click [DVD Drive] and click [Open AutoPlay...] in the menu. For Windows 8: 2-1. Open [File Explorer] on Desktop >Click [Computer] 2-2. Right-click [DVD Drive] and click [Open AutoPlay...] in the menu. For Windows 7 or Vista: 2-1. Select [Start] > click [Computer]. 2-2. Right-click [DVD Drive] and click [Open AutoPlay] in the menu. 3. Right-click the [EmbroideryEditor] folder in the CD-ROM and click [Copy] in the menu. 4. Insert the USB flash drive into the PC. 5. Open the USB flash drive and right-click to select [Paste] in the menu. 6. When the copy is saved on the USB flash drive, remove it from the PC. 1 Installing EmbroideryEditor 3. The end user license agreement (EULA) will appear. Read the EULA and check “I accept the terms in the license agreement” if you agree. Click [Next]. 1. Start up your PC and close all other applications before beginning installation. Insert the [EmbroideryEditor] CD-ROM into the DVD drive. Click the pop-up message shown below within 5 seconds, then click [Run setup.exe]. 4. Enter a user name and click [Next]. * If the [Auto Play] window is not shown, open [File Explorer] on Desktop. Click [This PC] and double click [EmbroideryEditor]. * For PCs without a CD or DVD drive, insert the USB flash drive into the PC. Open the [EmbroideryEditor] folder saved on the USB flash drive and double-click [setup]. * For tablet PCs, enter a user name with the touch keyboard (see the following instructions). For Windows 8/8.1: 4-1. Tap the text box. 4-2. Tap the touch keyboard icon in the desktop taskbar to open the touch keyboard. 4-3. You can enter a user name using the touch keyboard. For Windows 7: 4-1. Tap the text box to display the touch keyboard icon. The icon is displayed for a few seconds. 2. The EmbroideryEditor InstallShield Wizard starts up automatically. Click [Next]. 4-2. Tap the touch keyboard icon to open the touch keyboard. 4-3. You can enter a user name using the touch keyboard. 4-4. Tap the X button in the upper right corner of the touch keyboard to close it. 2 Preinstalling USB Driver 5. Click [Next] if you accept the [EmbroideryEditor] installation location. * Sample files are installed in the [EmbroideryEditor] folder under the [Documents] folder. Install the USB driver to transfer embroidery designs from the PC to the sewing machine using the USB cable. 10. After EmbroideryEditor has been installed, the [User Account Control] dialog box opens, click [Yes]. 6. Click [Install] to start installation. 11. When the [Driver Package Installer] opens, click [Next]. 7. [User Account Control] dialog box will open, click [Yes]. * Installation will take 1 – 2 minutes, depending on the specifications of your PC. 12. When the [Windows Security] opens, click [Install]. 13. When the USB Driver Installation is successfully preinstalled, click [Finish]. 8. When EmbroideryEditor is successfully installed, check “Launch the USB driver installer” to install. Click [Finish] to exit. 14. When connecting your PC to your Sewing machine for the first time, [USB Driver] is installed automatically. * Refer to the instruction book of the sewing machine for how to connect the PC and the sewing machine. * If installation of EmbroideryEditor is completed without checking “Launch the USB driver installer”, please refer to Page 4 for installing the USB driver. 9. The [EmbroideryEditor] icon appears on your desktop. 3 Installing the USB Driver Installing Sample Data into Other Accounts Windows 8.1: 1. Click the button on the bottom left corner of the screen to display the Start screen. 2. Click the button on the bottom left corner of the start screen to display the Apps view. The [EmbroideryEditor] group is displayed in the Apps view. Click the [Jsmc864Installer]. Sample data is installed only in [EmbroideryEditor] folder under [Documents] of the account of a user who installed [EmbroideryEditor]. Other users need to install the sample data to one’s account. If you use sample data, install using the following process. 1. Log in the PC under your account. 2. Insert the [EmbroideryEditor] CD-ROM into the DVD drive and [Install Shield Wizard] starts automatically. 3. Click [Next]. 3. Please follow the procedure 10 – 14 on Page 3. Windows 8: 1. Move the cursor to the bottom left corner of the screen to display the start menu thumbnail. Click the thumbnail to display the start menu. 4. Select [Repair] and click [Next]. 2. Right-click the bottom part of Start screen to display the application bar. 5. Click [Install] and the sample data will be installed. 3. Click [All apps] on the application bar. [EmbroideryEditor] group is displayed in the Apps view. Click the [Jsmc864Installer]. 4. Please follow the procedure 10 – 14 on Page 3. 6. Click [Finish] to complete installation. Windows 7 / Windows Vista: 1. Click on the bottom left corner of the screen and select [All Programs]. 2. Click the [EmbroideryEditor] folder to display the [Jsmc864Installer]. Click the [Jsmc864Installer]. 3. Please follow the procedure 10 – 14 on Page 3. 4 864-811-004 q (E)


