1
free
skill
level
Project courtesy of
Jo-Ann Fabric & Craft Stores
Designed by Debra Kinzel
FABRIC MOD PODGE® CHRISTMAS TREE
SUPPLIES & TOOLS:
• 12" Styrofoam® brand foam cone
• Small scraps of Christmas print fabrics
• Mod Podge®
• Foam brush
• Scissors
DIRECTIONS:
1. Cut fabric into small random shapes.
2. Following Mod Podge® directions, apply fabric pieces to cone.
Allow to dry.
3. Make a small fabric cone to fit top of foam tree.
FRINGED FABRIC CHRISTMAS TREES
SUPPLIES & TOOLS:
• Two 18" Styrofoam®
brand foam cones
• Light, medium & dark Christmas
print fabrics, 1/4 yd each
• Extra 1/2 yd of dark fabric to
cover cone
• Quilter’s fabric marker
• Rotary cutter, ruler & mat
• 4 yds HeatnBond® Ultra
• Straight pins
• Tacky glue
• Curling iron
• Paper
• Pencil
• Iron
• Serrated knife
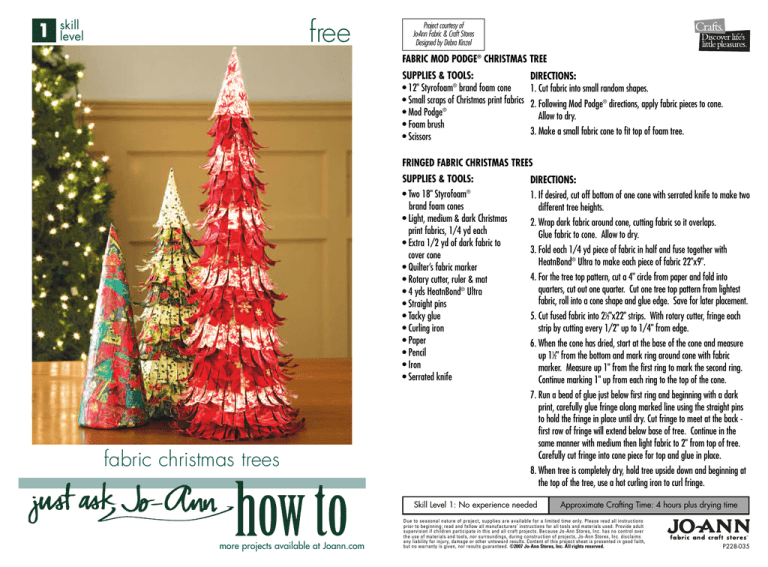
fabric christmas trees
DIRECTIONS:
1. If desired, cut off bottom of one cone with serrated knife to make two
different tree heights.
2. Wrap dark fabric around cone, cutting fabric so it overlaps.
Glue fabric to cone. Allow to dry.
3. Fold each 1/4 yd piece of fabric in half and fuse together with
HeatnBond® Ultra to make each piece of fabric 22"x9".
4. For the tree top pattern, cut a 4" circle from paper and fold into
quarters, cut out one quarter. Cut one tree top pattern from lightest
fabric, roll into a cone shape and glue edge. Save for later placement.
5. Cut fused fabric into 21⁄2"x22" strips. With rotary cutter, fringe each
strip by cutting every 1/2" up to 1/4" from edge.
6. When the cone has dried, start at the base of the cone and measure
up 11⁄2" from the bottom and mark ring around cone with fabric
marker. Measure up 1" from the first ring to mark the second ring.
Continue marking 1" up from each ring to the top of the cone.
7. Run a bead of glue just below first ring and beginning with a dark
print, carefully glue fringe along marked line using the straight pins
to hold the fringe in place until dry. Cut fringe to meet at the back first row of fringe will extend below base of tree. Continue in the
same manner with medium then light fabric to 2" from top of tree.
Carefully cut fringe into cone piece for top and glue in place.
8. When tree is completely dry, hold tree upside down and beginning at
the top of the tree, use a hot curling iron to curl fringe.
Skill Level 1: No experience needed
more projects available at Joann.com
Approximate Crafting Time: 4 hours plus drying time
Due to seasonal nature of project, supplies are available for a limited time only. Please read all instructions
prior to beginning; read and follow all manufacturers’ instructions for all tools and materials used. Provide adult
supervision if children participate in this and all craft projects. Because Jo-Ann Stores, Inc. has no control over
the use of materials and tools, nor surroundings, during construction of projects, Jo-Ann Stores, Inc. disclaims
any liability for injury, damage or other untoward results. Content of this project sheet is presented in good faith,
but no warranty is given, nor results guaranteed. ©2007 Jo-Ann Stores, Inc. All rights reserved.
P228-035


