DCLX - Instructions
advertisement
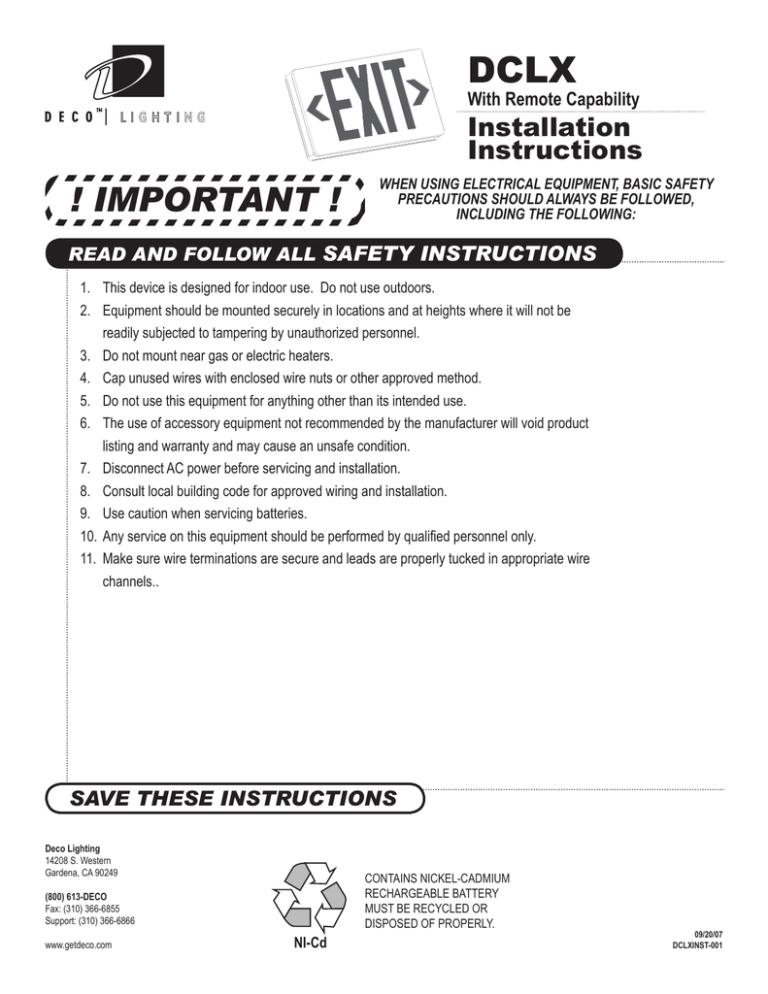
DCLX With Remote Capability Installation Instructions ! IMPORTANT ! WHEN USING ELECTRICAL EQUIPMENT, BASIC SAFETY PRECAUTIONS SHOULD ALWAYS BE FOLLOWED, INCLUDING THE FOLLOWING: READ AND FOLLOW ALL SAFETY INSTRUCTIONS 1. This device is designed for indoor use. Do not use outdoors. 2. Equipment should be mounted securely in locations and at heights where it will not be readily subjected to tampering by unauthorized personnel. 3. 4. 5. 6. Do not mount near gas or electric heaters. Cap unused wires with enclosed wire nuts or other approved method. Do not use this equipment for anything other than its intended use. The use of accessory equipment not recommended by the manufacturer will void product listing and warranty and may cause an unsafe condition. 7. Disconnect AC power before servicing and installation. 8. Consult local building code for approved wiring and installation. 9. Use caution when servicing batteries. 10. Any service on this equipment should be performed by qualified personnel only. 11. Make sure wire terminations are secure and leads are properly tucked in appropriate wire channels.. SAVE THESE INSTRUCTIONS Deco Lighting 14208 S. Western Gardena, CA 90249 CONTAINS NICKEL-CADMIUM RECHARGEABLE BATTERY MUST BE RECYCLED OR DISPOSED OF PROPERLY. (800) 613-DECO Fax: (310) 366-6855 Support: (310) 366-6866 www.getdeco.com NI-Cd 09/20/07 DCLXINST-001 INSTALLATION INSTRUCTIONS WARNING: TO PREVENT HIGH VOLTAGE FROM BEING PRESENT ON RED, YELLOW & YELLOW/BLACK OUTPUT LEADS PRIOR TO INSTALLATION, BATTERY CONNECTOR MUST BE OPEN. DO NOT JOIN BATTERY CONNECTOR UNTIL INSTALLATION IS COMPLETE AND AC POWER IS SUPPLIED TO THE EMERGENCY BALLAST. NOTE: Please verify that the necessary branch wiring is available before continuing. An unswitched source of power is required. The emergency ballast must be fed from the same branch circuit as the AC ballast. Installation (Ceiling Mount) • Connect 20-inch jumper leads to AC input leads in J-box. Fasten J-box bracket to J-box. Use black wire for 120V. Use orange or red wire for 277V. White wire is common. • Fasten canopy to J-box bracket. • Snap housing to canopy. • Connect and trim input leads to emergency light leads at upper left corner of housing wire channel. • Connect battery only after continuous AC power can be provided to the unit. • Remove proper chevron(s) as required. • Secure face plate(s) to housing. Installation (Wall Mount) • Connect 20-inch jumper leads to AC input leads in J-box. Fasten J-box bracket to J-box. Use black wire for 120V. Use orange or red wire for 277V. White wire is common. • Remove necessary knockouts and fasten back cover to J-box cover. • Snap housing onto back cover. • Connect and trim input leads to emergency light leads at upper left corner of housing wire channel. • Connect battery only after continuous AC power can be provided to the unit. • Remove proper chevron(s) as required. • Secure face plate(s) to housing. Connection of Remote Emergency Lights (if applicable) • Use yellow and purple wires for remote fixture(s). Route wires outside of fixture seperately or with AC supply wires. Diagram 1
