Installation and Maintenance Manual
advertisement
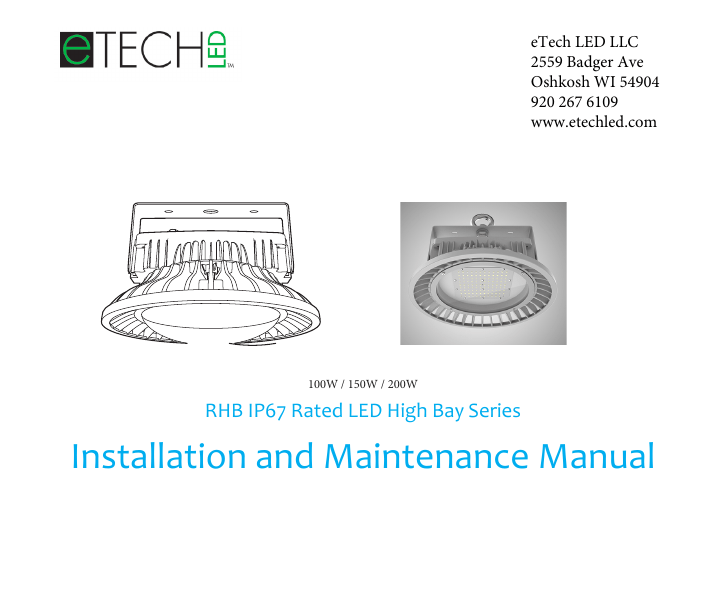
eTech LED LLC 2559 Badger Ave Oshkosh WI 54904 920 267 6109 www.etechled.com 100W / 150W / 200W RHB IP67 Rated LED High Bay Series Installation and Maintenance Manual Content Introduction Warning Installation A. Hanging Ring Mount B. Universal Hanging Bracket Wiring Specification 1/7 Introduction Using only the highest quality components, these LED Light Fixtures are designed for industrial applications where reliability and performance are critical as the bulb maintenance is difficult or impossible, not to mention the high cost. Every component of the fixture has been carefully engineered to provide the most reliable performance and bring across many benefits of utilizing solid state lighting technology in industrial applications. This fixture is rated IP67, suitable for both indoor and outdoor use. Product Features: · Ultra thin round disc design · Patented thermal management allows -30oC to 45oC ambient working temperature · System light efficacy 100 lm/W · 5 years warranty, up to 100,000 hours long life · Easy installation and maintenance · Dimmable and motion sensor control compatible 2/7 Warning To avoid the risk of fire, explosion, or electric shock, this product should be installed, inspected, and maintained by a qualified electrician only, in accordance with all applicable electrical codes. To avoid electric shock: -- Be certain electrical power is OFF before and during installation and maintenance. -- Luminaire must be connected to a wiring system with an equipment-grounding conductor. -- Make sure the supply voltage is the same as the rated luminaire voltage. -- Do not operate in ambient temperatures above those indicated on the luminaire nameplate. -- Avoid to use in environments containing sulfur, chlorine, or other halides, methyl acetate or ethyl acetate, cyanoacrylates, glycol ethers, formaldehyde or butadiene. 3/7 Installation For high performance and long term reliability, the light should be installed in free air. A. Hanging Ring Mount 1. Tighten the NUT attached to the hanging ring to ensure the hanging ring is securely connected to the light fixture. 2. Hang the ring to the field supplied by the mounting hook or chain. 3. Wiring.(Connect supply wires to luminaire wire leads per the wiring diagram using methods that comply with all applicable codes.) A: Hanging Ring B: Power Cable C: Nut 4/7 Installation For high performance and long term reliability, the light should be installed in free air. B. Universal Hanging Bracket 1. Rotate the bracket to the desired angle and tighten screw to lock it. 2. Bolt the universal mounting bracket to the field mounting point. Bolt the center point before the two side points. Tighten the bolts to wrench tight. 3. Wiring.(Connect supply wires to luminaire wire leads per the wiring diagram using methods that comply with all applicable codes.) A: Universal Mounting Bracket B: Power Cable C: Screw Secure the center bolt before the two side ones A: Universal Mounting Bracket 5/7 Wiring 1. Connect supply wires to luminaire wire leads per the wiring diagram using methods that comply with all applicable codes. 2. Turn power on. A. American Standard Power Cable Neutral White Live Black Green LIGHT Ground B. European Standard Power Cable Neutral Blue Live Brown Yellow & Green LIGHT Ground C. Australian Standard Power Cable Neutral Blue Live Brown Yellow & Green LIGHT Ground 6/7 Specification AC Voltage 100~277V Power Frequency 50/60Hz Working Temp. -30~+45℃ Working Humidity 15%~90%RH Storing Temp. -40~+70℃ IP Rating IP67 All statements, technical information and recommendations contained herein are based on information and tests we believe to be reliable. The accuracy or completeness thereof is not guaranteed. 7/7
