Basecamp Guide
advertisement

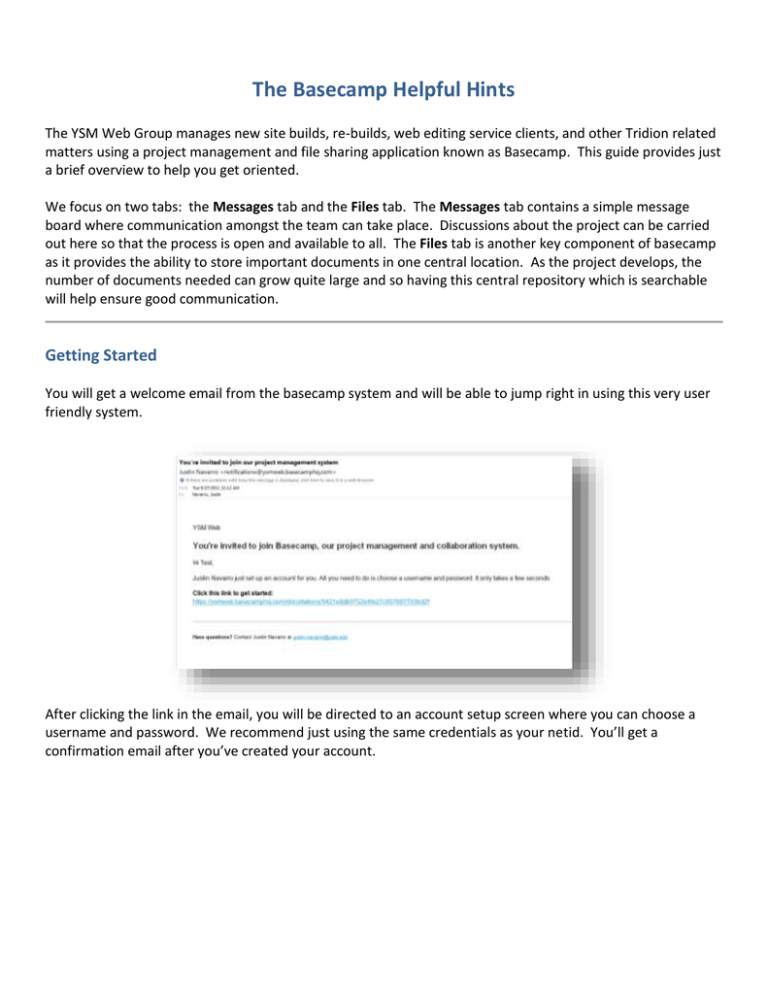
The Basecamp Helpful Hints The YSM Web Group manages new site builds, re-builds, web editing service clients, and other Tridion related matters using a project management and file sharing application known as Basecamp. This guide provides just a brief overview to help you get oriented. We focus on two tabs: the Messages tab and the Files tab. The Messages tab contains a simple message board where communication amongst the team can take place. Discussions about the project can be carried out here so that the process is open and available to all. The Files tab is another key component of basecamp as it provides the ability to store important documents in one central location. As the project develops, the number of documents needed can grow quite large and so having this central repository which is searchable will help ensure good communication. Getting Started You will get a welcome email from the basecamp system and will be able to jump right in using this very user friendly system. After clicking the link in the email, you will be directed to an account setup screen where you can choose a username and password. We recommend just using the same credentials as your netid. You’ll get a confirmation email after you’ve created your account. Basecamp Dashboard Dashboard: The dashboard is the first screen you will see after you log in. It contains the upcoming milestones and most recent events such as message postings, file uploads, or to-do items coming up. By default, you’ll be a member of the Tridion User Group ‘project’ as well as whatever project was created for your organization. To open your project, select it from the list on the right hand side of the screen. Project Specific Tabs Overview Tab: After clicking the link for your project, you will see the Overview tab which will look very similar to the dashboard but will be specific to that project and there will be a new set of tabs across the top. Please note too you can see the people associated with the project which will include the Web Planning Group as well as anyone in your organization. For purposes of this document, we focus only on the two primary tabs you’ll be using: Messages and Files. Before leaving the Overview tab, make note of the four red hyperlinked text. These are only available on this page but are useful shortcuts to create a new message or to upload a new file. Basecamp Helpful Hints 2 Messages Tab: The “most active” discussions are highlighted at the top while a chronological (newest to oldest) listing of all messages follows. To respond to a message, simply click the Add a comment hyperlink at the end of the message. In the right hand column, you will see a [Post a new message] button. Use this to start a new message. Finally, note the list of cateogories. By default, the view is “All Messages.” You can click individual categories to sort by messages tagged according to those labels. Note: You have an option of selecting who is notified via email before you post a message. Use this judiciously! Files: The body of this page is, by default, a chronological (newest to oldest) listing of files that have been uploaded. Note that you have the option to Upload a new version of an existing file which is useful for keeping a record of changes to specific files. The right hand column has an [Upload a file] button for adding new files. You also have the option of sorting and filtering. Sort options are by “Date and time,” “A-Z,” and “File size.” Filtering options are by categories (documents, pictures, etc.) or by person. Note: Like messaging, you have an option of selecting who is notified via email that you have posted a file. Again, use this judiciously! Basecamp Helpful Hints 3


