HALO Installation Instructions for LV209 Mono Point WARNING ®
advertisement
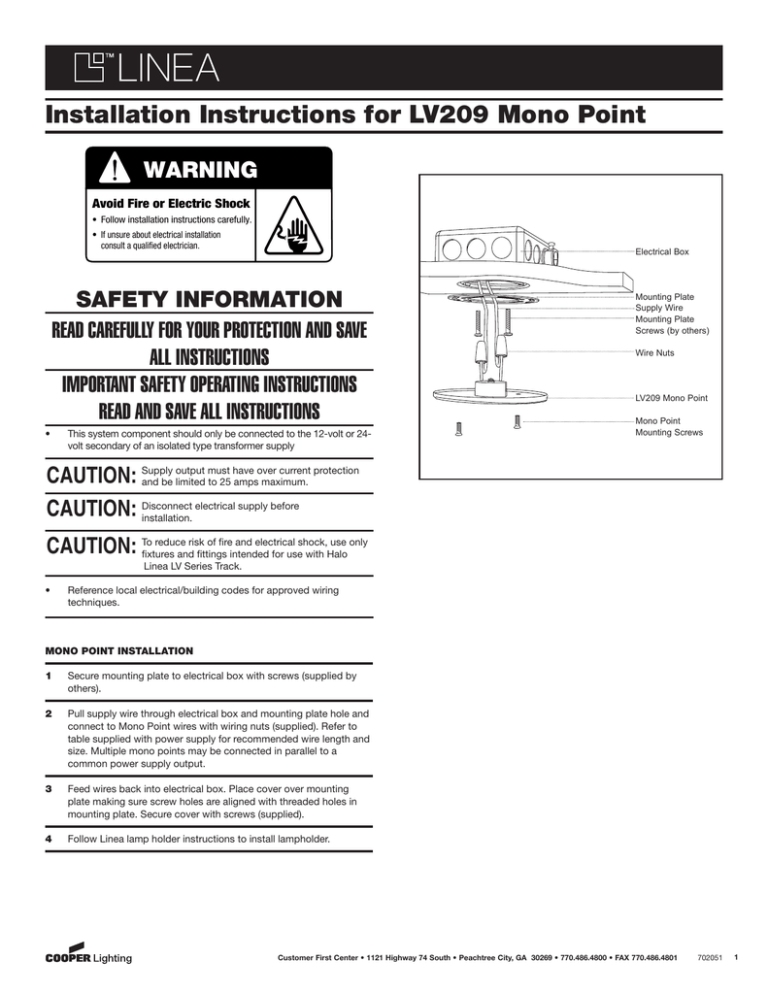
HALO® Installation Instructions for LV209 Mono Point WARNING Avoid Fire or Electric Shock • Follow installation instructions carefully. • If unsure about electrical installation consult a qualified electrician. Electrical Box SAFETY INFORMATION READ CAREFULLY FOR YOUR PROTECTION AND SAVE ALL INSTRUCTIONS IMPORTANT SAFETY OPERATING INSTRUCTIONS READ AND SAVE ALL INSTRUCTIONS • This system component should only be connected to the 12-volt or 24volt secondary of an isolated type transformer supply Mounting Plate Supply Wire Mounting Plate Screws (by others) Wire Nuts LV209 Mono Point Mono Point Mounting Screws output must have over current protection CAUTION: Supply and be limited to 25 amps maximum. electrical supply before CAUTION: Disconnect installation. reduce risk of fire and electrical shock, use only CAUTION: Tofixtures and fittings intended for use with Halo Linea LV Series Track. • Reference local electrical/building codes for approved wiring techniques. MONO POINT INSTALLATION 1 Secure mounting plate to electrical box with screws (supplied by others). 2 Pull supply wire through electrical box and mounting plate hole and connect to Mono Point wires with wiring nuts (supplied). Refer to table supplied with power supply for recommended wire length and size. Multiple mono points may be connected in parallel to a common power supply output. 3 Feed wires back into electrical box. Place cover over mounting plate making sure screw holes are aligned with threaded holes in mounting plate. Secure cover with screws (supplied). 4 Follow Linea lamp holder instructions to install lampholder. Customer First Center • 1121 Highway 74 South • Peachtree City, GA 30269 • 770.486.4800 • FAX 770.486.4801 702051 1
