Left Panel Links
advertisement

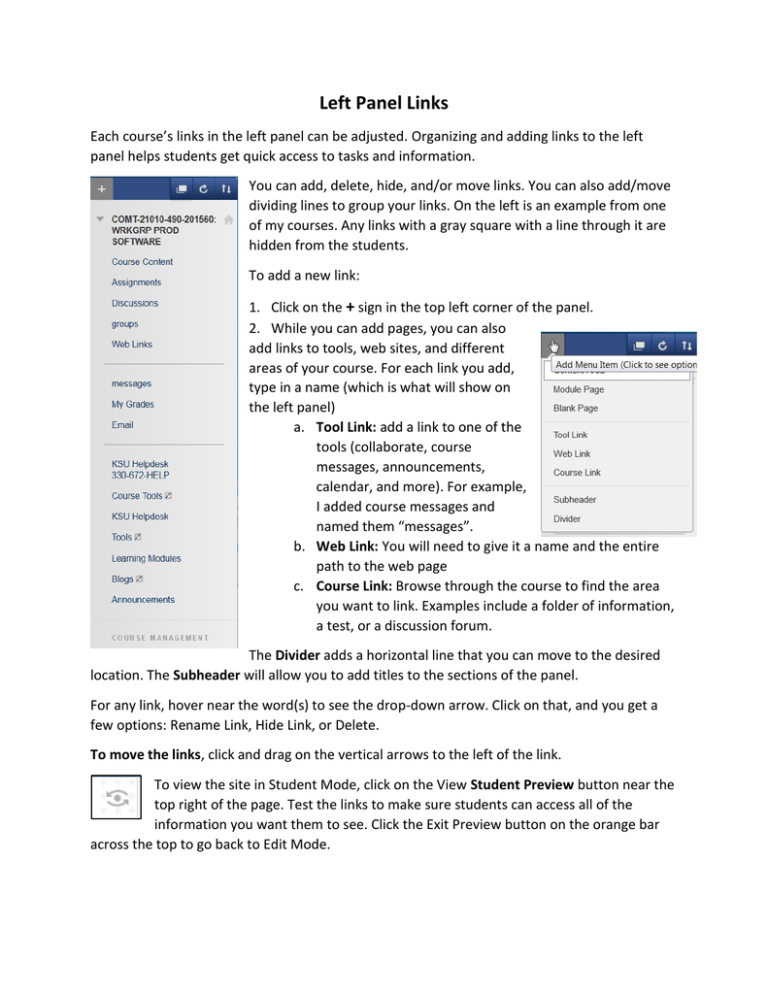
Left Panel Links Each course’s links in the left panel can be adjusted. Organizing and adding links to the left panel helps students get quick access to tasks and information. You can add, delete, hide, and/or move links. You can also add/move dividing lines to group your links. On the left is an example from one of my courses. Any links with a gray square with a line through it are hidden from the students. To add a new link: 1. Click on the + sign in the top left corner of the panel. 2. While you can add pages, you can also add links to tools, web sites, and different areas of your course. For each link you add, type in a name (which is what will show on the left panel) a. Tool Link: add a link to one of the tools (collaborate, course messages, announcements, calendar, and more). For example, I added course messages and named them “messages”. b. Web Link: You will need to give it a name and the entire path to the web page c. Course Link: Browse through the course to find the area you want to link. Examples include a folder of information, a test, or a discussion forum. The Divider adds a horizontal line that you can move to the desired location. The Subheader will allow you to add titles to the sections of the panel. For any link, hover near the word(s) to see the drop-down arrow. Click on that, and you get a few options: Rename Link, Hide Link, or Delete. To move the links, click and drag on the vertical arrows to the left of the link. To view the site in Student Mode, click on the View Student Preview button near the top right of the page. Test the links to make sure students can access all of the information you want them to see. Click the Exit Preview button on the orange bar across the top to go back to Edit Mode.


