Document 12104004
advertisement
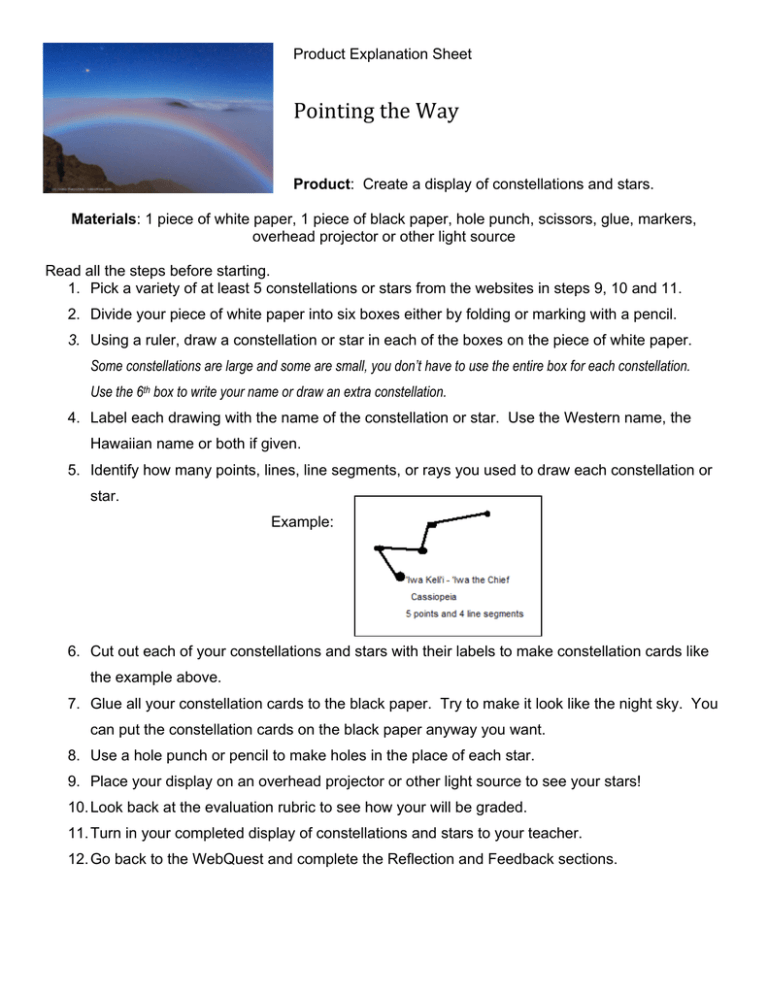
Product Explanation Sheet Pointing the Way Product: Create a display of constellations and stars. Materials: 1 piece of white paper, 1 piece of black paper, hole punch, scissors, glue, markers, overhead projector or other light source Read all the steps before starting. 1. Pick a variety of at least 5 constellations or stars from the websites in steps 9, 10 and 11. 2. Divide your piece of white paper into six boxes either by folding or marking with a pencil. 3. Using a ruler, draw a constellation or star in each of the boxes on the piece of white paper. Some constellations are large and some are small, you don’t have to use the entire box for each constellation. Use the 6th box to write your name or draw an extra constellation. 4. Label each drawing with the name of the constellation or star. Use the Western name, the Hawaiian name or both if given. 5. Identify how many points, lines, line segments, or rays you used to draw each constellation or star. Example: 6. Cut out each of your constellations and stars with their labels to make constellation cards like the example above. 7. Glue all your constellation cards to the black paper. Try to make it look like the night sky. You can put the constellation cards on the black paper anyway you want. 8. Use a hole punch or pencil to make holes in the place of each star. 9. Place your display on an overhead projector or other light source to see your stars! 10. Look back at the evaluation rubric to see how your will be graded. 11. Turn in your completed display of constellations and stars to your teacher. 12. Go back to the WebQuest and complete the Reflection and Feedback sections.
