1 1. Plug an Ethernet cable into the network port... cable into the correct data port in the wall.
advertisement
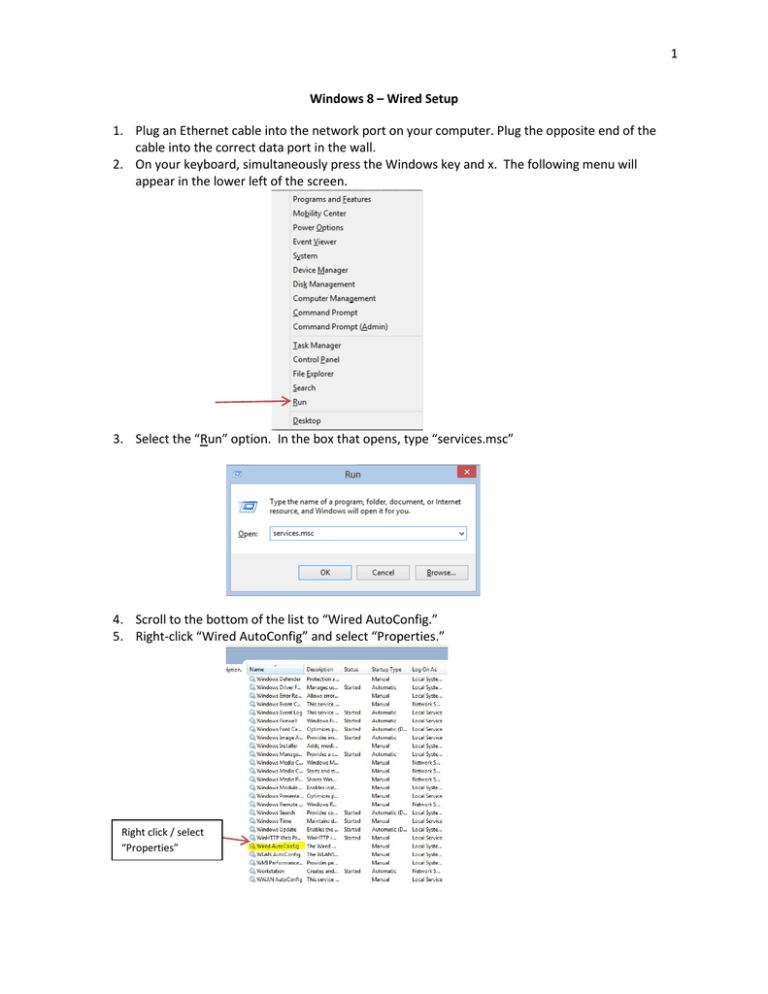
1 Windows 8 – Wired Setup 1. Plug an Ethernet cable into the network port on your computer. Plug the opposite end of the cable into the correct data port in the wall. 2. On your keyboard, simultaneously press the Windows key and x. The following menu will appear in the lower left of the screen. 3. Select the “Run” option. In the box that opens, type “services.msc” 4. Scroll to the bottom of the list to “Wired AutoConfig.” 5. Right-click “Wired AutoConfig” and select “Properties.” Right click / select “Properties” 2 6. Change the “Startup type:” to “Automatic” (Default is manual). 7. Then, click the “Start” button. 8. Click “Apply” and then “OK” (It is now ok to close the services window). 9. Once again, simultaneously press the Windows key and “x” on your keyboard. The following menu will appear in the lower left of the screen. 10. This time, select “Control Panel”. 3 11. Find the Section labeled “Network and Sharing Center”. 12. Click “Change adapter settings” on the left side of the new window 13. Right-click on the Local Area Connection (wired adapter) and select “Properties” Right click / select “Properties” 4 14. Click the “Authentication” tab on the top. Then, click the “Settings” button 15. Check the “Validate server certificate” box and check the “AddTrust External CA Root” certificate in the list of Trusted Authorities 5 16. Click “Configure” 17. If your computer is a university owned computer, check the box labeled “Automatically use my Windows logon name and password (and domain if any)”. If your computer is a personally owned computer or not on the domain, uncheck this box. Click ok when done. University owned computer Personally owned computer 6 18. Go back to the “Local Area Connection window / Authentication tab, and click on the “Additional Settings” button. 19. If your computer is a university owned computer, select the “User or computer authentication” option. If your computer is a personally owned computer or not on the domain, select the “user authentication” option. University owned computer Personally owned computer 20. Click “OK” on all screens. 21. You are done!
