ME 522 Problem 1: Homework 5: Modal Analysis and Buckling Homework
advertisement
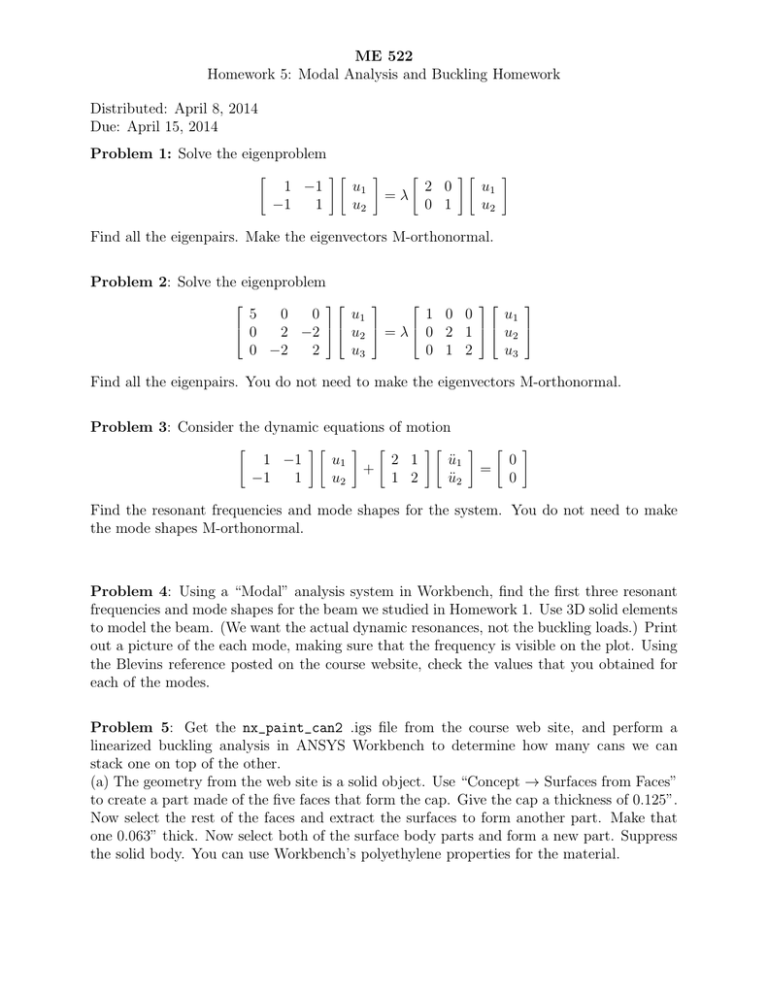
ME 522 Homework 5: Modal Analysis and Buckling Homework Distributed: April 8, 2014 Due: April 15, 2014 Problem 1: Solve the eigenproblem 1 −1 −1 1 u1 u2 =λ 2 0 0 1 u1 u2 Find all the eigenpairs. Make the eigenvectors M-orthonormal. Problem 2: Solve the eigenproblem ⎡ ⎤⎡ ⎤ ⎡ ⎤⎡ ⎤ 5 0 0 u1 1 0 0 u1 ⎢ ⎥⎢ ⎥ ⎢ ⎥⎢ 2 −2 ⎦ ⎣ u2 ⎦ = λ ⎣ 0 2 1 ⎦ ⎣ u2 ⎥ ⎣ 0 ⎦ 0 −2 2 0 1 2 u3 u3 Find all the eigenpairs. You do not need to make the eigenvectors M-orthonormal. Problem 3: Consider the dynamic equations of motion 1 −1 −1 1 u1 u2 + 2 1 1 2 ü1 ü2 = 0 0 Find the resonant frequencies and mode shapes for the system. You do not need to make the mode shapes M-orthonormal. Problem 4: Using a “Modal” analysis system in Workbench, find the first three resonant frequencies and mode shapes for the beam we studied in Homework 1. Use 3D solid elements to model the beam. (We want the actual dynamic resonances, not the buckling loads.) Print out a picture of the each mode, making sure that the frequency is visible on the plot. Using the Blevins reference posted on the course website, check the values that you obtained for each of the modes. Problem 5: Get the nx_paint_can2 .igs file from the course web site, and perform a linearized buckling analysis in ANSYS Workbench to determine how many cans we can stack one on top of the other. (a) The geometry from the web site is a solid object. Use “Concept → Surfaces from Faces” to create a part made of the five faces that form the cap. Give the cap a thickness of 0.125”. Now select the rest of the faces and extract the surfaces to form another part. Make that one 0.063” thick. Now select both of the surface body parts and form a new part. Suppress the solid body. You can use Workbench’s polyethylene properties for the material. (b) Create a shell model of the surfaces using the default mesh (even the default is going to take a while to run.) On the bottom face, use a fixed support. (This isn’t a terribly good representation of the true boundary condition, but it is nice and simple.) (c) Now apply a hydrostatic pressure to the “Top” surface of the shells. Make sure that the pressure values are reasonable and print a page that shows the hydrostatic pressure distribution. This is actually a pressure on the outside of the can, which isn’t what we want. Switch the setting to apply the pressure to the “Bottom” surface of the shells. Run a static analysis and confirm that the can walls move outward. Print a page that shows the deformations due to the pressure loading. Make sure that the deformations are reasonable. (d) Next, suppress the hydrostatic pressure and apply a compressive 10 lb force to the curved edges on the top circular cap. Print the page that shows the deformations due to this loading. Make sure that the deformations are reasonable. (e) Unsuppress the hydrostatic pressure, apply both loads to the can, and solve. Transfer this information to the buckling analysis, and solve for the buckling load. How much is the buckling factor? What does this mean for the buckling load? Does the buckling mode seem reasonable? (f) The buckling factor applies to both loads– the compressive force and the hydrostatic pressure. We really only wanted it to apply to the compressive force. The only way around this is to increase just the compressive force in the static solution until the buckling factor becomes “exactly” one. Do this. Print a picture of the buckling mode and make sure that the eigenvalue is legible. What is the static compressive force now? If a can of paint weighs 8 pounds, how many cans can we stack on top of this one before this one buckles? Would we expect the real number of cans that can be stacked on top to be larger or smaller than this prediction? (g) Now suppress the hydrostatic pressure and rerun the static and buckling analyses. Print a picture of the buckling mode and make sure that the eigenvalue is legible. Was the hydrostatic pressure important?
