PRISM Purchasing Quick Reference Accessing PRISM Purchasing
advertisement

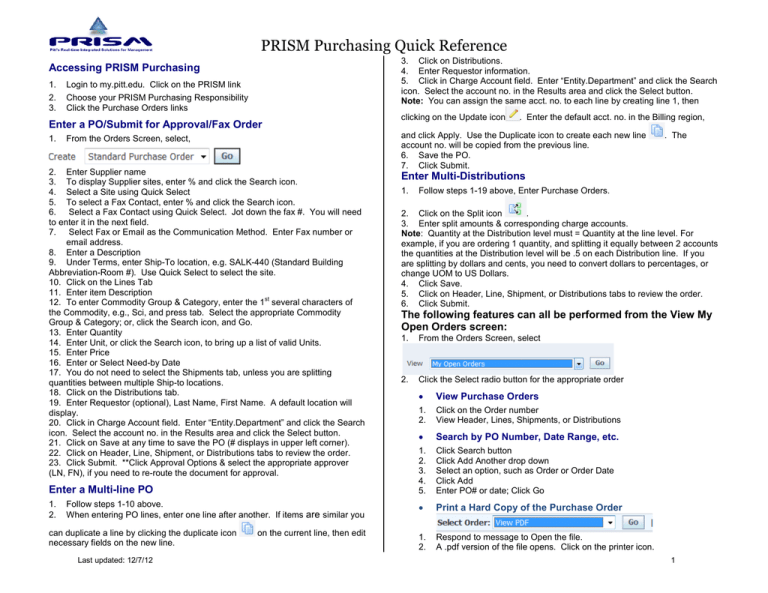
PRISM Purchasing Quick Reference 3. Click on Distributions. 4. Enter Requestor information. 5. Click in Charge Account field. Enter “Entity.Department” and click the Search icon. Select the account no. in the Results area and click the Select button. Note: You can assign the same acct. no. to each line by creating line 1, then Accessing PRISM Purchasing 1. 2. 3. Login to my.pitt.edu. Click on the PRISM link Choose your PRISM Purchasing Responsibility Click the Purchase Orders links Enter a PO/Submit for Approval/Fax Order 1. From the Orders Screen, select, 2. Enter Supplier name 3. To display Supplier sites, enter % and click the Search icon. 4. Select a Site using Quick Select 5. To select a Fax Contact, enter % and click the Search icon. 6. Select a Fax Contact using Quick Select. Jot down the fax #. You will need to enter it in the next field. 7. Select Fax or Email as the Communication Method. Enter Fax number or email address. 8. Enter a Description 9. Under Terms, enter Ship-To location, e.g. SALK-440 (Standard Building Abbreviation-Room #). Use Quick Select to select the site. 10. Click on the Lines Tab 11. Enter item Description st 12. To enter Commodity Group & Category, enter the 1 several characters of the Commodity, e.g., Sci, and press tab. Select the appropriate Commodity Group & Category; or, click the Search icon, and Go. 13. Enter Quantity 14. Enter Unit, or click the Search icon, to bring up a list of valid Units. 15. Enter Price 16. Enter or Select Need-by Date 17. You do not need to select the Shipments tab, unless you are splitting quantities between multiple Ship-to locations. 18. Click on the Distributions tab. 19. Enter Requestor (optional), Last Name, First Name. A default location will display. 20. Click in Charge Account field. Enter “Entity.Department” and click the Search icon. Select the account no. in the Results area and click the Select button. 21. Click on Save at any time to save the PO (# displays in upper left corner). 22. Click on Header, Line, Shipment, or Distributions tabs to review the order. 23. Click Submit. **Click Approval Options & select the appropriate approver (LN, FN), if you need to re-route the document for approval. Enter a Multi-line PO 1. 2. Follow steps 1-10 above. When entering PO lines, enter one line after another. If items are similar you can duplicate a line by clicking the duplicate icon necessary fields on the new line. Last updated: 12/7/12 on the current line, then edit clicking on the Update icon . Enter the default acct. no. in the Billing region, and click Apply. Use the Duplicate icon to create each new line account no. will be copied from the previous line. 6. Save the PO. 7. Click Submit. . The Enter Multi-Distributions 1. Follow steps 1-19 above, Enter Purchase Orders. . 2. Click on the Split icon 3. Enter split amounts & corresponding charge accounts. Note: Quantity at the Distribution level must = Quantity at the line level. For example, if you are ordering 1 quantity, and splitting it equally between 2 accounts the quantities at the Distribution level will be .5 on each Distribution line. If you are splitting by dollars and cents, you need to convert dollars to percentages, or change UOM to US Dollars. 4. Click Save. 5. Click on Header, Line, Shipment, or Distributions tabs to review the order. 6. Click Submit. The following features can all be performed from the View My Open Orders screen: 1. From the Orders Screen, select 2. Click the Select radio button for the appropriate order • View Purchase Orders 1. 2. Click on the Order number View Header, Lines, Shipments, or Distributions • Search by PO Number, Date Range, etc. 1. 2. 3. 4. 5. Click Search button Click Add Another drop down Select an option, such as Order or Order Date Click Add Enter PO# or date; Click Go • Print a Hard Copy of the Purchase Order 1. 2. Respond to message to Open the file. A .pdf version of the file opens. Click on the printer icon. 1 PRISM Purchasing Quick Reference • Refax a PO to a Supplier 1. Select Fax as the Communication Method, enter Fax number, click Apply. • View Invoices 1. View Supplier, Invoicing and Payment information. • Modify a PO 1. Click on Header, Lines, Shipments or Distributions Tab 2. Update icon opens each area for easy editing 3. Click Save, or Apply (if you used the Update icon). Reapprove if necessary. • Cancel a PO (Rejected or Approved Orders) 1. Enter reason for canceling, and click Apply. • Cancel a PO Line (Rejected or Approved Orders) 1. 2. list. 3. 4. 5. Click on the Lines Tab Search for PO by Supplier, Buyer, etc., or by any option in the drop down After entering search criteria, click on Go. Select Line to be cancelled. Select Cancel from Select Line dropdown options; click Go. Enter Cancellation Reason; Click Apply • Delete a PO (Incomplete Orders Only) • Copy a PO 1. 2. A PO can be copied regardless of its status You can copy with/without attachments Notes Notes can be entered in the Notes to Supplier Field or with the Attachments function. They can be entered at the Header or Line level. To enter notes at the line level click the Update icon 1. Click Add Attachment Last updated: 12/7/12 . To access Attachments: 2. 3. 4. 5. Enter Title & Description, and Select Category Select “Text” as the Type Enter content of Note. Click Apply. Approval Queue Management 1. PO’s/Reqs. awaiting approval will display in the approver’s Worklist and under Notifications. 2. Click on the Subject link to open the order 3. Review document details 4. Click on Edit document (Open Document for Reqs) to review/edit account numbers. Click the Distribution Tab. 5. Edit, if necessary. Click Ok (Click Save for Reqs). 6. You are returned to Notification Details (for Reqs. close order, click Notifiction Details on Task Bar) 7. Select the appropriate action, i.e., Approve, Reject, etc. Run Reports 1. 2. 3. 4. 5. 6. 7. 8. 9. From the Home Page select Report, Run Select Single Request, Click Ok Select report to run from the Name field Enter parameters; Click Ok. Click Submit. Requests window opens; Click Refresh Data until phase is Completed. Click View Output. The report will display. Click Tools, Copy File. A copy of the report is made in Internet Explorer. Click File, Page Setup to change orient.to landscape. Click File, Print Requisitions 1. From the Home Page, select Requisitions 2. Enter Header Description; Enter Req. line and Charge Acct. as you would in a PO. 3. Under Source Details tab, enter your contact info. in Note to Buyer field. Click Lines Tab. 4. Enter Supplier information if Sole Sourcing. Click LOV. Enter Supplier Name. Find and Select. Save your work. 5. Attach backup docs such as Sole Source Justification form, or Quote. 6. At the Header or Line level, click the Attachments (paperclip) icon 7. Category, enter “To Buyer” 8. Description, enter a name for the attachment, e.g. Quote 123456 9. Data Type, enter “File” 10. File Upload Form opens. Click Browse to locate desired file. Click Submit. 11. Close Confirm window. Respond “Yes” to “file uploaded successfully?” 12. Close Attachment window. 13. Submit document for approval. Activating an Account Number for use in PantherBuy 1. 2. 3. From the Home Page, select Requisitions. Click Tools, Preferences. Enter the charge account you want to activate; Click Apply. The acct. no. will be active in PantherBuy within approx. 1 hour. 2


