dreamweaver 3 workshop
advertisement
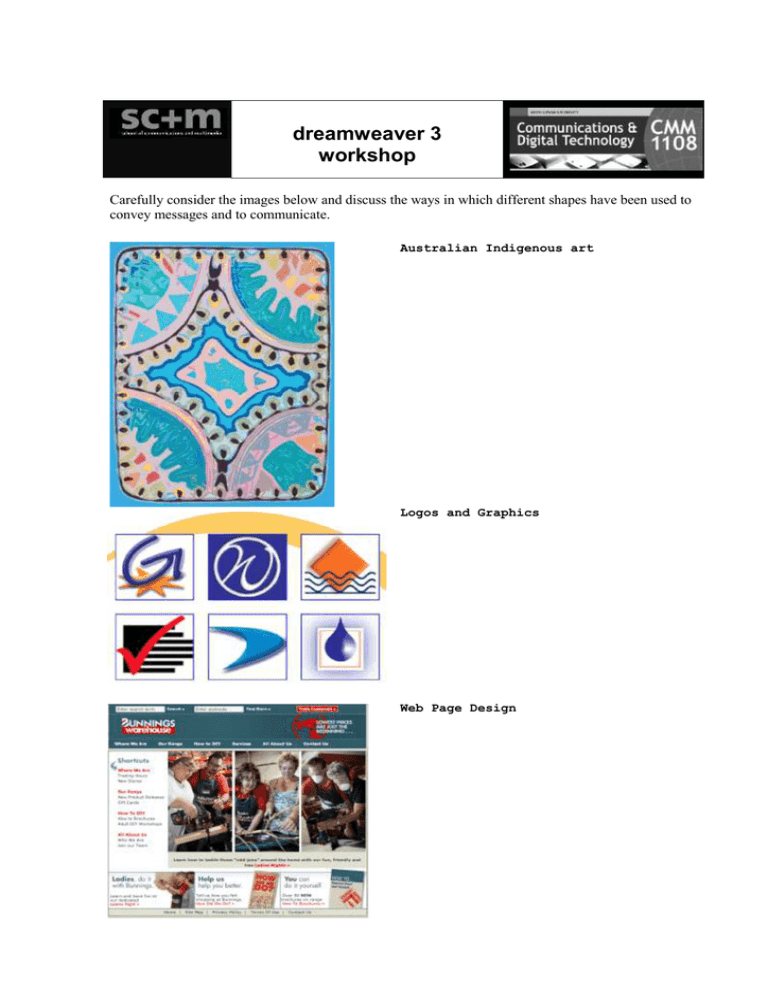
dreamweaver 3 workshop Carefully consider the images below and discuss the ways in which different shapes have been used to convey messages and to communicate. Australian Indigenous art Logos and Graphics Web Page Design Notes on tables in Dreamweaver Adapted from Dreamweaver MX 2004 Help 3. Understanding tables 3.1 Inserting a table Tables can be used to help layout a Web page. Tables are comprised of cells and it is possible to set different sizes for the cells and different colours as well. To insert a table: In the Document window, place the insertion point where you want the table to appear. The page below has a number of sections into which text has been placed. A page like this can be designed through the use of tables. Note: If your document is blank, then the only place you can place the insertion point is at the beginning of the document. Do one of the following: Select Insert > Table. In the Common category of the Insert bar, click the Table button . The Insert Table dialog box appears. To create a page like this, a user would need to set up a table structure as shown below. In the Table Size section, specify the following options: Rows determines the number of rows the table has. Columns determines the number of columns the table has. Table Width specifies the width of the table in pixels, or as a percentage of the browser window's width. Border Thickness specifies the width, in pixels, of the table's borders. Tables can be set so they expand as the window is resized or set at a fixed width so that text layout can be established. Tables can be used to help organize buttons when used as navigation elements. All these activities are included in the examples in this set of notes. CMM1108 – Macromedia Dreamweaver MX2004 TIP: If you don't explicitly assign a value for the border thickness, most browsers display the table as if the border thickness were set to 1. To ensure that browsers display the table with no border, set the border thickness to 0. To view cell and table boundaries when the border thickness is set to 0, select View > Visual Aids > Table Borders. 2 3.2 Modifying Table Cells Cell Padding determines the number of pixels between a cell's border and its contents. Cell Spacing determines the number of pixels between adjacent table cells. TIP: When you don't explicitly assign values for cell spacing and cell padding, most browsers display the table as if cell padding were set to 1 and cell spacing were set to 2. To ensure that browsers display the table with no padding or spacing, set Cell Padding and Cell Spacing to 0. In the Header section, select one of the header options: None does not enable column or row headings for the table. Left makes the first column of the table a column for headings, so that you can enter a heading for each row of the table. Top makes the first row of the table a row for headings, so that you can enter a heading for each column of the table. Both enables you to enter column and row headings in the table. TIP: It's a good idea to use headers in case any of your website visitors use screen readers. Screen readers read table headings and help screen-reader users keep track of table information In Dreamweaver, tables and their various cells can be edited by dragging to make a new size. When the handles show on the outside of the table, dragging will increase the overall size of the table. Click to choose another dimension and the table cells will resize when dragged. The Properties Inspector can also be used to vary the parameters of tables. In the Accessibility section, specify the following options: Caption provides a table title which displays outside of the table. Align Caption specifies where the table caption appears in relation to the table. Summary provides a table description. Screen readers read the summary text, but the text does not appear in the user's browser. Once a table has been created, selecting the cells by dragging enables the user to make a number of modifications, for example: Adding new rows and columns; Merge cells; Insert rows; Click OK to create the table. Insert columns; Add text and images to table cells the same way that you add text and images outside of a table. Split cells. CMM1108 – Macromedia Dreamweaver MX2004 Use the MODIFY> TABLE menu to make adjustments to the table. 3 3.3 Using rollovers Practice Activity 3.1 NOTE – What is a rollover? In this activity, your task is to design a set of Web pages that use tables as an organising mechanism for navigation between the pages. A rollover is an image that, when viewed in a browser, changes when the pointer moves across it. Before you begin, obtain one or more pairs of images for the rollover. You create a rollover with two image files: The activity this week will use a table as a means to organise and navigate between various pages of information. The use of a table on every page provides a consistent left hand navigation menu and a means to show the user where they are in the system when they are viewing a page. 1. Locate the fonts folder in the dw3_files folder downloaded from the CMM 1108 site. This folder contains a number of images of fonts types, and a Word document describing the fonts. It also has an image you can use as a background. 2. Create a first page using a table for the first font, Baskerville. See the page image below 3. This page has a table with 2 columns. In the left column is a list of the seven fonts contained in the zip file. The first font Baskerville, is described in the right column as is an image of the font. 4. In the left column, the other fonts are all listed and each is a link to a new page, (opening in the same window) which has an almost identical left frame, showing the font being displayed) and differing text and image in the screen. 5. Preview your first page in the browser to see how it displays. When you are happy with its form, create the six other pages (one for each font) using the table structure and have each link to the other pages. 6. When you have finished, preview the pages in your browser to confirm that they display as you have planned. CMM1108 – Macromedia Dreamweaver MX2004 the primary image (the image displayed when the page first loads); and a secondary image (the image that appears when the pointer moves over the primary image). Both images in a rollover should be the same size; if the images are not the same size, Dreamweaver automatically resizes the second image to match the properties of the first image. Open your webpage and place the cursor where you want the rollover image to appear. Select the Rollover Image object from the Insert bar or select Insert > Image Objects> Rollover Image from the Menu bar. The Insert Rollover Image dialog box appears. Type a name for the image in the Image name text field. Select both the original and rollover image files by clicking the Browse buttons next to those options and selecting the image files. Check the Preload Rollover Image check box. Add a link to the rollover image by clicking the Browse button for When Clicked, Go to URL. ie. We have selected the page named plan.htm Click OK. Save your document and press F12 to view your rollover button in a browser Alternatively, rollover buttons can be set using the Behaviours dialogue box WINDOWS> BEHAVIOURS Insert the first image and click to select; open the behaviours window, click + to add a behaviour; the list of possible behaviours show; choose swap image; 4 a dialogue box opens to enable you to browse to choose the swap image and the conditions eg. mouse over. Do not type any spaces between the colon and the e-mail address. For example, type mailto:r.oliver@ecu.edu.au Practice Activity 3.2 In this activity, your task is to create some links using rollover buttons. 1. Download the dw3_files folder from the CMM1108 Web site. 2. Create a new folder called pages. Copy the buttons folder from the dw3_files folder into the pages folder. 3. Create a new page called page1.htm in the pages folder. Put a tile eg. Page 1 at the top. 4. Insert 4 rollover buttons at the top of the page (as shown below). 3.4 Creating an Email link To create an e-mail link using the Insert E-mail Link command: In the Document window's Design view, position the insertion point where you want the e-mail link to appear, or select the text or image you want to appear as the e-mail link. Do one of the following to insert the link: Select Insert > E-mail Link. In the Common category of the Insert bar, click the Insert E-mail Link button. The E-mail Link dialog box appears. Complete the dialog box. Click OK. 5. Preview and test the rollovers 6. Copy this page to make 4 more similar pages called page2, page3, page4 and page 5. 7. Use the properties inspector to set the links so all the buttons link as required. Note: You can make your own rollover images using Photoshop or you can often find them freely available as clipart on sites across the Web. To create an e-mail link using the Property inspector: Select text or an image in the Document window's Design view. In the Link text box of the Property inspector, type mailto: followed by an e-mail address. CMM1108 – Macromedia Dreamweaver MX2004 5
