Including graphics in a LaTeX document Eric Cytrynbaum January 13, 2008
advertisement
Including graphics in a LaTeX document
Eric Cytrynbaum
January 13, 2008
There are several ways of embedding graphics into a document. This latex file uses the
default LaTeX template that TeXShop provides and assumes that you have your preferences
set to use pdftex to typeset rather than tex+ghostscript. The graphicx package lets you
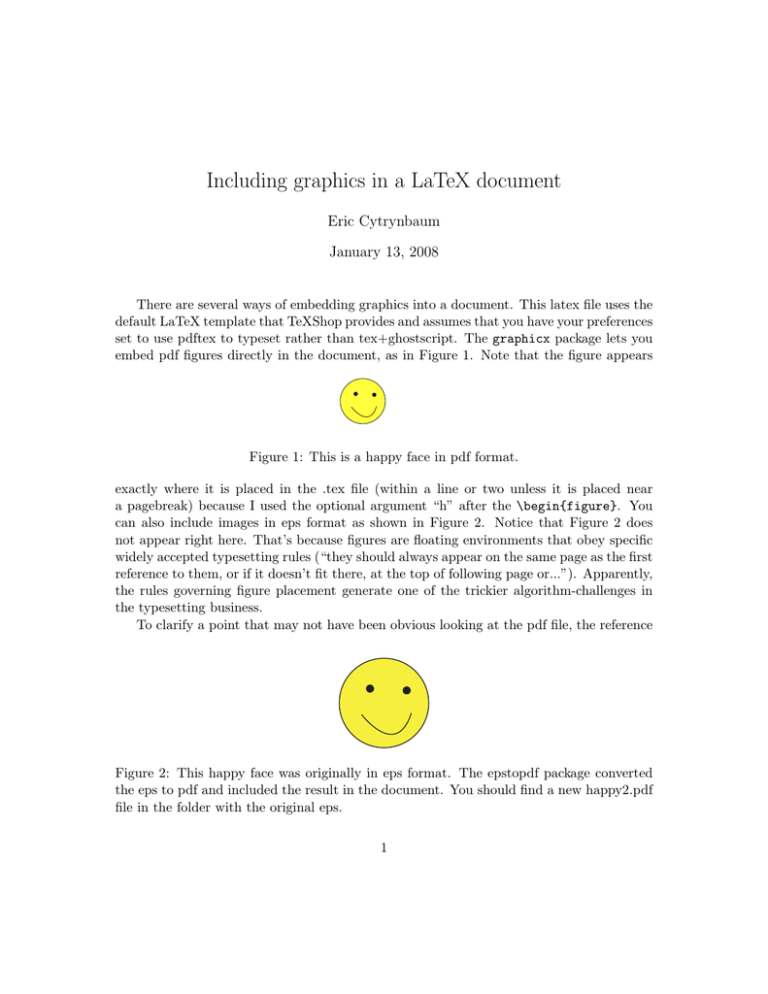
embed pdf figures directly in the document, as in Figure 1. Note that the figure appears
Figure 1: This is a happy face in pdf format.
exactly where it is placed in the .tex file (within a line or two unless it is placed near
a pagebreak) because I used the optional argument “h” after the \begin{figure}. You
can also include images in eps format as shown in Figure 2. Notice that Figure 2 does
not appear right here. That’s because figures are floating environments that obey specific
widely accepted typesetting rules (“they should always appear on the same page as the first
reference to them, or if it doesn’t fit there, at the top of following page or...”). Apparently,
the rules governing figure placement generate one of the trickier algorithm-challenges in
the typesetting business.
To clarify a point that may not have been obvious looking at the pdf file, the reference
Figure 2: This happy face was originally in eps format. The epstopdf package converted
the eps to pdf and included the result in the document. You should find a new happy2.pdf
file in the folder with the original eps.
1
above to Figure 1 was not explicitly written as Figure 1 in the .tex file but instead as
Figure \ref{figExample1} where figExample1 is the label assigned to the equation. This
allows you to refer to a figure while writing even if you don’t know what number the figure
will be. In addition, if you reorder figures during editing, you don’t have to track down
every reference to Figure 1 – LaTeX automatically updates all figure numbers the next
time you typeset the document by cross-referencing labels (\label{blah}) and references
(\ref{blah}). Sometimes you have to typeset the document twice to complete the crossreferencing process (you will see “Figure ??” instead of “Figure 1” on the first time around).
A similar but more complicated cross-referencing method can be used to automate citations.
This will be demonstrated in one of the other sample files (to appear later) but if you want
to check it out yourself, look for the \cite command and bibtex online.
You can also include a graphic without the figure environment but that makes captions and referencing difficult to get right so should not be done for formal figures. An
\includegraphics command without a figure environment around it will produce an image as an “inline” object which means it gets placed in line with text
like this. The
line in which it appears is automatically considered to be the height of the image which is
why there is extra white space above the line. More complicated tricks with inline graphics
(like specifying the exact location of an image and wrapping text around an image) can be
pulled off using the picins and wrapfig packages. I’ve never used them so if you manage
to, let me know how well they work.
The final image is in tiff format and requires the \DeclareGraphicsRule above the
\begin{document}:
.
You’ll notice after you typeset this file that there are two new files in the folder:
happy2.pdf and happy4.png. The former was generated by the epstopdf package automatically when the reference to the eps file was found (as mentioned earlier). The latter
was generated by the \DeclareGraphicsRule when the tiff file was encountered. You can
also include .jpg files without any extra commands (just like png files).
2
