Document 10794457
advertisement
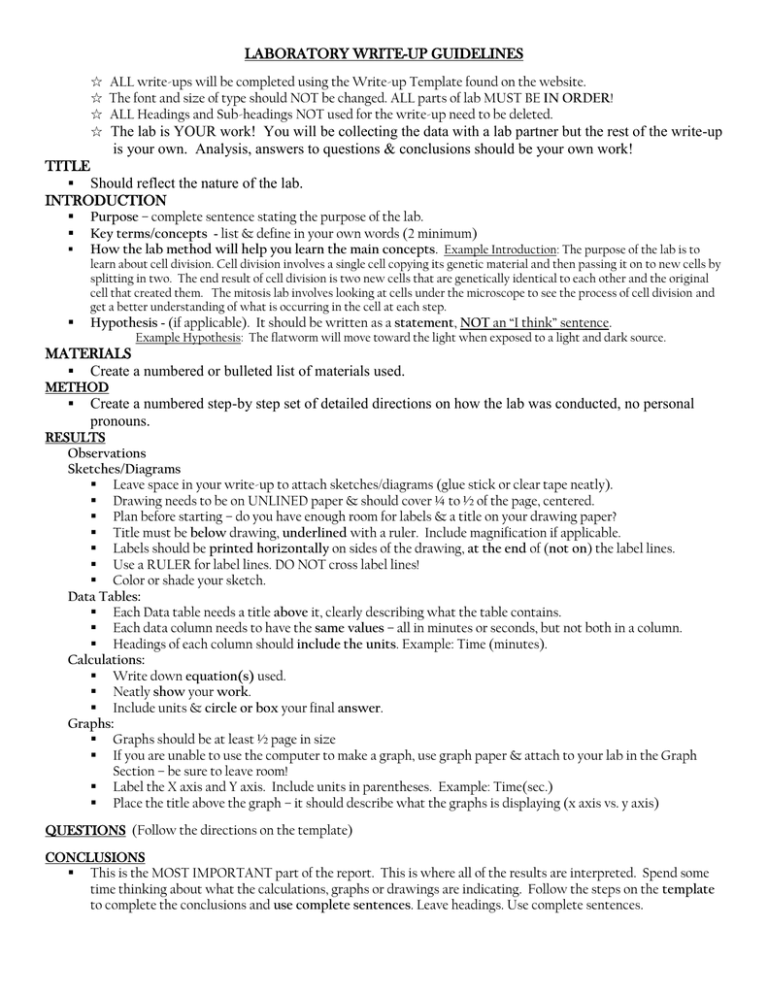
LABORATORY WRITE-UP GUIDELINES ☆ ALL write-ups will be completed using the Write-up Template found on the website. ☆ The font and size of type should NOT be changed. ALL parts of lab MUST BE IN ORDER! ☆ ALL Headings and Sub-headings NOT used for the write-up need to be deleted. ☆ The lab is YOUR work! You will be collecting the data with a lab partner but the rest of the write-up is your own. Analysis, answers to questions & conclusions should be your own work! TITLE Should reflect the nature of the lab. INTRODUCTION Purpose – complete sentence stating the purpose of the lab. Key terms/concepts - list & define in your own words (2 minimum) How the lab method will help you learn the main concepts. Example Introduction: The purpose of the lab is to learn about cell division. Cell division involves a single cell copying its genetic material and then passing it on to new cells by splitting in two. The end result of cell division is two new cells that are genetically identical to each other and the original cell that created them. The mitosis lab involves looking at cells under the microscope to see the process of cell division and get a better understanding of what is occurring in the cell at each step. Hypothesis - (if applicable). It should be written as a statement, NOT an “I think” sentence. Example Hypothesis: The flatworm will move toward the light when exposed to a light and dark source. MATERIALS Create a numbered or bulleted list of materials used. METHOD Create a numbered step-by step set of detailed directions on how the lab was conducted, no personal pronouns. RESULTS Observations Sketches/Diagrams Leave space in your write-up to attach sketches/diagrams (glue stick or clear tape neatly). Drawing needs to be on UNLINED paper & should cover ¼ to ½ of the page, centered. Plan before starting – do you have enough room for labels & a title on your drawing paper? Title must be below drawing, underlined with a ruler. Include magnification if applicable. Labels should be printed horizontally on sides of the drawing, at the end of (not on) the label lines. Use a RULER for label lines. DO NOT cross label lines! Color or shade your sketch. Data Tables: Each Data table needs a title above it, clearly describing what the table contains. Each data column needs to have the same values – all in minutes or seconds, but not both in a column. Headings of each column should include the units. Example: Time (minutes). Calculations: Write down equation(s) used. Neatly show your work. Include units & circle or box your final answer. Graphs: Graphs should be at least ½ page in size If you are unable to use the computer to make a graph, use graph paper & attach to your lab in the Graph Section – be sure to leave room! Label the X axis and Y axis. Include units in parentheses. Example: Time(sec.) Place the title above the graph – it should describe what the graphs is displaying (x axis vs. y axis) QUESTIONS (Follow the directions on the template) CONCLUSIONS This is the MOST IMPORTANT part of the report. This is where all of the results are interpreted. Spend some time thinking about what the calculations, graphs or drawings are indicating. Follow the steps on the template to complete the conclusions and use complete sentences. Leave headings. Use complete sentences.
