Building a Map from Field Data Drake Jandreau -Palisade HS
advertisement
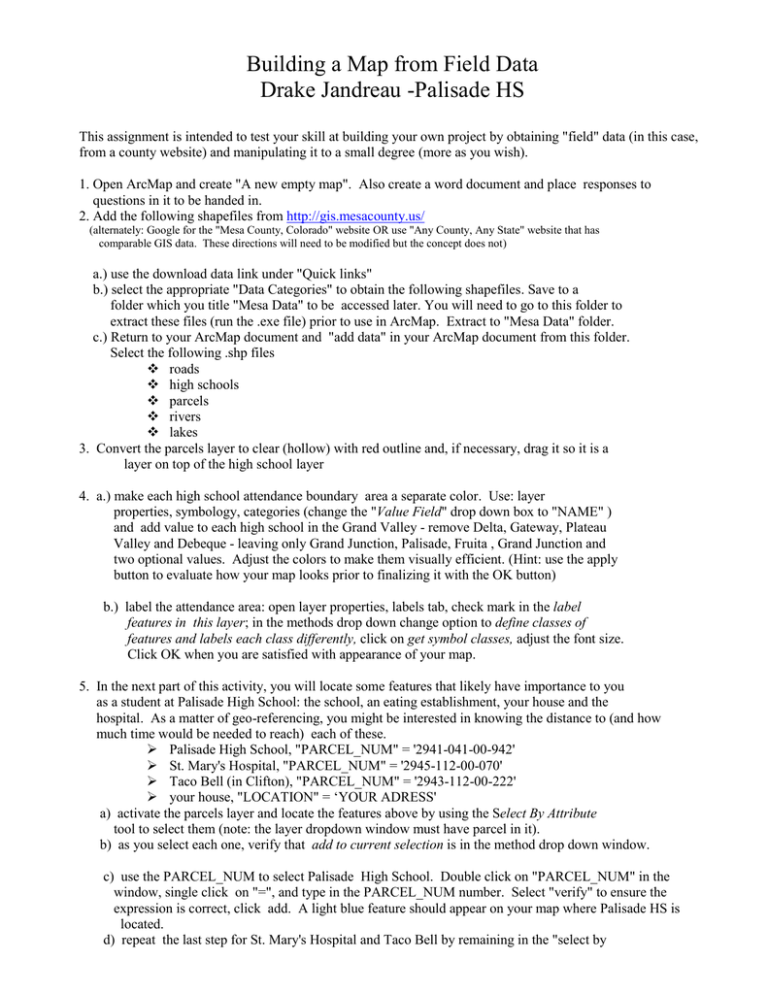
Building a Map from Field Data Drake Jandreau -Palisade HS This assignment is intended to test your skill at building your own project by obtaining "field" data (in this case, from a county website) and manipulating it to a small degree (more as you wish). 1. Open ArcMap and create "A new empty map". Also create a word document and place responses to questions in it to be handed in. 2. Add the following shapefiles from http://gis.mesacounty.us/ (alternately: Google for the "Mesa County, Colorado" website OR use "Any County, Any State" website that has comparable GIS data. These directions will need to be modified but the concept does not) a.) use the download data link under "Quick links" b.) select the appropriate "Data Categories" to obtain the following shapefiles. Save to a folder which you title "Mesa Data" to be accessed later. You will need to go to this folder to extract these files (run the .exe file) prior to use in ArcMap. Extract to "Mesa Data" folder. c.) Return to your ArcMap document and "add data" in your ArcMap document from this folder. Select the following .shp files roads high schools parcels rivers lakes 3. Convert the parcels layer to clear (hollow) with red outline and, if necessary, drag it so it is a layer on top of the high school layer 4. a.) make each high school attendance boundary area a separate color. Use: layer properties, symbology, categories (change the "Value Field" drop down box to "NAME" ) and add value to each high school in the Grand Valley - remove Delta, Gateway, Plateau Valley and Debeque - leaving only Grand Junction, Palisade, Fruita , Grand Junction and two optional values. Adjust the colors to make them visually efficient. (Hint: use the apply button to evaluate how your map looks prior to finalizing it with the OK button) b.) label the attendance area: open layer properties, labels tab, check mark in the label features in this layer; in the methods drop down change option to define classes of features and labels each class differently, click on get symbol classes, adjust the font size. Click OK when you are satisfied with appearance of your map. 5. In the next part of this activity, you will locate some features that likely have importance to you as a student at Palisade High School: the school, an eating establishment, your house and the hospital. As a matter of geo-referencing, you might be interested in knowing the distance to (and how much time would be needed to reach) each of these. Palisade High School, "PARCEL_NUM" = '2941-041-00-942' St. Mary's Hospital, "PARCEL_NUM" = '2945-112-00-070' Taco Bell (in Clifton), "PARCEL_NUM" = '2943-112-00-222' your house, "LOCATION" = ‘YOUR ADRESS' a) activate the parcels layer and locate the features above by using the Select By Attribute tool to select them (note: the layer dropdown window must have parcel in it). b) as you select each one, verify that add to current selection is in the method drop down window. c) use the PARCEL_NUM to select Palisade High School. Double click on "PARCEL_NUM" in the window, single click on "=", and type in the PARCEL_NUM number. Select "verify" to ensure the expression is correct, click add. A light blue feature should appear on your map where Palisade HS is located. d) repeat the last step for St. Mary's Hospital and Taco Bell by remaining in the "select by attributes" box and merely click the "clear" button. e) for your house you can use your address to select it, remember to make sure you have ‘ (the single apostrophe) before and after your address, and that all letters are capitalized. Use the verify button. Locating your house may be difficult as ArcMap is touchy about the way expressions must be defined. For example, if you use STREET instead of ST to define the street you live on, the query may indicate "No results". There are other options to solve this including 1) trying different selection criteria in the Select by Attributes (instead of "PARCEL" try "OWNER" or "LASTNAME", especially if your last name is uncommon), 2) search on the map for your house by zooming in and then use the Identify tool (with parcel layer activated) to find your PARCEL_NUM (or FID), 3) you may use the "find" tool (the binocular), 4) open the attribute table for the parcel layer and find your parcel by sorting one of the fields such as STRNAME (street name) than scrolling through the list one by one f) once you have all four locations selected you can right click the parcels layer, scroll down to selection, then choose to create a layer from the selected features. You will probably need to change the color of the layer so that it is more visible. Rename the layer in your table of contents (single click on the layer name, when it is highlighted blue, single click again and change the name to your liking) g) use the layer properties to label these features using ARCH1ST in the text string –label field drop down menu. Adjust the font size and color before you click "apply" then "OK". 6. a) measure and record (units are in meters with mesa county data) to your word document the following distances: your house to PHS your house to the hospital PHS to Taco Bell b) change the units from meters to miles and measure and provide your results using the miles. Right click on Layers in the table of contents, chose properties and on the general tab change the display units to miles (make certain that meters is in the map units window). 7. Which high school attendance area is your house in? 8. Which high school has the greatest acreage of attendance area? 9. Increase the river feature so that the line shown on the map is more clearly visible (that is, bigger and/or brighter). Zoom in to the junction (the grand junction!!) of the Gunnison and Colorado Rivers. Identify and record the property owners immediately around this junction. 10. What are the top five lakes in Mesa County in terms of surface acreage? 11. Locate Bull Creek Reservoir #4, select it and "zoom to select" using the Selection task bar . Identify and record the nearest road to this reservoir. 12. Find Vega reservoir (activate lakes layer) on your map and hyperlink a photo found by googling "Vega Reservoir, Colorado". Save your photo to "Mesa Data" folder as a jpeg. On your map, click on the identify tool, click on Vega Reservoir. In the window that comes up ensure "lakes" is in the Identify from drop down list, right click on Vega Reservoir in the left panel and select Add Hyperlink 13. a) Make final adjustments to your map until you are satisfied with fonts, labels colors. Maximize the view so Vega Reservoir is the most eastern feature and St. Mary's Hospital (or your house if it is more west) is the most western feature. b) select View on the toolbar, select Layout View. Select Insert on the toolbar and add title, north arrow. c) finally, select File on the toolbar, select export, and save as a jpeg to "Mesa Data" folder 14. Insert this jpeg document to your word document be handed in.
