Manual Zeiss Axio Zoom
advertisement

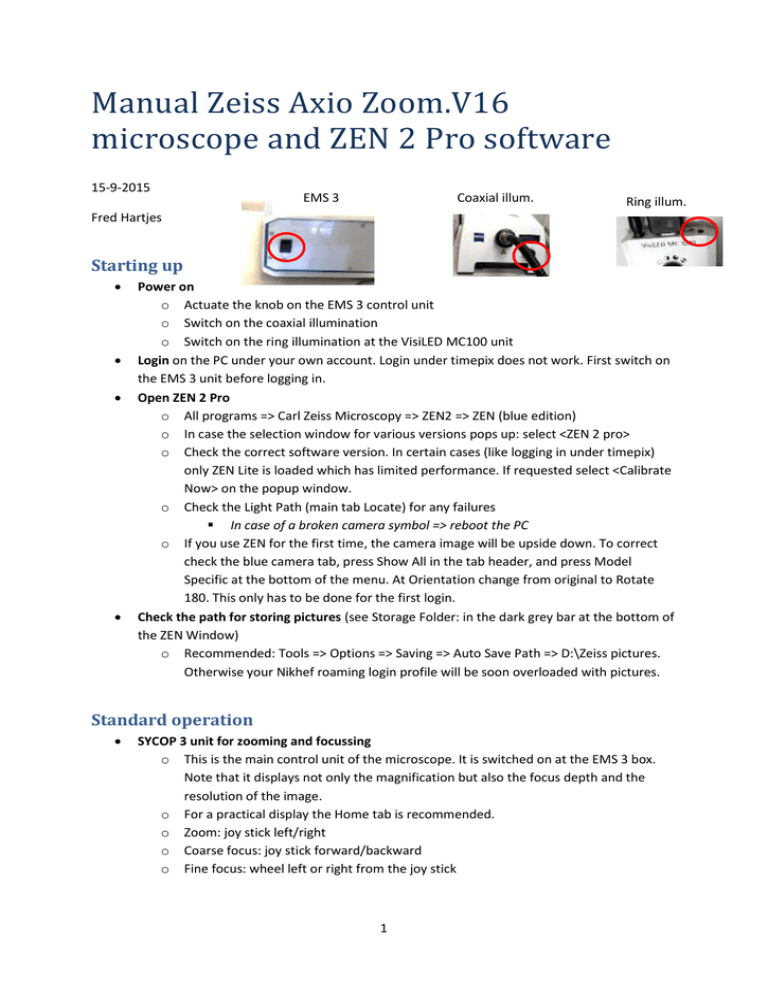
Manual Zeiss Axio Zoom.V16 microscope and ZEN 2 Pro software 15-9-2015 EMS 3 Coaxial illum. Ring illum. Fred Hartjes Starting up Power on o Actuate the knob on the EMS 3 control unit o Switch on the coaxial illumination o Switch on the ring illumination at the VisiLED MC100 unit Login on the PC under your own account. Login under timepix does not work. First switch on the EMS 3 unit before logging in. Open ZEN 2 Pro o All programs => Carl Zeiss Microscopy => ZEN2 => ZEN (blue edition) o In case the selection window for various versions pops up: select <ZEN 2 pro> o Check the correct software version. In certain cases (like logging in under timepix) only ZEN Lite is loaded which has limited performance. If requested select <Calibrate Now> on the popup window. o Check the Light Path (main tab Locate) for any failures In case of a broken camera symbol => reboot the PC o If you use ZEN for the first time, the camera image will be upside down. To correct check the blue camera tab, press Show All in the tab header, and press Model Specific at the bottom of the menu. At Orientation change from original to Rotate 180. This only has to be done for the first login. Check the path for storing pictures (see Storage Folder: in the dark grey bar at the bottom of the ZEN Window) o Recommended: Tools => Options => Saving => Auto Save Path => D:\Zeiss pictures. Otherwise your Nikhef roaming login profile will be soon overloaded with pictures. Standard operation SYCOP 3 unit for zooming and focussing o This is the main control unit of the microscope. It is switched on at the EMS 3 box. Note that it displays not only the magnification but also the focus depth and the resolution of the image. o For a practical display the Home tab is recommended. o Zoom: joy stick left/right o Coarse focus: joy stick forward/backward o Fine focus: wheel left or right from the joy stick 1 o Note: you may also adjust the focus with the mouse wheel while keeping the CTRL key pressed Viewing o Camera image and image through eye pieces cannot be viewed simultaneously. Pull the slide to the right for camera viewing. The focus value of the camera is about 20 µm bigger than the focus in the eye piece mode. For rapid focussing and image selection viewing through the lens is recommended. o Note: the magnification (max 180x) refers to the image on the eye pieces, not to the camera image. Diaphragm. You may use the diaphragm (wheel at the right side of the Axio-Zoom head) to squeeze the light path, thus increasing the depth of focus but also deteriorating the resolution. When active the diaphragm symbol appears at the SYCOP 3 display at Resolution. Note that when zooming out the diaphragm becomes much more dominant, reducing the light level of the microscope. Illumination o There are two illumination sources that can both be tuned in intensity. In most cases the balance between these two sources has big effect on the image quality. Take your time to find the best setting. Through the lens by the unit on the left. Could be blocked by the slide COAX on the microscope head. Ring illumination by the VisiLED MC 1000 unit. Could either a full ring, or any ring sector to create a shadow. Viewing an image: press the Live button Toggle full screen => F11 Camera settings. The camera has very many options. Most important are: o Exposure Time Auto exposure is practical to avoid change in light level during zooming. But it slows down the image display. The camera takes an average of the full image for this, but you may also select certain area of your image as a reference. In this case you have to select the Spotmeter/Focus ROI button and move the red rectangle to the required position. o White Balance. You may either set this to Auto. Here the three fundamental colours are automatically adjusted to equal proportions. You may like this or not. 5500K. Here the real colours of the object are displayed. 2 Creating image files and storing them on disk o Press Snap => picture will be stored in RAM and appears in the Images and Documents tab on right hand of the ZEN window. Be careful when saving. Default extension is Zeiss czi which you cannot open with anything else but ZEN. So use jpg or png. Adjusting image brightness and contrast. You may further adjust things like contrast by the dynamic histogram at the bottom of the ZEN window. Focussing functions Both methods (Autofocusing and Manual Extended Focus) require a surface having certain visible structure like scratches, grains or tiny dust particles. Therefore the focussing methods do not work on shiny surfaces and flat, transparent objects. Autofocusing o Main tab Locate. o Sub tab: Live o Roughly focus the microscope on the desired point. o Set focussing parameters on the Software Autofocus tab Recommended settings for accurate Z measurement are shown on the right picture Click on Autofocus/ROI and select the Spotmeter/Focus ROI button. Subsequently move the red rectangle to the required position. To execute the autofocus procedure, press on “Find Focus”. After completion (see the progress bar at the bottom of the ZEN window), the focus value is read out as the ZPosition on the Sycop 3. Creating an extended focus image With this method one creates an image where items on different height are still all shown in focus. To get this, a number of images is acquired at different focal heights where each new image is used to update a master image. For the software licence that is built in (Manual Extended Focus), the images have to be created by manual action. o o o Main tab: Locate, set Live on and focus the microscope to about the Z-centre of the object Determine your focussing strategy: What is the range of focus of all items you want to see in the final image? What is a suited step height you want to apply (e.g. one or two clicks of the fine focus wheel)? Deselect Auto Exposure at the Camera menu and set the light level of your image to an appropriate value. 3 o Set “Live” off and open the blue tab Manual Extended Depth of Focus Set Mode: F12 Key Press Start. Two images will appear: the right one is the actual image direct from the camera, the left one is the resulting master image (before having any picture acquired this is an older image). Press the F12 key to acquire a new image. Every time this is done the master image disappears for a moment and returns when it is updated with newly acquired image. Change the focus with the fine focus wheel and press F12 again to collect a new image at a different focus height. You will see that the master image gradually improves when the information of more and more different focal heights is added to it. Continue with this until you are satisfied with the master image. Terminate the process by pressing on Stop. The master image is stored in the Images and Documents tab on the right side of the ZEN window. 4 Measuring on the image and adding info to it Parameters like the magnitude of a subject, distance between two items or the diameter of a hole can be easily measured. The measured values take into account the actual microscope magnification. Store the image using the Snap button. This may also be an extended focus image. Go to Graphics on the main menu and select the desired function. Also items like rectangles, circles, arrows, text, date and other info can be added. Select which measurement you want to display by the right mouse button => Choose Measurement Features. You may format the colour and the position of the text by the right mouse button => Format Graphical Elements. Select Burn-in Annotations if you are satisfied with the image. A new image is created containing all added items. Note The most recent version of this manual can be found at http://www.nikhef.nl/~i56/datasources/Zeiss_documentation/ 5


