Spectroscope Instructions
advertisement
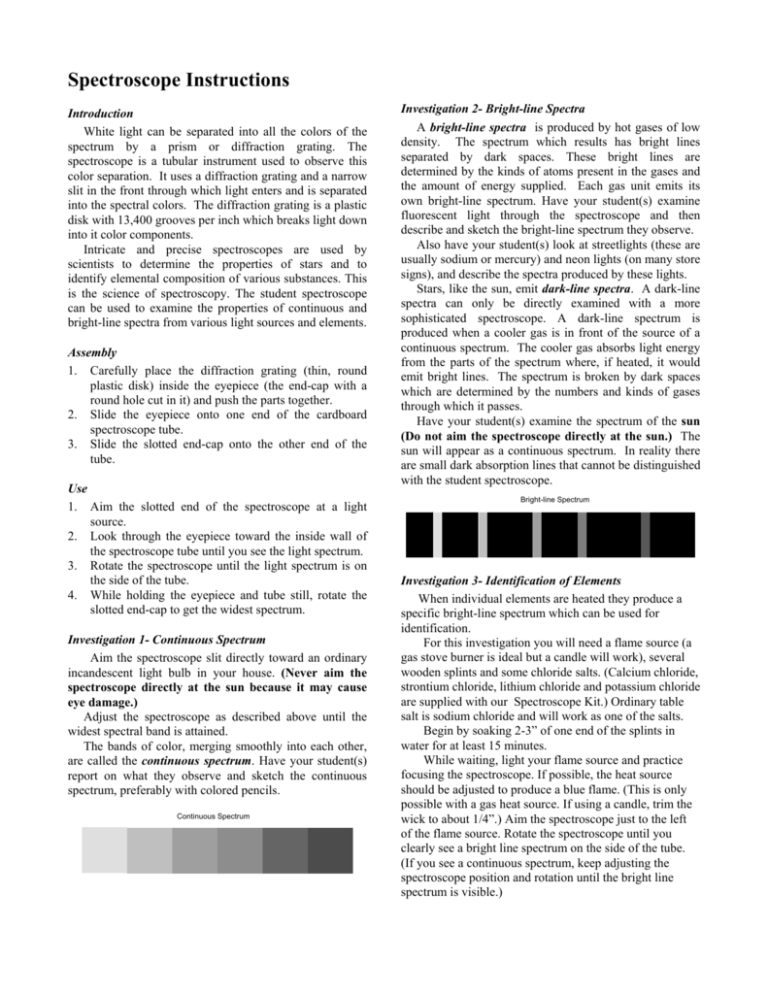
Spectroscope Instructions Introduction White light can be separated into all the colors of the spectrum by a prism or diffraction grating. The spectroscope is a tubular instrument used to observe this color separation. It uses a diffraction grating and a narrow slit in the front through which light enters and is separated into the spectral colors. The diffraction grating is a plastic disk with 13,400 grooves per inch which breaks light down into it color components. Intricate and precise spectroscopes are used by scientists to determine the properties of stars and to identify elemental composition of various substances. This is the science of spectroscopy. The student spectroscope can be used to examine the properties of continuous and bright-line spectra from various light sources and elements. Assembly 1. Carefully place the diffraction grating (thin, round plastic disk) inside the eyepiece (the end-cap with a round hole cut in it) and push the parts together. 2. Slide the eyepiece onto one end of the cardboard spectroscope tube. 3. Slide the slotted end-cap onto the other end of the tube. Use 1. Aim the slotted end of the spectroscope at a light source. 2. Look through the eyepiece toward the inside wall of the spectroscope tube until you see the light spectrum. 3. Rotate the spectroscope until the light spectrum is on the side of the tube. 4. While holding the eyepiece and tube still, rotate the slotted end-cap to get the widest spectrum. Investigation 1- Continuous Spectrum Aim the spectroscope slit directly toward an ordinary incandescent light bulb in your house. (Never aim the spectroscope directly at the sun because it may cause eye damage.) Adjust the spectroscope as described above until the widest spectral band is attained. The bands of color, merging smoothly into each other, are called the continuous spectrum. Have your student(s) report on what they observe and sketch the continuous spectrum, preferably with colored pencils. Continuous Spectrum Investigation 2- Bright-line Spectra A bright-line spectra is produced by hot gases of low density. The spectrum which results has bright lines separated by dark spaces. These bright lines are determined by the kinds of atoms present in the gases and the amount of energy supplied. Each gas unit emits its own bright-line spectrum. Have your student(s) examine fluorescent light through the spectroscope and then describe and sketch the bright-line spectrum they observe. Also have your student(s) look at streetlights (these are usually sodium or mercury) and neon lights (on many store signs), and describe the spectra produced by these lights. Stars, like the sun, emit dark-line spectra. A dark-line spectra can only be directly examined with a more sophisticated spectroscope. A dark-line spectrum is produced when a cooler gas is in front of the source of a continuous spectrum. The cooler gas absorbs light energy from the parts of the spectrum where, if heated, it would emit bright lines. The spectrum is broken by dark spaces which are determined by the numbers and kinds of gases through which it passes. Have your student(s) examine the spectrum of the sun (Do not aim the spectroscope directly at the sun.) The sun will appear as a continuous spectrum. In reality there are small dark absorption lines that cannot be distinguished with the student spectroscope. Bright-line Spectrum Investigation 3- Identification of Elements When individual elements are heated they produce a specific bright-line spectrum which can be used for identification. For this investigation you will need a flame source (a gas stove burner is ideal but a candle will work), several wooden splints and some chloride salts. (Calcium chloride, strontium chloride, lithium chloride and potassium chloride are supplied with our Spectroscope Kit.) Ordinary table salt is sodium chloride and will work as one of the salts. Begin by soaking 2-3” of one end of the splints in water for at least 15 minutes. While waiting, light your flame source and practice focusing the spectroscope. If possible, the heat source should be adjusted to produce a blue flame. (This is only possible with a gas heat source. If using a candle, trim the wick to about 1/4”.) Aim the spectroscope just to the left of the flame source. Rotate the spectroscope until you clearly see a bright line spectrum on the side of the tube. (If you see a continuous spectrum, keep adjusting the spectroscope position and rotation until the bright line spectrum is visible.) Now you are ready to test the different chloride salts. Start with sodium chloride. Wipe the excess water off the end of one splint that has been soaking and dip the wet end of the splint in the sodium chloride. Now hold the end of the splint with salt on it over the flame source. Your students should observe a distinct yellow flame coming from the sodium salt. Repeat this step with a new splint and additional sodium chloride, but this time have a student observe the flame through the spectroscope while you put the salt end of the splint in the flame. He should observe the yellow line of the spectra increase in brightness and width. Sodium when heated gives off light in the yellow light bandwidth. Repeat the entire process using other salts. Some of the flame colors and bright lines you will observe are as follows: Salt Flame Color Bright Lines Sodium chloride Yellow Yellow Calcium chloride Orange Orange (with some red & yellow) Potassium chloride Yellow-orange Yellow & orange Lithium chloride Bright red Red (far edge) Strontium chloride Red Red (with some orange & yellow) Copper chloride Green Green & blue It is difficult to see the various bright line spectra unless the spectroscope is carefully focused each time. It will take some experimentation before your students can repeatedly see the bright lines produced by each element. If possible, mount the spectroscope on a ring stand or other stationary object so its position stays exactly the same for each test. Ask your students to carefully record their observations and draw pictures using colored pencils of the spectra they observe. Evaluation Questions 1. Name the order of colors in the continuous spectrum, from shortest wavelength to longest. (Violet, indigo, blue, green, yellow, orange and red) 2. How is the spectrum of incandescent light different from that of fluorescent light? (The incandescent light spectrum is continuous and contains the full visible light range; the fluorescent light spectrum has a bright-line spectrum determined by the gases in the bulb.) 3. Describe the bright-line spectrum of sodium light. (It has two bright lines in the yellow region.) 4. Describe the bright-line spectrum of mercury light. (It has blue, green, yellow, orange and red lines with green being strongest.) 5. Describe the bright-line spectrum of neon light. (It has several red and orange lines.) 6. 7. 8. How could bright-line spectra be a valuable tool to chemists? (It can be used for chemical identification since each atom gives off its own bright-line spectrum.) What do the dark lines in the dark line spectra indicate? (They indicate the absence of light for that particular wavelength because elements in the sun’s atmosphere have absorbed them.) Describe the bright line spectra of the different chloride salts tested.
