File - WSMSHISTORY
advertisement
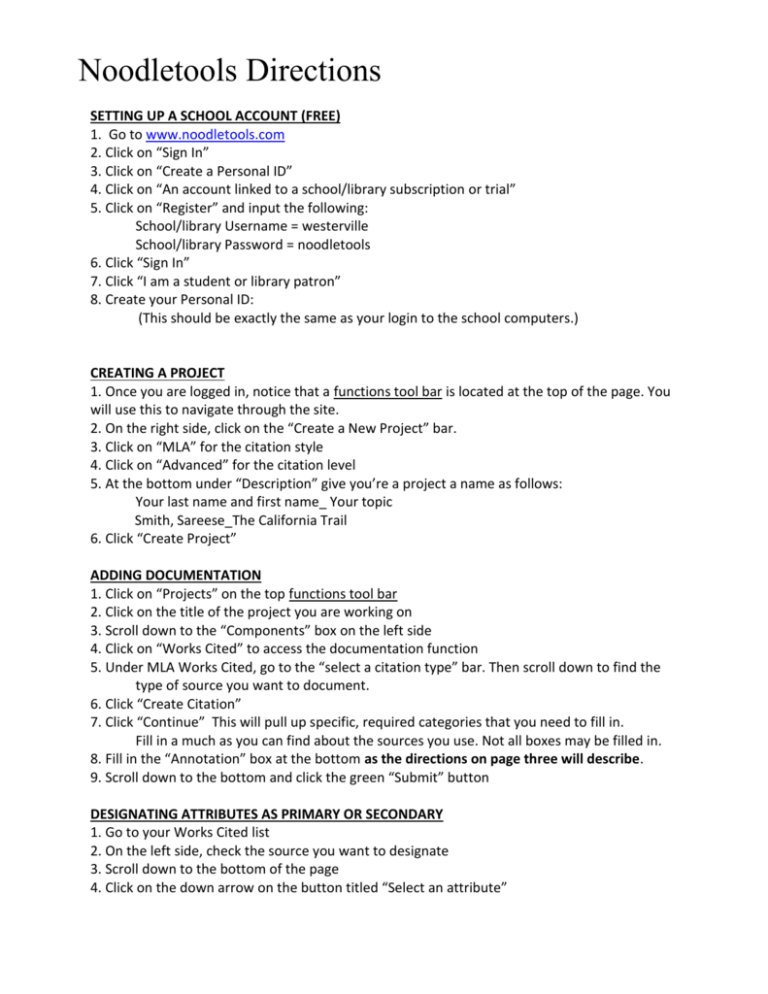
Noodletools Directions SETTING UP A SCHOOL ACCOUNT (FREE) 1. Go to www.noodletools.com 2. Click on “Sign In” 3. Click on “Create a Personal ID” 4. Click on “An account linked to a school/library subscription or trial” 5. Click on “Register” and input the following: School/library Username = westerville School/library Password = noodletools 6. Click “Sign In” 7. Click “I am a student or library patron” 8. Create your Personal ID: (This should be exactly the same as your login to the school computers.) CREATING A PROJECT 1. Once you are logged in, notice that a functions tool bar is located at the top of the page. You will use this to navigate through the site. 2. On the right side, click on the “Create a New Project” bar. 3. Click on “MLA” for the citation style 4. Click on “Advanced” for the citation level 5. At the bottom under “Description” give you’re a project a name as follows: Your last name and first name_ Your topic Smith, Sareese_The California Trail 6. Click “Create Project” ADDING DOCUMENTATION 1. Click on “Projects” on the top functions tool bar 2. Click on the title of the project you are working on 3. Scroll down to the “Components” box on the left side 4. Click on “Works Cited” to access the documentation function 5. Under MLA Works Cited, go to the “select a citation type” bar. Then scroll down to find the type of source you want to document. 6. Click “Create Citation” 7. Click “Continue” This will pull up specific, required categories that you need to fill in. Fill in a much as you can find about the sources you use. Not all boxes may be filled in. 8. Fill in the “Annotation” box at the bottom as the directions on page three will describe. 9. Scroll down to the bottom and click the green “Submit” button DESIGNATING ATTRIBUTES AS PRIMARY OR SECONDARY 1. Go to your Works Cited list 2. On the left side, check the source you want to designate 3. Scroll down to the bottom of the page 4. Click on the down arrow on the button titled “Select an attribute” 5. Choose primary or secondary 6. Click on “Apply” (Do this for all your sources.) CREATING NOTECARDS 1. Go to the “Dashboard” button at the top 2. Pull up the your project again on the project page 3. Scroll down to the “Components” box on the left side 4. Click “Notecards & Outline” 5. On the left, click “New Notecard” 6. Fill in the boxes: a. Title: Name of the source b. Source: Click on the arrow and choose the correct one c. URL: Copy and paste in this box d. Tags: Type in categories as you see fit to help organize your research better. e. Direct Quotation box: Use this to copy and paste parts of a source you think you would like to refer back to, quotes you want to use, copies of primary sources, photos, etc. f. Paraphrase or Summary box: Type in a reminder to yourself that tells what the source includes that you think will be useful. g. My Ideas box: Scroll down to find this box. Use this to start composing parts of your project. It can later be copied and pasted into other Google Docs for your theme. h. ALWAYS BE SURE TO CLICK SAVE AT THE BOTTOM WHEN ADDING INFORMATION TO CARDS. You can always go back to your Works Cited page and edit your notecards. SHARING YOUR PROJECT 1. Go to the “Dashboard” at the top 2. Scroll down until you see the box on the left side titled “Sharing and Collaboration” 3. Click on “Sharing project with a teacher’s drop box” 4. In the “Assignment Drop Box” type in 8th Historical Research - Schirtzinger 5. Choose the “8th Historical Research – Schirtzinger” 6. Click on the “Share Project” button 7. You will only need to share your project once. Your teachers will be able to see all changes and additions you make as you work on your project after it has been shared. ANNOTATIONS 1. If you did not include an annotation for each source when you documented it, you need to go back and do this. 2. Go to your Works Cited list and to the right side and click on “edit” 3. Follow these directions for all annotations you write: a. Use full sentences and correct grammar b. Explain all annotations in past tense. This means you need to write these as though your project is finished. So, think of how you will use each source as you continue your research. c. All annotations should be two to five sentences. d. Include this information in each annotation: i. What type of source was used (website, book, newspaper, original letter, photo, magazine, interview, etc.) ii. General information about how this source helped your research iii. How you used the source in your final project CHECKING FOR TEACHER COMMENTS AND MAKING CORRECTIONS 1. Click on “Dashboard” on the top functions tool bar 2. Scroll down to the bottom box titled “Comments” 3. Read the comments and make corrections: a. Go back to your project b. Click on “Bibliography” on the top functions tool bar c. At the right side, click on the “edit” buttons and make needed corrections to the bibliography and annotations e. To make corrections to notecards, click on the notecard column and the word “show” f. Click “edit” and make the needed corrections to the notecard PRINTING YOUR ANNOTATED BIBLIOGRAPHY 1. Click on “Bibliography” on the top functions tool bar 2. Go to the “Sort” box on the right and click on the arrow by the work “alphabetic” 3. Choose “Primary, secondary” 4. Go to the left “Print/export” button and click on the arrow 5. Choose either “Print/export to Word” or “Print/export to Google Docs” 6. Click on “open” 7. Change the words “Works Cited” to “Annotated Bibliography” 8. Save this as “Annotated Bibliography” on Google Doc. 9. Print copies from the file you saved to turn in with your theme when it is due. REMEMBER… This and other information can be found on Mrs. Schirtzinger’s website: WSMSHistory.weebly.com
