Tessellation Reduced Powerpoint
advertisement
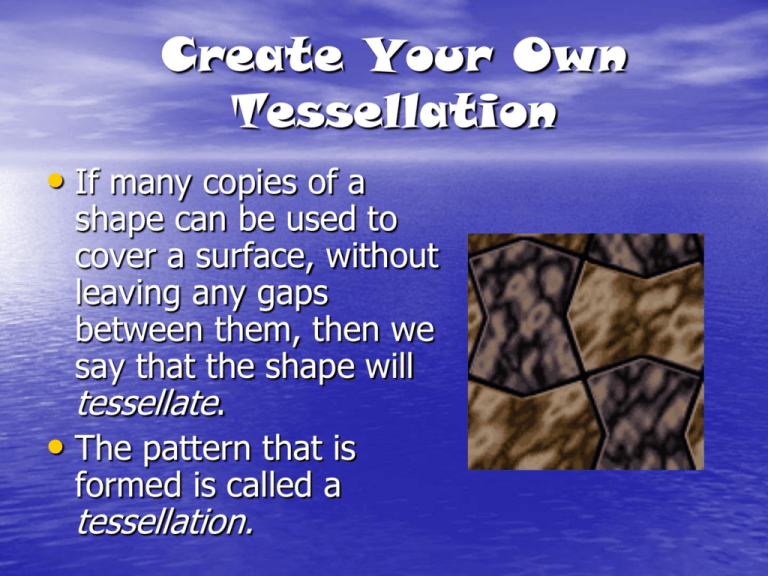
Create Your Own Tessellation • If many copies of a shape can be used to cover a surface, without leaving any gaps between them, then we say that the shape will tessellate. • The pattern that is formed is called a tessellation. Tessellation with Pentominoes Who is famous for tessellations? • A man who is famous • for his art work with tessellation was Maurits Cornelis Escher, from Leeuwarden, Netherlands. The picture on the right is his self-portrait. He said, “My work is a game, a very serious game.” M. C. Escher • Most famous creator of • • • tessellations Born in Holland in 1898 (died in 1972) Originally studied architecture before becoming interested in woodcuts and printmaking Did 137 tessellations in his lifetime Tessellations by M.C. Escher Famous Tessellations • This is one of Escher’s most famous tessellations. It is simply called “Reptiles” Pegasus (Tessellation 105) Transformation are an important part of creating tessellations. *Three Common Transformations *1. Translation, which is a slide of the polygon. *2. Reflection, which is a flip or mirror image of the polygon. *3. Rotation, which is a turn around one vertex of the polygon. Transformations • Geometric shapes Translation Reflection Rotation Glide Reflection can be translated, reflected, rotated, or glide reflected. • These movements of the shapes create a more interesting tessellation design. Translations - a slide this side the alteration moves here Get practice template and try creating a translation…. Reflections - mirror images the alteration flips here Get practice template and try creating a reflection…. Rotations - turns the alteration here rotates around this vertex Get practice template and try creating a rotation... M. C. Escher, Cycle Bulldog (Tessellation 97) Lizard (Tessellation 104) Make Your Own Escher – like Tessellation Example 1 You need to first create a tessellating template. • Step 1: using grid paper cut out a perfect square. • Step 2: with a pencil make a line on two adjacent sides of the square. Be sure not to draw through a corner. • Step 3: cut out the pieces and attach them with tape to the opposite sides from where they came. You have now created your tessellation template. How to make a tessellation template 1 2 3 4 Use your imagination – Can you see the elephant? Seeing a Figure • Looking at your tessellation template, study the sides and the shape to decide what sort of figure you might see. • The person who designed this form saw an elephant and an elf. • Are there any other different forms that you might see? • When looking for the shape be sure not to see too much detail as it can make the art work too crowded. Putting It All Together • Take your tessellation • • • template and trace it on to a piece of paper. When tracing you can use different types of symmetry to change your picture. Be sure that your whole page is filled with a repeating pattern. Color in your picture creatively. Elephants Translation symmetry Elves and Elephants Combinations of symmetry Make Your Own Escher - like Tessellation Example 1 finished Make Your Own Escher – like Tessellation Example 2 Step 1: Start with a simple shape that will tessellate e.g. a rectangle. Step 2: Remove a shape or shapes from one side of the rectangle and fix them to the opposite side. Make Your Own Escher - like Tessellation Example 2 finished Make Your Own Escher – like Tessellation – Example 3 You could start with a hexagon and cut semi-circles from three of the sides and fix them to the opposite sides like this. Make Your Own Escher - like Tessellations – Example 3 Completed Make Your Own Escher – like Tessellations Example 4 Start with a square and cut segments from two sides and fix them to the opposite sides like this. Make Your Own Escher - like Tessellations Example – 4 completed So, as you can see, tessellations are fun to learn about and easier to make than perhaps, you originally thought. Enjoy making your own tessellations!
