Reflashing the Thrive AT100/105
advertisement

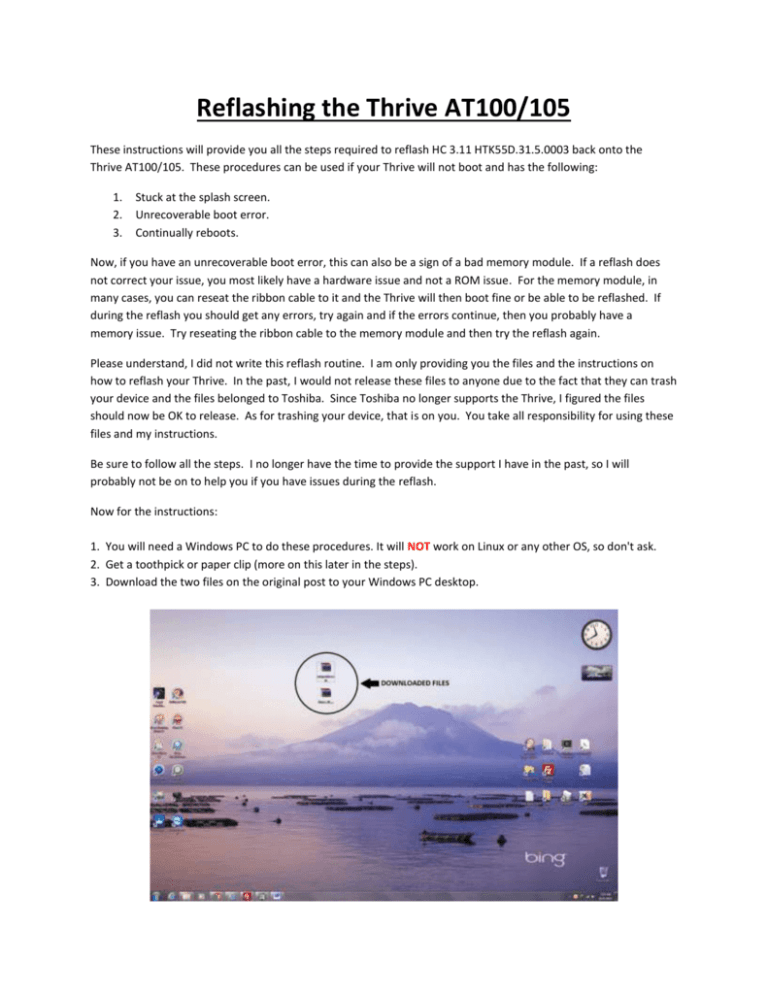
Reflashing the Thrive AT100/105 These instructions will provide you all the steps required to reflash HC 3.11 HTK55D.31.5.0003 back onto the Thrive AT100/105. These procedures can be used if your Thrive will not boot and has the following: 1. 2. 3. Stuck at the splash screen. Unrecoverable boot error. Continually reboots. Now, if you have an unrecoverable boot error, this can also be a sign of a bad memory module. If a reflash does not correct your issue, you most likely have a hardware issue and not a ROM issue. For the memory module, in many cases, you can reseat the ribbon cable to it and the Thrive will then boot fine or be able to be reflashed. If during the reflash you should get any errors, try again and if the errors continue, then you probably have a memory issue. Try reseating the ribbon cable to the memory module and then try the reflash again. Please understand, I did not write this reflash routine. I am only providing you the files and the instructions on how to reflash your Thrive. In the past, I would not release these files to anyone due to the fact that they can trash your device and the files belonged to Toshiba. Since Toshiba no longer supports the Thrive, I figured the files should now be OK to release. As for trashing your device, that is on you. You take all responsibility for using these files and my instructions. Be sure to follow all the steps. I no longer have the time to provide the support I have in the past, so I will probably not be on to help you if you have issues during the reflash. Now for the instructions: 1. You will need a Windows PC to do these procedures. It will NOT work on Linux or any other OS, so don't ask. 2. Get a toothpick or paper clip (more on this later in the steps). 3. Download the two files on the original post to your Windows PC desktop. 4. Unzip both of the files to your Windows desktop. 5. On your Windows PC, open the DEVICE MANAGER. 6. 7. 8. 9. Shut your Thrive AT100/105 off. Take the back cover off your Thrive. Connect your Thrive to your PC via the mini USB port, but leave your Thrive AT100/105 turned off. Look at the back of your Thrive AT100/105 with the camera up. 10. Find the square of black tape below the battery. 11. Locate the small hole below the square of black tape. 12. There is a small switch inside that hole. Using a toothpick or paper clip (see I told you I would get back to it), you need to press and hold that switch. You do not need to press hard. You can feel it depress. 13. While holding the switch in the small hole, press and hold the power button. 14. Let go when you see APX come up in the Device Manager. Note 1: At this point, if you see NVFLASH driver loaded in your Windows Device Manager, you already have the APX drivers loaded. If you see no NVFlash driver or APX, then try the steps again starting with step 12. Same goes if your Thrive AT100/105 boots. Note 2: If all goes well and you see NVFlash loaded or APX in your Windows Device Manager, your Thrive AT100/105 will show a black screen. This is normal. 11. If you see APX, then you will need to load the drivers you downloaded from above. a. Right click on APX in your Windows Device Manager and select UPDATE DRIVER SOFTWARE. b. Select BROWSE MY COMPUTER FOR DRIVER SOFTWARE. c. Click the BROWSE button and then go to the directory where the APX drivers are unzipped onto your Windows PC desktop. Select the second USBPCDRIVER directory and then click the OK button. d. e. f. g. Click The NEXT button. There device drivers will now be loaded to your WINDOWS PC. Please be patient, this can take a while. Once loaded, you can close the windows and should see a NVFlash device loaded under UNIVERSAL SERIAL BUS CONTROLLERS. On your Windows PC desktop, open the folder that contains the flashing files. In your Windows PC desktop folder that contains the flashing files, open the ANTARES-SIGNED-USERMR2-TAIS_Wifi_HTK55D.31.5.0003_20120206 folder. h. i. In the ANTARES-SIGNED-USER-MR2-TAIS_Wifi_HTK55D.31.5.0003_20120206 folder, open the NVF.BAT file. A DOS window will open. Press any key on your Windows PC keyboard. This will begin the reflashing process. No further user input is required. The flashing tool will erase everything off your Thrive AT100/105 and then reflash the boot kernel, recovery, system and storage partitions. Once it has completed, it will then reboot your Thrive AT100/105. Once your Thrive AT100/105 has rebooted, you will have a factory fresh device. You can disconnect your Thrive AT100/105 from your Windows PC and put the back cover back onto your Thrive AT 100/105. You will now have to setup your Thrive AT100/105 the same as when you first took it out of the box. If everything goes as it should, you are now ready to use my root tool to root Your Thrive AT100/105. Once rooted, you can then load any ROM from the Thrive Forums onto your Thrive AT100/105


