Arch
advertisement
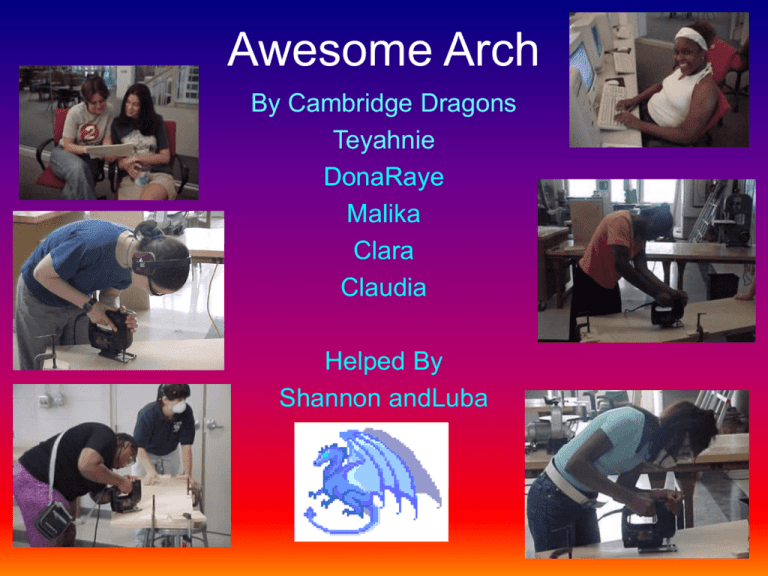
Awesome Arch By Cambridge Dragons Teyahnie DonaRaye Malika Clara Claudia Helped By Shannon andLuba Overview • • • • • • • Goals Design Process Prototypes Final Design Building Math and Science Types of Bridges Goals • Decide on topic and final design • Work as a team • Learn woodshop and computer skills • Finish on or ahead of time • Stay within budget Design Process • Brainstorm • Optical illusions • Amusement park • Bridges • Topic selection • Talk with client • Types of bridges • • • • • Suspension Arch Cable Stay Draw Truss • Research/prototypes Prototype #1 • Paper bridges • Invented different bridges to test strength Prototype #2 • Cardboard • To figure out dimensions relative to exhibit space Prototype #3 • Wood • To experiment with large model • To get accustomed to working with wood Prototype #4 • Foam • To test our own shapes of arches • To prototype the actual bridge Final Design • A flat-topped arch that kids can assemble and walk on • Pictures of famous bridges • Text about the forces acting on bridges Some Bridge Vocabulary • Abutment: A concrete structure used for support at either end of a bridge, receiving the thrust from the ends of an arch. The abutment resists the compression from the arch. • Arch: A curved structure which supports weight at its center by distributing compression down to the ground at its end. • Compression: The effect of a force, which tends to shorten an object in the direction of the force. • Keystone: The central wedge-shaped block at the top of an arch that holds the other pieces in place. • Tension: The effect of a force, which tends to lengthen an object by pulling it apart. Building and Materials • Construction Steps • Sketches and Handdrawings • Learning to use tools • Paper and foam models • Cutting, sanding, assembling, staining pieces • Materials • Maple Appleply wood • Nails, screws and glue • Stains and polyurethane Working in the Woodshop • Transfer design to wood and cut with saber saw. • Assemble pieces with drills and the screw guns. • Hand and power sanding to smooth edges and sides. Final Steps •Attach supports to base. • Color stain each piece. • Build the center template. Math We’ve Learned and Used • Fractions • Drawing to scale • Angles • Volume + Area • Calculated circumference p= 3.14 r= radius Circumference = 2pr Science • Forces • Force = Mass x Acceleration • Tension • Compression • Load • Material Science • Modulus of Elasticity • Failure/Fracture Dimension design using AutoCAD Examples of Bridges • • • • • Arch Suspension Cable Stay Truss Drawbridge Arch Bridge • Can be combined with other types • Each piece of an arch is used to support the load • An arch uses the force of compression Suspension Bridge • Spans long distances over water • Cables act in tension to support the load • Cables connect from the bridge deck to the main cables Cable Stay • Spans long distances • Cables connect from the bridge deck to the towers • Cables act in tension to support the load • Towers act in compression Truss Bridge • Members act in both tension and compression • Triangles are the main shape • Is combined with other bridge styles Drawbridge • Trusses are the main shape • Movable decks to allow ships to pass • Shorter towers used • Spans short distances Special thanx to…..
