Advanced Engineering Design
and Presentation
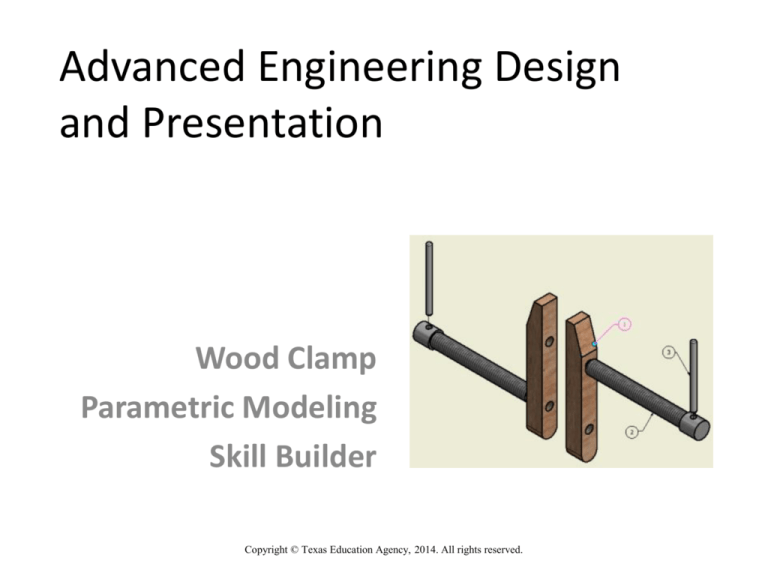
Wood Clamp
Parametric Modeling
Skill Builder
Copyright © Texas Education Agency, 2014. All rights reserved.
Creating a Wood Clamp
• Create it to the specifications given.
• Change the wood to whatever type you prefer.
• Make sure that you use the correct threads on
the screw.
Copyright © Texas Education Agency, 2014. All rights reserved.
2
Layout Page 1
Copyright © Texas Education Agency, 2014. All rights reserved.
3
Layout Page 2
Copyright © Texas Education Agency, 2014. All rights reserved.
4
How to Create the Parts
• Create a folder on your drive for all of the
Wood Clamp parts and assemblies.
• Make sure you save to this folder only!
• The following slides will help you figure out
how to create the parts.
• Part #1 – Jaw
• Part #2 – Screw
• Part #3 – Pin
Copyright © Texas Education Agency, 2014. All rights reserved.
5
Part #1 - Jaw
6
Copyright © Texas Education Agency, 2014. All rights reserved.
Part #1 - Jaw
Draw this and extrude it.
Copyright © Texas Education Agency, 2014. All rights reserved.
7
Part #1 - Jaw
Add fillet to the bottom.
Copyright © Texas Education Agency, 2014. All rights reserved.
8
Part #1 - Jaw
Find centers and add the two holes.
Copyright © Texas Education Agency, 2014. All rights reserved.
9
Part #1 - Jaw
Add screw threads to the hole.
Copyright © Texas Education Agency, 2014. All rights reserved.
10
Part #2 - Screw
Copyright © Texas Education Agency, 2014. All rights reserved.
11
Part #2 - Screw
Draw and then extrude this.
Copyright © Texas Education Agency, 2014. All rights reserved.
12
Part #2 - Screw
Draw and extrude the top.
Copyright © Texas Education Agency, 2014. All rights reserved.
13
Part #2 - Screw
Create a new offset work plane as needed,
draw, then extrude cut or use the hole
command.
Copyright © Texas Education Agency, 2014. All rights reserved.
14
Part #2 - Screw
Add the correct threads.
Copyright © Texas Education Agency, 2014. All rights reserved.
15
Part #3 - Pin
Draw and extrude this.
Copyright © Texas Education Agency, 2014. All rights reserved.
16
Part #3 - Pin
Add the fillet to both ends.
Copyright © Texas Education Agency, 2014. All rights reserved.
17
Assembly
Place parts and constrain them to look like this.
Copyright © Texas Education Agency, 2014. All rights reserved.
18
Make an Exploded View
Make an exploded view by tweaking, moving,
and rotating, to look like this.
Copyright © Texas Education Agency, 2014. All rights reserved.
19
Place the exploded and assembled views onto
layout page #1; add the parts list and balloon
annotations.
Copyright © Texas Education Agency, 2014. All rights reserved.
20
Place the Wood Clamp Jaw, Pin, and Screw onto
layout page #2; add annotations.
Copyright © Texas Education Agency, 2014. All rights reserved.
21
Follow the example and rubric given.
Copyright © Texas Education Agency, 2014. All rights reserved.
22

