DynoRaxx Evolution PR Quick Guide Installation Steps
advertisement
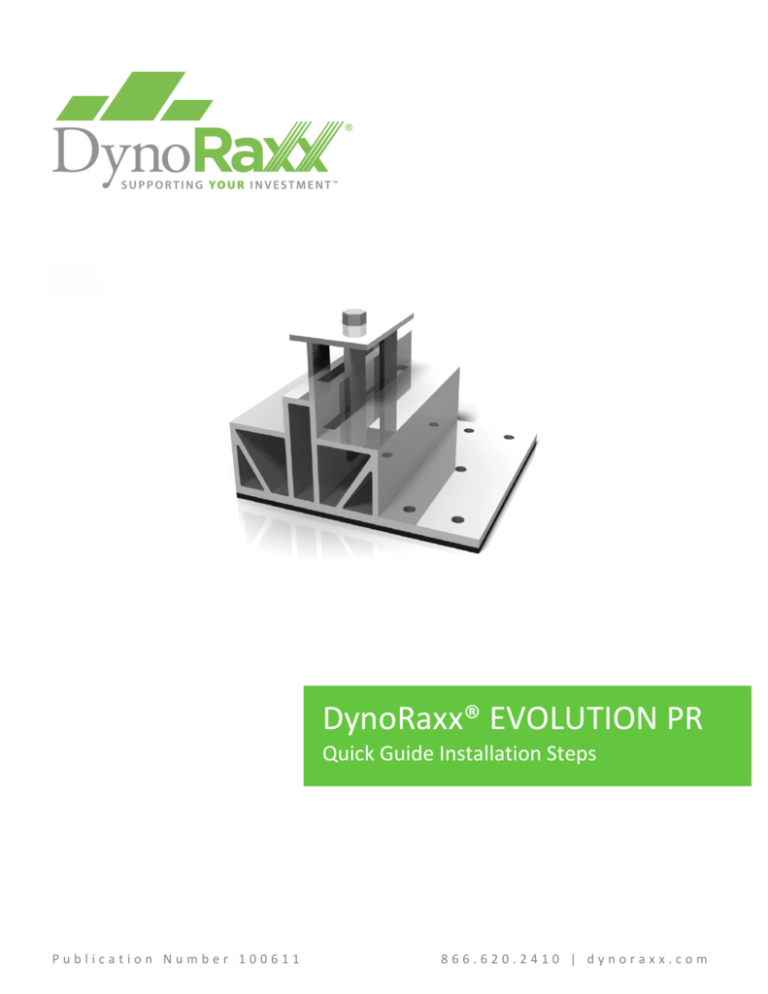
DynoRaxx® EVOLUTION PR Quick Guide Installation Steps P u b l i c a t i o n N u m b e r 1 0 0 6 1 1 8 6 6 . 6 2 0 . 2 4 1 0 | d y n o r a x x . c o m DynoRaxx Evolution PR Quick Guide Installation Steps Installer Responsibilities: Thank you for choosing Evolution PR, a revolutionary technology for Pitched-­‐Roof Racking for PV Mounting. Evolution PR pitched-­‐roof solar racking system is designed and engineered for commercial and residential solar racking applications. The proprietary and patent-­‐pending design allows the solar racking to be installed on all pitched roof systems for a long lasting product life and economical solution. Designed by installers in the field and engineered for optimal performance, Evolution PR will save on installation costs due to its universal design for all PV solar modules. No more cutting various length rails to mount on the roof or having numerous assemblies. Evolution PR offers a clean aesthetic look on the roof and decreased installation time. To insure that the Evolution PR system is installed properly and is functional, it is important to adhere to the following guidelines. A failure to follow the guidelines may void the limited manufacturer warranty on the Evolution PR system. These include: 1. Determining whether the Evolution PR system is appropriate for a particular application or location 2. Ensuring that the building structure, which consists of the roof, its rafters, connections and other components can support the photovoltaic array under all code level loading conditions 3. Using a qualified professional to design the photovoltaic system, and applying all appropriate design parameters in order to insure that all loading requirements are met. These loading requirements include and are not limited to: snow loading, wind speed, exposure, and topographic factors 4. Complying with both local and national building codes, including those that are not listed in this manual 5. Obtaining all required building permits and approvals 6. Insuring that the site of installation is in good condition; that the roof in consideration has a sound water barrier, preventing any leaks 7. Insuring that only approved Evolution PR parts are used, and that all such parts are not visibly damaged at the time of installation 8. Insuring that the electrical systems of the PV system are installed properly in accordance to all local and national code requirements It is important that the correct design parameters are utilized in determining the specific loading design. Please consult a licensed professional engineer to insure that all the loading design parameters comply with local codes. 2 | P a g e 8 6 6 . 6 2 0 . 2 4 1 0 | d y n o r a x x . c o m DynoRaxx Evolution PR Quick Guide Installation Steps Evolution PR Installation Instructions: Evolution PR is easily adaptable to a variety of site plans, allowing flexibility to work around mild obstacles and gives leeway to human error in array alignment. In order to insure as efficient installation as possible, installers should follow these guidelines as close as possible: Step 1: Start by using a chalk line to make a square for your solar array. Be sure to properly align this square within the building zones your project has been approved. Step 2: Starting at one of the bottom corners of the roof, place the Evolution PR within a couple of feet from the edge. Make sure that the fastener holes are pointing north, in order to give the installation a pleasant aesthetic look. 3 | P a g e 8 6 6 . 6 2 0 . 2 4 1 0 | d y n o r a x x . c o m DynoRaxx Evolution PR Quick Guide Installation Steps Step 3: After positioning the Evolution PR, take off the butyl mastic tape and secure its position onto the roof. Taking the TEK self-­‐tapping screws, attach them to the roof through the designated holes. Step 2 Step 1 Step 4: Continuing down the chalk line, attach the next Evolution PR a few feet apart from the first, and secure it to the roof. Repeat this step all the way to the other corner. 4 | P a g e 8 6 6 . 6 2 0 . 2 4 1 0 | d y n o r a x x . c o m DynoRaxx Evolution PR Quick Guide Installation Steps Step 5: Position the first solar module so a ¼ of its length extends beyond the first two bottom bases. After positioning it, place it under the clamps of the Evolution PR. Step 6: Add a new row of Evolution PR bases, approximately in line with the first set. The Evolution PR has channels, allowing for flexibility in positioning. Attach the solar panel under the clamps of these new set of mounts. 5 | P a g e 8 6 6 . 6 2 0 . 2 4 1 0 | d y n o r a x x . c o m DynoRaxx Evolution PR Quick Guide Installation Steps Step 7: Secure the solar panel in place by screwing down the clamps on the base row. Step 8: Repeat steps 5-­‐7 until first column has all modules placed. Make sure to screw down the clamps of the previous row, to properly secure module in place. 6 | P a g e 8 6 6 . 6 2 0 . 2 4 1 0 | d y n o r a x x . c o m DynoRaxx Evolution PR Quick Guide Installation Steps Step 9: When the end of the column has been reached, attach the last set of Evolution PR bases by positioning the deck screw holes under the last module. Attaching the butyl mastic tape to the roof, fasten the last row of Evolution PRs in position, and secure the solar panel under the clamps. Screw down any remaining clamps, insuring that the modules are properly installed. Reversing the position of the deck screws will give a more aesthetically pleasing installation. Step 10: Repeat steps 5-­‐9 for the consequent columns, by attaching new sets of Evolution PRs, solar panels and securing them in place. 7 | P a g e 8 6 6 . 6 2 0 . 2 4 1 0 | d y n o r a x x . c o m
