Linen Napkins - Embroidery Library
advertisement
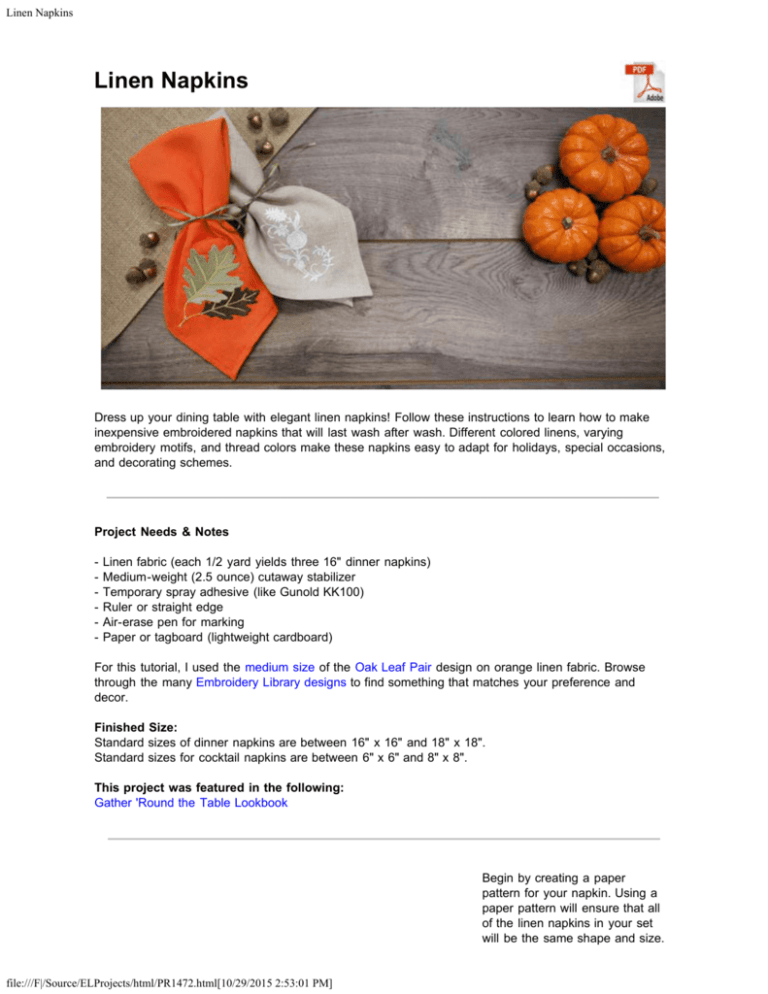
Linen Napkins Linen Napkins Dress up your dining table with elegant linen napkins! Follow these instructions to learn how to make inexpensive embroidered napkins that will last wash after wash. Different colored linens, varying embroidery motifs, and thread colors make these napkins easy to adapt for holidays, special occasions, and decorating schemes. Project Needs & Notes - Linen fabric (each 1/2 yard yields three 16" dinner napkins) Medium-weight (2.5 ounce) cutaway stabilizer Temporary spray adhesive (like Gunold KK100) Ruler or straight edge Air-erase pen for marking Paper or tagboard (lightweight cardboard) For this tutorial, I used the medium size of the Oak Leaf Pair design on orange linen fabric. Browse through the many Embroidery Library designs to find something that matches your preference and decor. Finished Size: Standard sizes of dinner napkins are between 16" x 16" and 18" x 18". Standard sizes for cocktail napkins are between 6" x 6" and 8" x 8". This project was featured in the following: Gather 'Round the Table Lookbook Begin by creating a paper pattern for your napkin. Using a paper pattern will ensure that all of the linen napkins in your set will be the same shape and size. file:///F|/Source/ELProjects/html/PR1472.html[10/29/2015 2:53:01 PM] Linen Napkins Decide how large you want to make the napkins. Add 1" to the height and width for seam allowances. Draw a square that size on the paper or tagboard. Cut out the shape. In this example, the linen napkin will be 16" x 16" so I made a paper pattern 17" x 17". Place the paper pattern on the linen and trace the shape. Leave at least 1" of excess fabric around the square. Prepare the fabric for embroidery (here we are stitching in the corner of the napkin). Spray cutaway stabilizer with temporary adhesive. Smooth the linen fabric on top. In this example, the corner of the linen is angled so that it points down to one end of the stabilizer. This will usually be necessary when embroidering on a corner, so that the maximum amount of fabric will be hooped, and the design angled properly. file:///F|/Source/ELProjects/html/PR1472.html[10/29/2015 2:53:01 PM] Linen Napkins Draw a line from the corner up to the opposite corner. This line will be used for design placement and hooping. A template is a printout of the design, and it's an excellent tool for planning where to stitch. Print a template of the design from your embroidery software. If you do not have embroidery software to print templates, try Wilcom's TrueSizer, a free program. Place the template of the design on the napkin, aligning the center point of the design with the line that you drew on the fabric. That is the vertical axis line. Mark the center point and the horizontal axis line, too. Make sure there is at least 1" between the edges of the design and the outer edges of the square. Hoop the fabric and stabilizer together, lining up the marks on the fabric with the marks on the hoop. Attach the hoop to the machine and move the hoop so the needle is right over the center point. file:///F|/Source/ELProjects/html/PR1472.html[10/29/2015 2:53:01 PM] Linen Napkins Embroider the design. After embroidering, trim the excess stabilizer away from the back. Cut out the square shape. file:///F|/Source/ELProjects/html/PR1472.html[10/29/2015 2:53:01 PM] Linen Napkins Fold all of the edges over 1/4" to the wrong side and press with an iron. Fold all of the edges over again 1/4" and press. Unfold the edges and draw a line on each corner connecting the fold lines. Trim each corner along the lines you just drew. Here's a closer look at where to trim the corner. file:///F|/Source/ELProjects/html/PR1472.html[10/29/2015 2:53:01 PM] Linen Napkins Fold each corner 1/4" to the wrong side along the newly cut edge and press. Fold the edges over along the existing pressed folds and press again. Doing this will create mitered corners. Sew a seam along the entire inner edge of the folds on the backside of the napkin to complete. file:///F|/Source/ELProjects/html/PR1472.html[10/29/2015 2:53:01 PM] Linen Napkins In this example, the smallest size of the Woodland Whitework Spray design was embroidered onto tan linen for an elegant look. Varying the linen colors, embroidery shapes and sizes, and thread type will give each napkin a distinct look to match your decorating scheme. In this example, a strip of burlap was added to the edge, and it brings a wonderful textured look to the table. This table setting also features one of the in-the-hoop silverware holders. To learn how to make these, click here. A set of linen napkins will instantly add an elegant look to your dining table. Make for special occasions and holidays, or create a simple set for everyday use. file:///F|/Source/ELProjects/html/PR1472.html[10/29/2015 2:53:01 PM] Linen Napkins Questions or comments? Let us know! Send an email to us; the address is stitch@emblibrary.com. file:///F|/Source/ELProjects/html/PR1472.html[10/29/2015 2:53:01 PM]
