Sample
advertisement
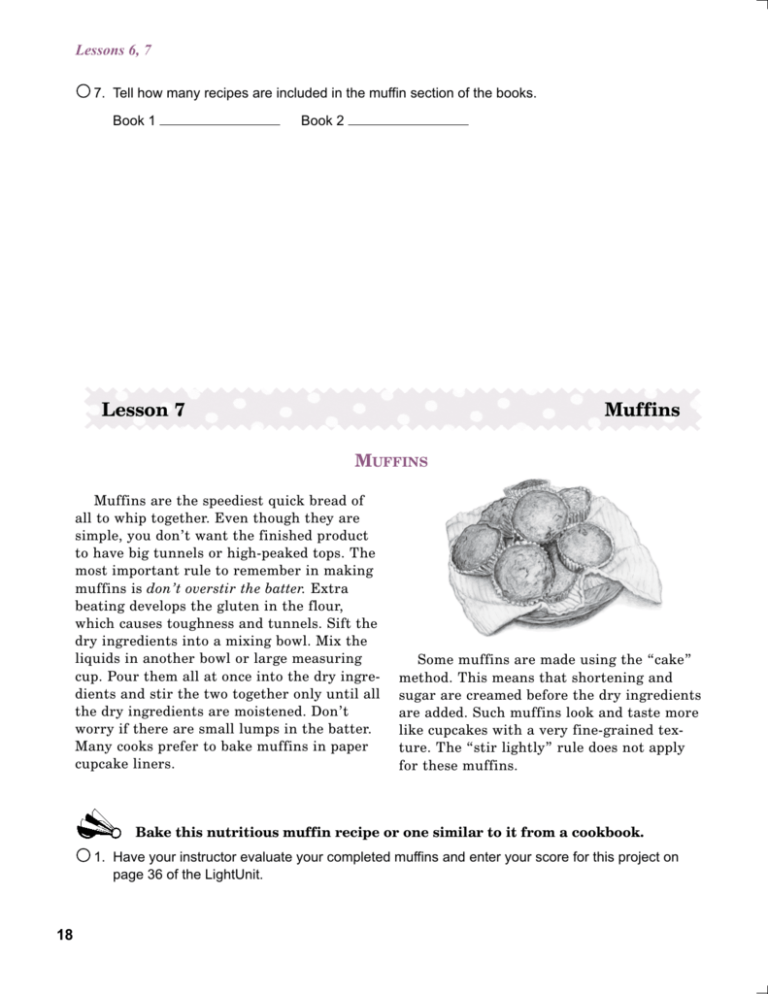
Lessons 6, 7 7. Tell how many recipes are included in the muffin section of the books. Book 1 Book 2 Lesson 7 Muffins MUFFINS Muffins are the speediest quick bread of all to whip together. Even though they are simple, you don’t want the finished product to have big tunnels or high-peaked tops. The most important rule to remember in making muffins is don’t overstir the batter. Extra beating develops the gluten in the flour, which causes toughness and tunnels. Sift the dry ingredients into a mixing bowl. Mix the liquids in another bowl or large measuring cup. Pour them all at once into the dry ingredients and stir the two together only until all the dry ingredients are moistened. Don’t worry if there are small lumps in the batter. Many cooks prefer to bake muffins in paper cupcake liners. Some muffins are made using the “cake” method. This means that shortening and sugar are creamed before the dry ingredients are added. Such muffins look and taste more like cupcakes with a very fine-grained texture. The “stir lightly” rule does not apply for these muffins. Bake this nutritious muffin recipe or one similar to it from a cookbook. 1. Have your instructor evaluate your completed muffins and enter your score for this project on page 36 of the LightUnit. 18 Lesson 7 HONEY WHOLE WHEAT MUFFINS 1 c sifted flour 2 t baking powder ½ t salt ½ c unsifted whole wheat flour ½ c raisins 1 t grated orange peel, optional ½ c milk 1 egg, well beaten ¼ c vegetable oil ½ c honey Preheat oven to 400°. Grease 12 muffin pan cups, or line each muffin cup with a paper liner. Sift all-purpose flour with baking powder and salt into a mixing bowl. Stir in the whole wheat flour. Mix well. Stir raisins and orange peel into flour mixture. Combine milk, egg, oil, and honey in another bowl. Beat until well mixed. Make a well in center of dry ingredients. Pour in liquids all at once; stir quickly just until dry ingredients are moistened. Do not beat. The batter will have lumps in it. Quickly dip batter into muffin pan cups, filling not quite two-thirds full. Bake 20 to 25 minutes or until nicely browned. Loosen the edges of muffins with spatula. Place on rack to cool. Best when served warm. Makes 12 muffins. 19 Lesson 8 Biscuits BISCUITS Biscuits are often leavened with baking powder. Sometimes cream of tartar or soda is used. While they are fairly simple to make, you need to follow instructions carefully if they are to turn out yummy, with the proper flakiness. Most biscuits use a solid shortening, though some use oils. Instructions may call for you to mix the dry ingredients and “cut in” the shortening. To do this, use a pastry blender, the tongs of a fork, or two table knives. It should be done when the shortening is cold, and then baked soon thereafter because using cold shortening helps achieve flakiness. An important rule for making biscuits is do not overhandle the dough. After mixing the dry ingredients, cut in the shortening until it is in fine pieces and spread evenly Bake these basic biscuits. through the dough mixture, then stop. After adding the milk, work the dough only as much as needed to get it ready to roll out. The less you handle the dough unnecessarily, the better your biscuits will turn out. If your recipe does not specify a thickness, roll biscuits out about ½-inch thick on a lightlyfloured countertop or baking board. If you prefer thinner biscuits, you may need to decrease baking time so that they don’t get overdone. Some biscuits are designed to be “drop biscuits,” where instead of rolling them out, you drop spoonfuls of dough onto a greased baking sheet. Use a light colored cookie sheet or baking pan for best results. Darker sheets will result in darker and harder crusts on your biscuits. 1. Have your instructor evaluate your completed biscuits and enter your score for this project on page 36 of the LightUnit. 20 Lessons 8, 9 BASIC BISCUITS 2 c flour 4 t baking powder ½ t salt 4 T shortening ¾ c milk Combine dry ingredients. Cut in the shortening until it forms fine, uniform pieces throughout the mix. Add milk in small amounts and stir with a fork until the dough is soft. If dough is still too crumby to roll out, add a tablespoon more at a time. Roll the dough into a ½-inch thick sheet and use a biscuit cutter to cut out biscuits. Knead leftover pieces of dough together, roll out, and cut again. Place biscuits on a greased baking sheet. Bake at 425° for 10-14 minutes. Use a metal spatula to remove from the baking sheet immediately and place into a dish covered with a decorative cloth. Serve with butter or margarine and your favorite jam or jelly, or with your favorite gravy. Lesson 9 Quick Loaf Breads QUICK LOAF BREADS These breads are often called tea breads because they were often served at teatime in English households. They are close relatives to muffins. They are usually sweet and contain fruits or nuts or both. Cracks in the top of tea bread are fairly typical, so don’t be disturbed if they develop in the tea breads you bake. Tea breads are not served hot. They are very difficult to slice until they are cold. In fact, they are much easier to slice and have a richer flavor if you let them stand overnight. After allowing them to cool (on a rack) you can wrap them in foil, plastic wrap, or put them into plastic bags and freeze. Let them thaw, still wrapped, at room temperature before you attempt to slice them. Tea breads are a nutritious after-school snack, a special treat at breakfast, or a simple dessert for lunch or dinner. 21 Lesson 9 Bake this special tea bread. 1. Have your instructor evaluate your completed tea bread and enter your score for this project on page 36 of the LightUnit. BANANA OATMEAL BREAD ½ c shortening 1 c sugar 2 eggs ½ t vanilla 1 c flour 1 c quick oatmeal 1 t baking soda ½ t salt ½ t cinnamon 1 ½ c mashed banana (3 medium) ¼ c milk ½ c chopped nuts Preheat oven to 350 degrees. Cream shortening and sugar. Add eggs and vanilla. Beat until fluffy. In another bowl, stir together flour, oats, soda, salt, and cinnamon. Add ½ c of flour mixture to creamed mixture; then add ½ c banana; then another ½ c of flour mixture; another ½ c banana; another ½ c of flour mixture; the last of the banana; the rest of the flour mixture; then the milk. Mix on low speed until the dough is well blended. Fold in nuts with a rubber spatula. Grease a 9″ × 5″ loaf pan. Bake for 50-60 minutes. A cake tester inserted in the middle of the loaf should come out clean and the loaf should be beginning to pull away from the sides of the pan. Remove from pan and cool on wire racks. 22 Lesson 10 Review REVIEW There is no Quiz 2 for this LightUnit. Instead, your baking projects in this section will count for your Section 2 grade. Do these Looking Back exercises to review some of what you learned in this section. LOOKING BACK . . . Lesson 6 Complete the sentences. 1. The first breads made were likely many Central Americans make. breads, such as 2. The leavening agent for earlier batch of bread. that bread is a starter that is kept from the sponge of an 3. The four categories of quick breads are , and , . , 4. Most quick breads rise because of the carbon dioxide produced by a chemical reaction of and liquid, or between and an as buttermilk or sour cream. such Lesson 7 5. The most important rule in making muffins is “Don’t 6. The three basic steps for mixing muffin ingredients are 1) mix the in a bowl. 2) mix the in another bowl. 3) pour the ingredients into the .” ingredients ingredients and stir only until the dry ingredients are moistened. 7. Some muffins are more like cupcakes: these use the cake method, which involves the sugar and ingredients. together and then adding the dry Lesson 8 8. The leavening agent in biscuits is often or . 9. The most important rule for making biscuits is “Don’t , though some may use .” 23 Lesson 10, 11 Lessons 10. Shortening may be to the dry ingredients with a pastry blender. 11. The three basic steps to mixing biscuit ingredients are 1) mix 2) cut in the Lesson 9 , and 3) add 12. Tea breads are usually sweet and contain 13. Tea breads often have They should be ingredients, and knead briefly. or . in the top and are difficult to slice until they are cold. or even frozen and thawed before slicing and serving. SECTION 3 Yeast Breads Section Objectives Read these objectives. When you finish this section, you will . . . – be able to bake yeast breads. – be ready to branch out in baking various specialty breads. Lesson 11 Yeast Breads YEAST BREADS 24 Yeast breads are the reigning monarchs of the bread realm. There’s nothing quite like the smell of freshly baked bread. Basic white or whole wheat bread is usually the mainstay for family meals, peanut butter and jelly snacks, and lunch sandwiches. There is an amazing variety of yeast breads, including dinner rolls, sweet rolls, and doughnuts. You Lesson 11 can make yeast breads with a variety of flours in many combinations. Don’t be discouraged if your first loaf of yeast bread isn’t perfect. Keep practicing. Before you know it, your fingers will be educated to know just how to knead the right amount of flour into a perfect ball of dough that will make a delectable loaf of bread. The art of yeast bread making has a vocabulary and a series of steps all its own. Read these terms and their descriptions. Then read the directions for making yeast bread. In the next lessons, you will be following these directions. Terms Yeast is a living plant that feeds on the sugar in the dough to produce the gas that makes yeast dough rise. The plant is so small that if 4,000 yeast cells were placed side by side, they would measure a mere inch! Yeast is all around us in the air and in the ground. The yeast used in bread making is now scientifically grown. The selected yeast is planted and fed until the quality is perfected for consumers. Such yeast assures consistency in bread making. Liquids may be either milk or water or a combination of the two. Using all water in dough produces bread with a wheatier flavor and crisper crust. Using all milk in dough results in a bread with a more velvety grain and creamy white crumb. It keeps better and toasts better. It also has more nutrients and more calories. Sweeteners are essential to feed the yeast. Sugar is the usual sweetener, although honey, molasses, or corn syrup may be used. Honey and syrups are used most often in whole grain breads. Sugar adds a subtle sweetness and encourages a golden crust. Salt is important to control the action of the yeast. It may seem of little consequence since such a small amount is used; but forget to put it in just once and the flat tasting bread will convince you that it is necessary. Salt helps to bring out the flavors of the other ingredients. Shortening is included in all yeast doughs. It gives the dough elasticity, adds flavor, helps develop a crisp crust with an attractive sheen, and prolongs freshness. Eggs may or may not be included in yeast bread recipes. When they are used, they make the texture fine and delicate. They add extra flavor, richness, and color. They add nutrients and help produce a golden brown crust. Directions 1. Dissolve the yeast. Regular yeast needs to be dissolved in a lukewarm liquid. Too much heat kills yeast—that’s what stops the baking bread from rising more in the oven. To test for lukewarm, drop a little of the liquid on your arm. If it feels neither cold nor hot, it is lukewarm. The temperature should be between 105-114 degrees. A small amount of water is usually used to dissolve the yeast. If you use instant yeast, skip this step and add it directly to the flour in Step 2. 2. Mix the ingredients with part of the flour. You can use an electric mixer or you can beat the ingredients together by hand. The mixture should be beaten hard with a wooden spoon in a large bowl. Gradually add more flour until a ball of dough is formed. You may need to finish mixing in the flour with your hands. 3. Knead the dough. Kneading is the process of rubbing dough against itself to blend all the ingredients. It is a way of adding more flour to dough than you can stir in with a spoon. It makes the dough smooth and even-textured. The most important purpose of kneading is to work and stretch the gluten in the flour. It forms the elastic framework for trapping carbon dioxide gas. As you knead, dough becomes smooth, soft, and tender. For most breads, kneading takes eight to ten minutes. If you knead much longer than that, the bread will be coarse with an uneven texture. Follow these instructions for kneading: 25 Lesson 11 1. Place the ball of dough on a lightly floured breadboard or tabletop. Flour your hands to keep them from sticking to the dough. 2. Flatten the dough lightly by pressing firmly down on the ball of dough. 3. With fingers of both hands, fold dough over on itself toward you. 4. Push the ball away from you with the heel of your hands. 26 5. Grasp the dough with both hands and turn the ball ninety degrees. 6. Repeat steps 2 through 5 rhythmically, in a rocking motion, until the dough feels smooth and elastic. Sprinkle a little flour onto your hands and the kneading surface when the dough becomes sticky. Use only enough flour to keep your hands from sticking to the flour. Handle the dough with firmness and knead it vigorously. A few weak pokes at the dough will not produce good bread. Don’t be afraid to use some muscle power when you knead bread. Kneading is an especially enjoyable part of bread making. You will feel the heavy lump of dough turn into a smooth, elastic ball under your fingertips. It is a satisfying accomplishment. 4. Allow the dough to rise. This is a resting period for you. Pour a tablespoon or two of oil in a large clean mixing bowl. With your fingers or a paper towel spread it around the bottom and sides of the bowl. Place the kneaded ball of dough in the pan, swirl it a bit in the oil, and turn it over. This insures that the top will not dry out during rising. Cover the bowl with a clean kitchen towel and keep it away from drafts. Lesson 11 Yeast dough rises best at a temperature between 80 and 85°F. Unless you are baking on a hot summer day in an un-air-conditioned kitchen, your kitchen is not that warm. You will need to find a warm place for it to rise slowly and steadily. Putting the dough directly on top of a radiator or hot air register may kill the yeast from excessive heat. A sunny spot inside a window might be just the place for it. Or place the dough in an unheated oven with a large pan of hot water placed on the shelf beneath. Or set the bowl in a large pan of water that is just hot enough to feel comfortable to your hand. Make sure the water is not too hot. You don’t want to waste all your work by killing the yeast now. Bread will rise at room temperature, especially if covered, but will not rise as quickly as it would if placed in a warmer spot. Most recipes call for letting the dough rise until it is doubled in bulk. To test for that, press two fingers into the dough up to the first knuckle. Pull them out quickly. If the indentation remains, the dough is ready for the next step. 5. Punch the dough down. This procedure releases some of the gases in the dough. It breaks up big gas pockets into smaller ones and provides fresh oxygen for the yeast cells to breathe. To punch down, punch your fist into the center of the dough and watch it collapse. Pull in the dough from the sides of the bowl and knead them into the center. Turn the dough out onto the work surface that has been lightly floured. 6. Shape the dough into loaves. The dough has changed drastically. It is warm and lovely and light to handle. It feels pliable and springy under your hands. Let it rest for about 10 minutes on the work surface; then it will be ready to shape into loaves. Shaping perfect loaves of bread comes with practice and experience. Your goal is a gently rounded loaf of bread that is symmetrical, not lopsided. You want a smooth, uniform surface and a fine, even texture. If you are making more than one loaf of bread, cut cleanly through the dough with a large sharp knife to make two or more small lumps of dough of the same size. Take one piece of dough in your hands and gently shape it into an oblong about 9 × 8 × 1 inches. Starting at an 8-inch side, roll the dough toward the other side. Gently push the dough together as you roll. Pinch the edge of the dough to the roll to seal it together. You should now have an even roll of dough, and if you did not use too much flour on the work surface, it will stick together. Place it in a greased bread pan and repeat the process with the 27 Lesson 11 remaining lumps of dough. 7. Allow to rise again. Cover the pans of dough and let them rise again in a warm place. Some recipes may tell you to let the dough rise until double in bulk; others specify a certain amount of time for it to rise. 8. Bake. After the dough has risen in the pans, it is ready to bake. Place the pans in the center of a preheated oven. Allow air space between the pans and sides of the oven so that they rise and bake evenly in the oven. Set the timer for the specified time and relax. Resist the temptation to open the oven door until the last five or ten minutes of the baking time to keep the temperature consistent in the oven. 28 9. Test for doneness. Using potholders, remove that beautiful golden-brown loaf of bread from the oven and tip it out of the pan. It should slide out easily and feel light in weight. It should be slightly darker on the top than on the sides. Tap the bottom gently with your knuckles. It should sound hollow when you tap it. If you stick a cake tester in the bottom of the loaf, it should come out clean. If the bread does not seem done, return it to the pan and then to the oven for a few minutes. There’s More Than One Way to Do It As with most things homemakers or bakers do, there is more than one way to knead bread. Some homemakers knead in a mixing bowl, using small amounts of oil to keep the dough from sticking to their hands or the bowl. 10. Remove loaves from the pans. Bread should be removed from pans as soon as it is out of the oven. Slide the loaf into your hand (covered with a potholder, of course), and place it on a rack. Leave space between the loaves for air circulation. If you like bread with a softer crust, loosely lay a kitchen towel over it after it has cooled for about 15 minutes. It should be cooled completely before wrapping or bagging for storage. Storing baked goods Homemade breads and rolls don’t have the chemical preservatives of commercially made bakery items, so they will stale and mold more quickly. Once they have cooled, wrap them in foil or plastic wrap or put them into plastic bags. They will keep for several days, but may be frozen and kept for up to three or four months. Defrost at room temperature. Bread and rolls warmed gently in the microwave will have a just-baked taste. If you freeze bread, it will keep better if it is double-wrapped in plastic to keep out moisture and prevent freezer burn.
