TX3 Power Supply Voltage Selection

In no event shall Mircom be liable for any direct, indirect or consequential damages, loss of anticipated profits, loss of time or any other losses incurred by the buyer in connection with the purchase, installation or operation or failure of this product.
Important:
Mircom recommends that the entire system be completely tested on a regular basis. However, despite frequent testing, and due to but not limited to criminal tampering or electrical disruption, it is possible for this product to fail to perform as expected.
TX3 Power Supply Voltage Selection
TX3 Power Supply Voltage Selection
These instructions explain how to set the voltage on the Switching Power
Supply for the TX3 Touch Screen to 230 Volts from 115 Volts.
1. Turn off the TX3 unit and disconnect all power from the TX3 unit and from the Switching Power Supply.
!
Attention: The power must be turned off before the
Switching Power Supply is accessed.
Failure to due so may result in damage to the equipment or electric shock that can lead to death.
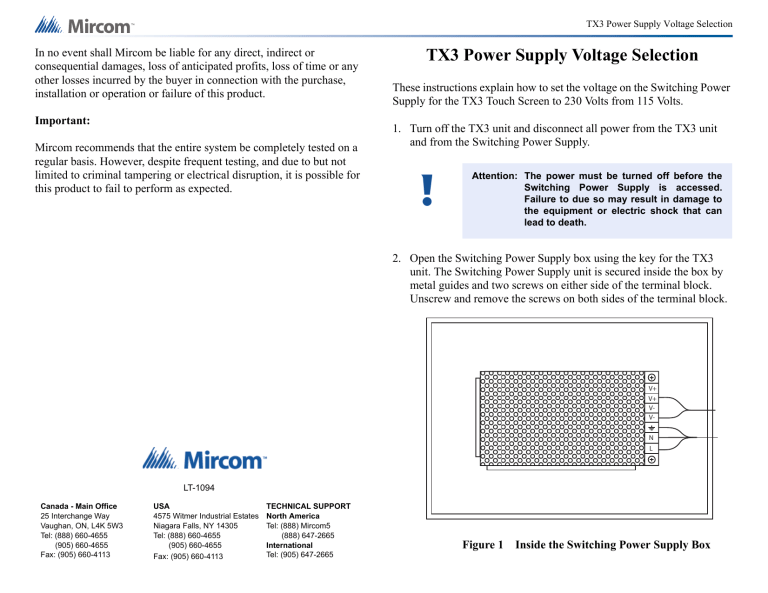
2. Open the Switching Power Supply box using the key for the TX3 unit. The Switching Power Supply unit is secured inside the box by metal guides and two screws on either side of the terminal block.
Unscrew and remove the screws on both sides of the terminal block.
N
L
V+
V+
V-
V-
Canada - Main Office
25 Interchange Way
Vaughan, ON, L4K 5W3
Tel: (888) 660-4655
(905) 660-4655
Fax: (905) 660-4113
LT-1094
USA
4575 Witmer Industrial Estates
Niagara Falls, NY 14305
Tel: (888) 660-4655
(905) 660-4655
Fax: (905) 660-4113
TECHNICAL SUPPORT
North America
Tel: (888) Mircom5
(888) 647-2665
International
Tel: (905) 647-2665
Figure 1 Inside the Switching Power Supply Box
3. Lift the Switching Power Supply unit out of its box to access the red voltage selection switch.
4. Switch the voltage selection switch to the required voltage level.
Place a slot screwdriver in between one of the holes in the chassis to access the switch. By default it is set to 115 Volts.
Notes:
TX3 Power Supply Voltage Selection
Figure 2 Power Supply Voltage Selection Switch
5. Place the Switching Power Supply back into the box using the metal guides to position it and then replace the screws on both sides of the terminal block to secure it into the box.
6. Reconnect the power and turn on the TX3 unit.


