Safety instructions
advertisement
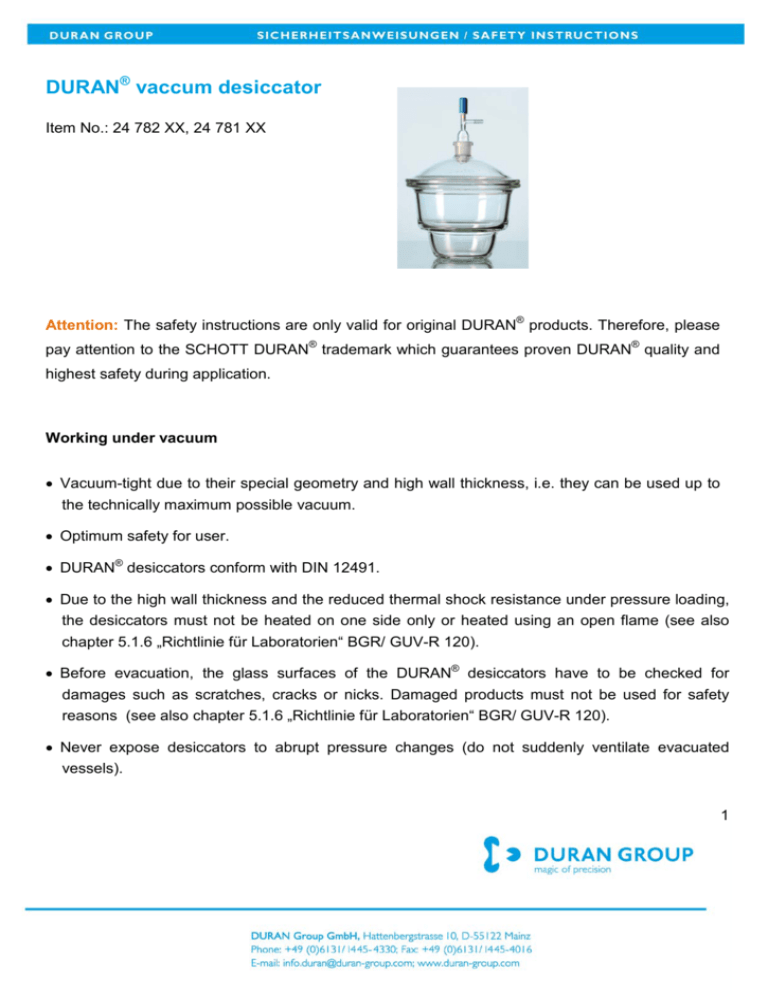
DURAN® vaccum desiccator Item No.: 24 782 XX, 24 781 XX Attention: The safety instructions are only valid for original DURAN® products. Therefore, please pay attention to the SCHOTT DURAN® trademark which guarantees proven DURAN® quality and highest safety during application. Working under vacuum • Vacuum-tight due to their special geometry and high wall thickness, i.e. they can be used up to the technically maximum possible vacuum. • Optimum safety for user. • DURAN® desiccators conform with DIN 12491. • Due to the high wall thickness and the reduced thermal shock resistance under pressure loading, the desiccators must not be heated on one side only or heated using an open flame (see also chapter 5.1.6 „Richtlinie für Laboratorien“ BGR/ GUV-R 120). • Before evacuation, the glass surfaces of the DURAN® desiccators have to be checked for damages such as scratches, cracks or nicks. Damaged products must not be used for safety reasons (see also chapter 5.1.6 „Richtlinie für Laboratorien“ BGR/ GUV-R 120). • Never expose desiccators to abrupt pressure changes (do not suddenly ventilate evacuated vessels). 1 • When used under positive or negative pressure, and especially when also working with differential temperatures, additional care measures must be taken. • Glass apparatus that is under pressure or vacuum should only be subject to further strain (e.g. significant temperature change) with extreme caution, as the individual resulting stresses are additive and could readily result in failure. • Due to the high wall-thickness of the vessels and the exact machining of the vacuum-tight ground joints on the lid and base, storage under vacuum is possible - even over extremely long periods. • Before using, the ground joints must be well greased with appropriate joint grease. DURAN® desiccator: Instructions for use Step 1 Check surface for scratches, etc. Step 2 Fill with dry powder (not supplied). 2 Step 3 Step 4 Insert desiccator plate (not supplied). Available in porcelain or stainlesssteel. Step 5.1 Grease and position lid with junction tube. Step: 5.3 Insert sample vessel (not supplied). Step 5.2 Grease stopcock and insert. Step 6: 3 Connect hose, open stopcock, connect pump and create vacuum, close stopcock. To open the stopcock, turn slightly; allow air to enter slowly. After pressure equalisation carefully push the lid until it moves. 4

