Lab -- Introduction to Magnetic Fields
advertisement
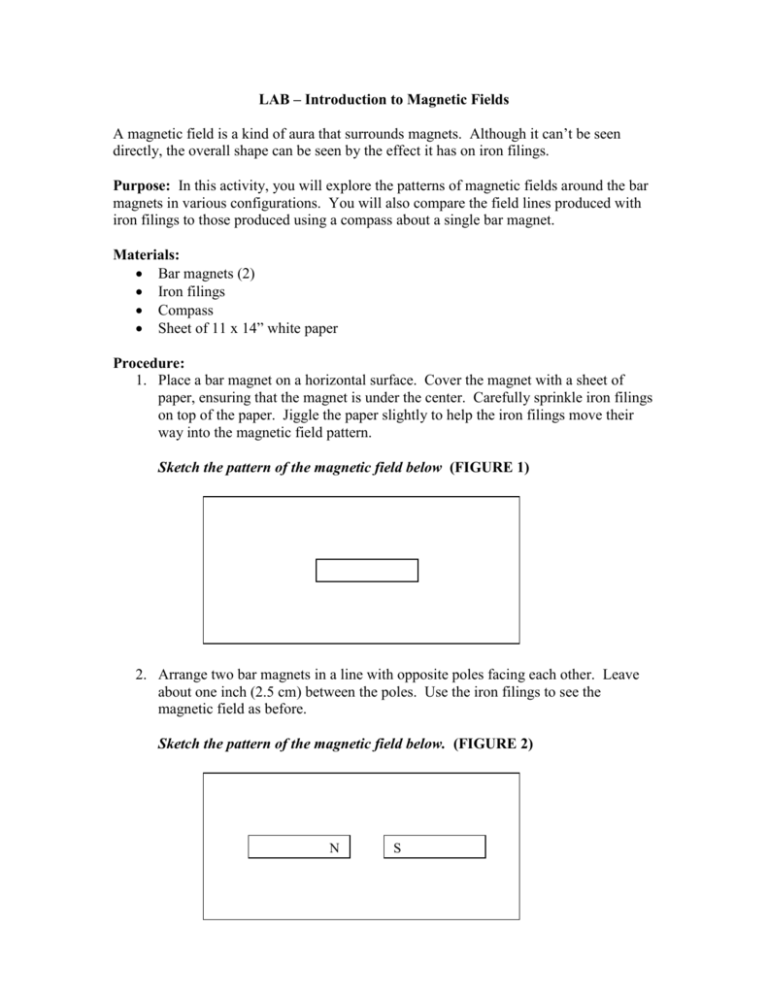
LAB – Introduction to Magnetic Fields A magnetic field is a kind of aura that surrounds magnets. Although it can’t be seen directly, the overall shape can be seen by the effect it has on iron filings. Purpose: In this activity, you will explore the patterns of magnetic fields around the bar magnets in various configurations. You will also compare the field lines produced with iron filings to those produced using a compass about a single bar magnet. Materials: Bar magnets (2) Iron filings Compass Sheet of 11 x 14” white paper Procedure: 1. Place a bar magnet on a horizontal surface. Cover the magnet with a sheet of paper, ensuring that the magnet is under the center. Carefully sprinkle iron filings on top of the paper. Jiggle the paper slightly to help the iron filings move their way into the magnetic field pattern. Sketch the pattern of the magnetic field below (FIGURE 1) 2. Arrange two bar magnets in a line with opposite poles facing each other. Leave about one inch (2.5 cm) between the poles. Use the iron filings to see the magnetic field as before. Sketch the pattern of the magnetic field below. (FIGURE 2) N S 3. Arrange two bar magnets in a line with north poles facing each other. Leave about an inch between the poles. Use the iron filings to reveal the magnetic field as before. Sketch the pattern of the magnetic field below. (FIGURE 3) N N 4. Sketch the magnetic field lines using a compass (FIGURE 4) a. Draw the outline of a bar magnet in the center of a large sheet of 11 x 14” paper, labeling the north and south poles b. Place a small compass near one end of the magnet. Make a dot on the paper at each end of the compass needle. c. Move the compass away from the magnet in a direction parallel to the needle. Position the compass so that the trailing end of the needle is now located at the dot you made before at the leading end. Make another dot on the paper at the leading end of the compass needle, and move it again so that the trailing end of the needle is located at this dot. d. Continue moving the compass until you either reach the edge of the paper or return to the magnet at another point. Connect all the dots with a smooth line (this is called a line of force). e. Repeat this process of moving the compass and making dots, starting at a different point. Draw another line connecting these dots. Continue this process until you have drawn at least five (5) lines on each side of the magnet and at both ends, for a total of at least twenty (20) lines. Conclusion Questions: 1. A magnetic field is strongest where it ha the most lines of force. Where is the field strongest around the magnet? 2. Do any of the lines of force sketched in Fig. 1, 2, 3 or 4 cross each other? 3. How do the sketches of Figure 1 and Figure 4 compare? 4. Sketch the pattern for the magnetic field for the following: a. S S b. N SS S N S Does this pattern show attraction or repulsion field lines? [Circle one] c. N S S N N Does this pattern show attraction or repulsion field lines? [Circle one] 5. A single bar magnet has 5 paper clips hanging off of the north pole side. What pole is induced in the bottom most side of the paper clip, north or south? Draw a sketch and label north and south poles for the bar magnet and each of the paper clips.
