Wireless keyboard
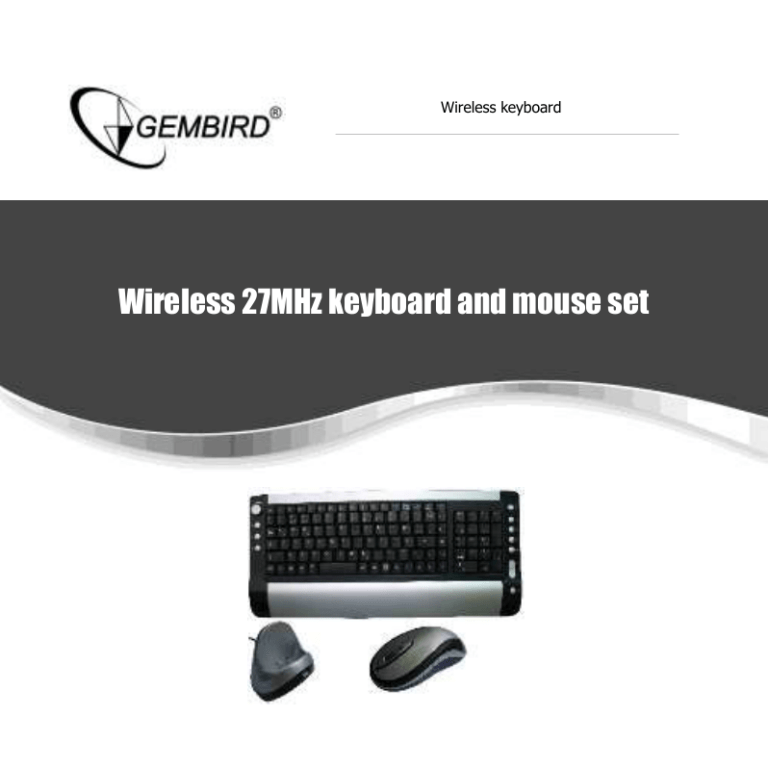
Wireless 27MHz keyboard and mouse set
Wireless keyboard
Wireless keyboard
Disclaimer
We spared no efforts to make sure that the information in this manual is correct and
complete. However no liability is accepted for any errors or omissions. Gembird
Electronics reserves the right to change the specifications of the hardware and
software described in this manual without prior notice.
No part of this manual may be reproduced, transmitted or translated in any language
in any form, by any means, without the prior written permission of Gembird
Electronics Ltd.
Gembird Electronics makes no warranties for damages resulting from corrupted or
lost data due to a mistaken operation or malfunction of the product, the software,
personal computers or peripheral devices.
Gembird® is a registered trademark of GMB Tech (Holland) bv.
Other names or products not mentioned above may be registered trademarks or
trademarks of their respective owners.
Copyright © 2007 Gembird Electronics Ltd. All rights reserved.
Wireless keyboard
KBS-61502 User manual
Introduction
Thank you for buying the Gembird® wireless 27MHz keyboard and mouse set! This
manual will help you install and use it properly.
Wireless keyboard
Features
27MHz wireless technology: comfortable and reliable
30 hours of non-stop working without charging mouse batteries
Programmable hotkeys of keyboard and mouse
Specification
Keyboard multimedia hotkeys: 12pcs, programmable
Mouse: 2 additional programmable buttons
Working distance: up to 2m
Mouse batteries: up to 30hrs of non-stop working
USB 1.1/2.0 compatible receiver is a mouse batteries charger at the same time
Keyboard: slim notebook design
Keyboard dimensions: 425x195x22mm
Mouse dimensions: 132x66.7x37mm
Total net weight with batteries: 0.8kg
Wireless keyboard
Package contents
Wireless keyboard
Wireless mouse
Receiver
Driver CD
AAA alkaline batteries x 2pcs
AAA Ni-MH batteries x 2pcs
User manual
System requirements
Windows 98SE/ME/2000/XP/Vista
USB port for the receiver
Wireless keyboard
Hardware installation
PS/2 version
1. Make sure that your computer is turned off
2. Connect the USB to PS/2 Adaptor to UB plug. Then connect the adaptor to PS/2
Keyboard port (in purple color)
3. Connect another green PS/2 plug to PS/2 Mouse port (in green color)
Wireless keyboard
USB version
The receiver is connected to your computer
via a 1.5 meter USB cable, and it plug to USB port
of your computer.
1.
Connect the USB plug to USB port of your computer
Caution:
Windows 98 or higher or Mac’OS 8.6 or higher is required for USB port installation.
Connect the receiver cable to the USB port on computer. For Windows, you may be
prompted to insert the Windows software CD. Insert this software CD into the
computer’s CD-ROM driver when asked to do so. Then follow the on-screen
instructions.
Wireless keyboard
Indicators on receiver
There are two indicators on the Receiver
1. Connect:
the indicator will flash when you press the connect button.
When the receiver successful change the IDs, the indicator will
flash several fast
2. Charging:
the indicator will light on when charging the battery in mouse,
the indicator will turn off when the battery is full
Wireless keyboard
Changing the channel and security ID
Your mouse and keyboard come with 2 Channel and multi security ID. Which can let
your receiver listen to one mouse and one keyboard, do following step to change channel
and security ID when you get undesired interference from another device used nearby.
1. Press the connect button on the bottom of the keyboard
2. Press the connect button on front of the receiver
3. Press the connect button on the bottom of the mouse
Note:
1.
2.
3.
The indicating LED will light steadily when the synchronization linkage is
completed.
You need to do above steps to re-connect the mouse and keyboard each time
you replace battery.
Your keyboard and mouse may have only one channel due to different product
version.
Wireless keyboard
Charge the battery in mouse
Your mouse uses two AAA size Ni-Mh rechargeable battery. Before you use the
mouse, you need to place the mouse on the stand to charge the battery for 10 hours. This
is very important to battery life. Please, make sure the charge indicators is light ON when
you charge the mouse.
When you feel your wireless mouse is not working smoothly, that means that the
batteries need to be recharged. Please, put the mouse on the stand for charging. Normally
it will take 8 hours to get the battery fully charged.
USB charge version
Place the mouse one the stand and make sure the charging indicator is light ON.
Caution:
some computers will turn off the power of USB port when entering sleep
mode. In this case, the battery inside the mouse can not be charged. So
you are requested to keep your computer always ON when you charge
your mouse.
Wireless keyboard
Adaptor charge version
Charge the battery in mouse:
1. Connect the AC-DC Adaptor to AC 230V power outlet.
2. Connect the charger plug to the receiver
3. Place the mouse on the stand
Wireless keyboard
Hotkeys on the keyboard
The keyboard has 13 hotkeys located on the left and right of the keyboard.
Internet hotkeys
This internet hotkeys are programmable.
Multimedia hotkeys
This multimedia hotkeys are programmable.
This volume control keys are by volume scroll controller.
PC hotkeys
Power manage hotkeys
Wireless keyboard
Software installation
The driver supports Windows 98/2000/XP/Vista.
The driver will install automatically if the auto-run is enable in your computer,
otherwise, you can manually launch the installation by double clicking the file setup.exe in
the CD-ROM.
The setup applet’s icon of the keyboard and the mouse will appear on the Windows
taskbar after successfully completing software installation.
You can double click or right click the applet, and setup the functions of your
preferred selection for both keyboard and mouse to enhance your device.
Scroll, Caps, Num Lock status
The Scroll, Caps, Num lock status are shown
on the taskbar (Windows 2000/XP/Vista) or above
the taskbar (Windows 98/ME).
Wireless keyboard


