Connecting to SUNY Central CICS and OSC CICS
advertisement
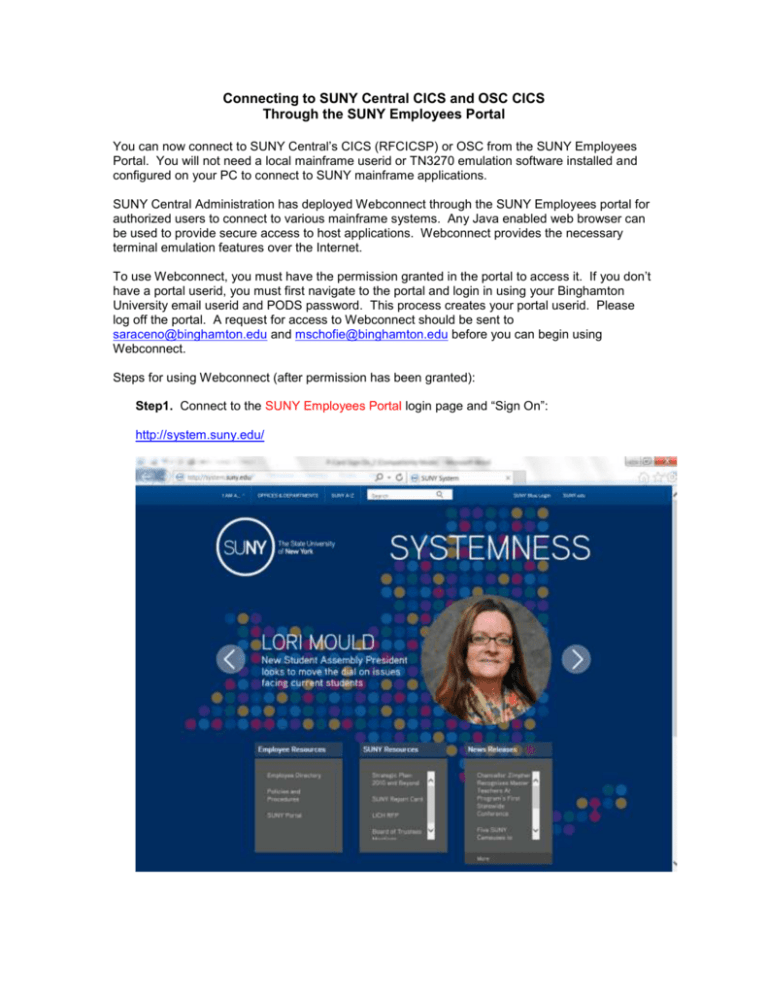
Connecting to SUNY Central CICS and OSC CICS Through the SUNY Employees Portal You can now connect to SUNY Central’s CICS (RFCICSP) or OSC from the SUNY Employees Portal. You will not need a local mainframe userid or TN3270 emulation software installed and configured on your PC to connect to SUNY mainframe applications. SUNY Central Administration has deployed Webconnect through the SUNY Employees portal for authorized users to connect to various mainframe systems. Any Java enabled web browser can be used to provide secure access to host applications. Webconnect provides the necessary terminal emulation features over the Internet. To use Webconnect, you must have the permission granted in the portal to access it. If you don’t have a portal userid, you must first navigate to the portal and login in using your Binghamton University email userid and PODS password. This process creates your portal userid. Please log off the portal. A request for access to Webconnect should be sent to saraceno@binghamton.edu and mschofie@binghamton.edu before you can begin using Webconnect. Steps for using Webconnect (after permission has been granted): Step1. Connect to the SUNY Employees Portal login page and “Sign On”: http://system.suny.edu/ Step 2. Enter login userid and password: Remember to use your userid portion of your Binghamton University email address and your BU email password. This is the screen you will see after a successful sign on to the SUNY Employees Portal. Please note that your page may differ based on your access levels. Step 3. Click on the E-Business Services tab and then click on the “Webconnect” link. If this is your first time accessing Webconnect, software will be installed on your PC. This install process could take a few minutes. Note: be sure to turn off any pop up blockers. If asked to run the software from this site, wc.sun.edu, respond with yes. These screens will appear when downloading the software. Click on “always” to both warning messages. Step 4. Once the software is installed, the “Webconnect” window will open connections to either SUNY Central Administration or OSC. Step 5. Click on “Connect to System Administration” image and the following display will appear. Step 6. Press PF9 to display the menu options Step 7. Select Option 1 “CENT” – SUNY System Administration Online Step 8. Clear screen and type SCSO and proceed to log on to SUNY Central CICS System. PCARD users continue to Step 9 and continue. All others enter your “Job Function,” process and go to Step 17 when you are finished and are ready to logoff. Step 9. Enter your logon information into the Security Sign-on Screen; Organization Type: su, UserId: (your userid), Password: (your password), and Job Function: pcard. Step 10. If you have entered the sign-on information correctly, you will see the following screen indicating that you have successfully signed on to SUNY Central’s CICS. Step 11. Clear the screen and type AEPC. This will open the SUNY Citibank Procurement Card Primary Option Menu. Step 12. Change Billing Cycle. It defaults to the current month, and certification is almost always for prior months. Example: In March John Doe wants to certify his February statement. When he logs onto AEPC the billing cycle is 0908 (September, 2008); he changes this to 0808 (August, 2008). Step 13. Tab to VI02, Hit Enter. The Cardholder Reconciliation screen should appear with the words “READY FOR RECONCILLIATION – ALL ITEMS MATCHED” at the bottom. You will also see a log list of your purchases. Print your log list page(s). Step 14. On the Cardholder Reconciliation screen in the lower right corner is the letter ‘F’ for function. Type X in the space next to it. Below it is ‘A’ for action. Type the letter C in the space next to it. Hit Enter. The Cardholder Certification screen should appear. Step 15. On the Cardholder Certification screen, in the lower right corner, is the letter ‘F’ for function. Type the letter C in the space next to it. Hit Enter. Your name, date and the words “Depress Enter to Complete Transaction” should appear at the bottom of the screen. Step 16. THIS IS CRITICAL! Hit Enter Again. If you do not hit enter again at this time your certification will not be saved online – and you’ll need to certify all over again! Step 17: Once Certified, print out your reconciliation page. You will then match up your receipts to your log list, and attach them to your reconciliation page. After that is completed, please sign your certification and then send to your supervisor to sign. Forward the signed certification to Meghan Dold in the Purchasing Department. Step 18. When done, clear your screen, enter “OFF” and press the enter key. This will take you back to the SUNY Initial Display Screen. Close the window by clicking on the “X” in the upper right corner of the window.
