Word
advertisement
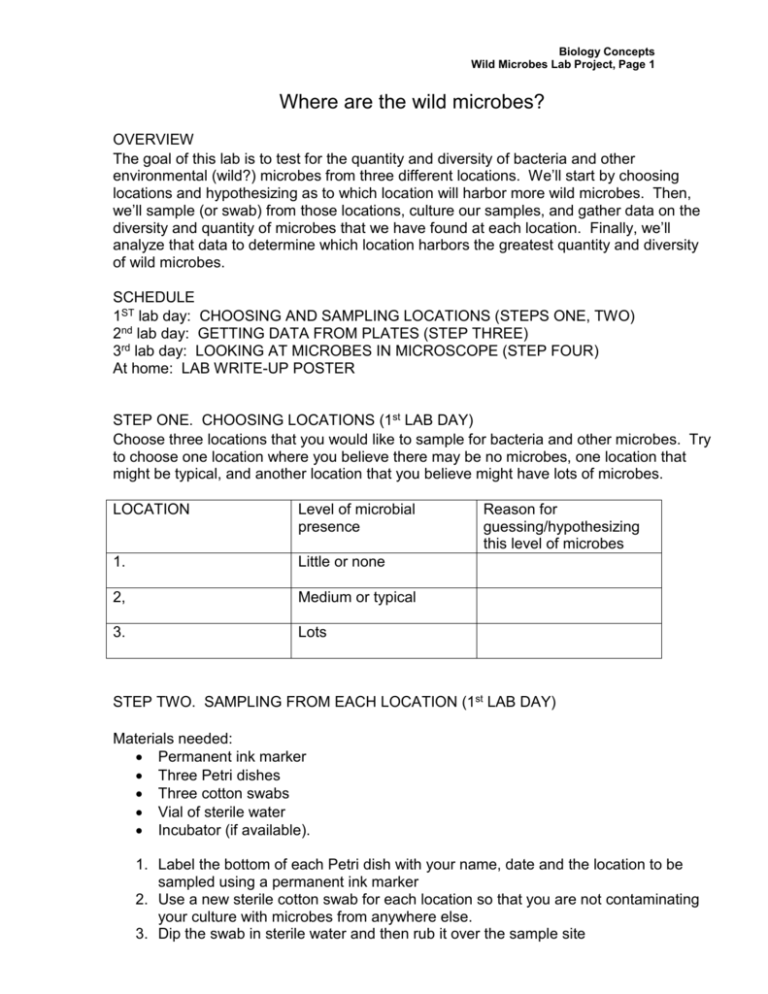
Biology Concepts Wild Microbes Lab Project, Page 1 Where are the wild microbes? OVERVIEW The goal of this lab is to test for the quantity and diversity of bacteria and other environmental (wild?) microbes from three different locations. We’ll start by choosing locations and hypothesizing as to which location will harbor more wild microbes. Then, we’ll sample (or swab) from those locations, culture our samples, and gather data on the diversity and quantity of microbes that we have found at each location. Finally, we’ll analyze that data to determine which location harbors the greatest quantity and diversity of wild microbes. SCHEDULE 1ST lab day: CHOOSING AND SAMPLING LOCATIONS (STEPS ONE, TWO) 2nd lab day: GETTING DATA FROM PLATES (STEP THREE) 3rd lab day: LOOKING AT MICROBES IN MICROSCOPE (STEP FOUR) At home: LAB WRITE-UP POSTER STEP ONE. CHOOSING LOCATIONS (1st LAB DAY) Choose three locations that you would like to sample for bacteria and other microbes. Try to choose one location where you believe there may be no microbes, one location that might be typical, and another location that you believe might have lots of microbes. LOCATION Level of microbial presence 1. Little or none 2, Medium or typical 3. Lots Reason for guessing/hypothesizing this level of microbes STEP TWO. SAMPLING FROM EACH LOCATION (1st LAB DAY) Materials needed: Permanent ink marker Three Petri dishes Three cotton swabs Vial of sterile water Incubator (if available). 1. Label the bottom of each Petri dish with your name, date and the location to be sampled using a permanent ink marker 2. Use a new sterile cotton swab for each location so that you are not contaminating your culture with microbes from anywhere else. 3. Dip the swab in sterile water and then rub it over the sample site Biology Concepts Wild Microbes Lab Project, Page 2 4. Then gently slide your swab back and forth all across the surface of the agar in the Petri dish. 5. Discuss what temperature the incubator should be set at. What is the best temperature for bacteria? What is the best temperature for rapid growth? How long should our cultures be left to grow before we interpret them? STEP THREE. INTERPRETING YOUR COLONIES OF BACTERIA (2ND LAB DAY) 1. Count the total number of colonies you have from each location 2. Describe the different kinds of colonies from each location according to the following characteristics: Form - What is the basic shape of the colony? For example, circular, filamentous, etc. Elevation - What is the cross sectional shape of the colony? Turn the Petri dish on end. Margin - What is the magnified shape of the edge of the colony? Surface - How does the surface of the colony appear? For example, smooth, glistening, rough, dull (opposite of glistening), rugose (wrinkled), etc. Opacity - For example, transparent (clear), opaque, translucent (almost clear, but distorted vision, like looking through frosted glass), iridescent (changing colors in reflected light), etc. Chromogenesis (pigmentation) - For example, white, buff, red, purple, etc. Biology Concepts Wild Microbes Lab Project, Page 3 Science Buddies: Interpreting Plates (http://www.sciencebuddies.org/science-fair-projects/project_ideas/MicroBio_Interpreting_Plates.shtml) (great website for seeing what you might find on your plates and how to interpret it) Example of a colony description: Size: 2mm diameter Shape: Circular Margin: Entire Elevation: Convex Surface: Smooth Density: Opaque Pigment: Yellow, nondiffusible pigment From: http://homepages.wmich.edu/~rossbach/bios312/LabProcedures/Colony%20Description%20result.html Biology Concepts Wild Microbes Lab Project, Page 4 3. Now define particular colony types (for example jagged yellow, smooth white, fuzzy white, etc.) and then count how many of each colony-type you have at each location. Make a table in your notebook to do this…it might look something like this… NAME OF COLONY Yellow jagged (example) DESCRIPTION Small round colonies, ragged edge, ridges on surface, bump in middle of profile DRAWING NUMBER OF COLONIES Location 1 0 Location 2 6 Location 3 3 STEP FOUR. LOOKING AT MICROBES IN MICROSCOPE (3rd lab day) 1. Choose three or four different types of bacteria to look at in the microscope. 2. When handling bacteria and other microbes, assume they could be infectious and always use your best sterile technique. Never directly touch the bacteria. Always sterilize your inoculating loop in the Bunsen burner after it’s had bacteria on it. 3. To see your microbes in a microscope, first you have to prepare a smear. This is how to make a bacterial smear: Place an almost invisible speck of bacterial growth in the center of a clean slide Be sure the slide is clean. Use your marker to draw a line down the slide so you know which side is up. Add a tiny drop of water to your specimen with your inoculating loop. Now, with your inoculating loop, mix the specimen with the water completely and spread the mixture out to cover about half of the total slide area. Gently pass the slide through the Bunsen burner to fix the bacteria so they won’t fall off. Slide should just feel hot to touch. Biology Concepts Wild Microbes Lab Project, Page 5 4. Gram Staining. Follow these procedures for gram-staining so you can see your bacteria in the microscope (demo to be given in lab): A heat-fixed bacterial smear is first covered completely with a few drops of a solution of crystal violet, a purple basic dye. After 30-60 sec the smear is rinsed with water by squirting the slide above the smear and letting the water wash over it until the water runs clear. Several drops of iodine (the mordant) are applied to cover the smear and left for 60 sec., then rinsed again. A few drops of an isopropanol-acetone mixture or similar solvent are added at a time until the wash is colorless, then the slide is rinsed again. A red basic dye, aqueous safranin, is applied for 30-60 sec.followed by a rinse. The smear is blotted (not wiped) to remove excess water, using bibulous (absorbent) paper or a paper towel. The slide is then air dried the rest of the way. How to screw up a Gram stain Screw up the smear to start with Apply stain to the wrong side of the slide Stain or rinse the smear incompletely Allow stain to dry up before rinsing Forget to decolorize or decolorize incompletely Rub off the material when you blot it 5. Observing stained bacteria in the microscope To look at bacteria in the microscope requires patience and practice. Never put a cover slip on and always use the highest-power oil immersion lens with a drop of immersion oil on the slide. The hardest part is finding the bacteria. Focus first on the black line down the middle of the slide. The bacteria should be off to one side. STEP 5. MAKING YOUR LAB WRITE-UP POSTER (at home). Your poster write-up should include the following. It will be presented and graded during our evaluation week. Be as creative as you like. Use a big piece of poster-board or butcher-paper so everyone will be able to see your poster easily. Title of project and your name. Hypothesis or proposal with explanation of different sites where bacteria were collected. Materials and methods. This should have text and images—drawings or photographs—of how we collected bacteria, how we analyzed the plates and how we made stained smears to look at in the microscope. Results/Interpretation of bacterial colonies. This should clearly show how many colonies, and how many of each type of colony you found at different locations. It should show these results in a table and also describe them with words. You also might include how some of the different bacteria looked different in the microscope Analysis. This section MUST then use the results to decide if your original hypothesis or proposal about where the most bacteria would be found is correct. It does not matter whether it was right or not. You should then have a few sentences about why you think it was right or wrong.
