Introduction to NetBeans IDE
advertisement
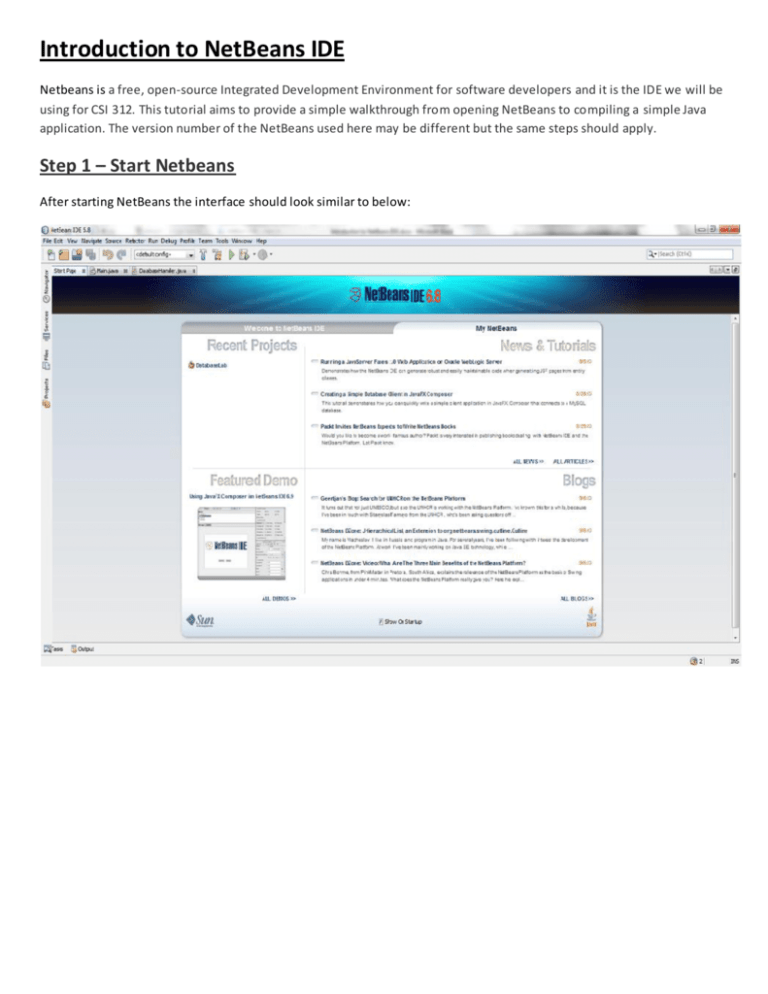
Introduction to NetBeans IDE Netbeans is a free, open-source Integrated Development Environment for software developers and it is the IDE we will be using for CSI 312. This tutorial aims to provide a simple walkthrough from opening NetBeans to compiling a simple Java application. The version number of the NetBeans used here may be different but the same steps should apply. Step 1 – Start Netbeans After starting NetBeans the interface should look similar to below: Step 2 – Creating a new Java application NetBeans does not currently allow the compilation of a single Java file, what this means is every application (even if it is a single Java file) needs to be part of a project. Create a new project by clicking the “New Project” icon ( ctrl + shift + N. The following dialog should come up. ) or by pressing NetBeans is a multi-language IDE and depending on which bundle you installed you may have several categories. If the Java category isn’t selected by default select that, then select “Java Application” then click the “next” button. In the following dialog you are required to provide a name for your application (or accept the default name). The name that has be en entered is “MyApplication”. You also have the option of letting NetBeans create the main method (the program’s entry point) in this class for you as well. Click “Finish” when complete. Your application should load with the Main class as shown below. The leftmost panel of NetBeans displays your current project along with its source files. Additional source files created will be a part of the “myapplication” package (more on packages later). Step 3 – Adding a new source (Class) file It is possible to add more source files to the project as necessary; to add a new source file right click on the package name “myapplication” then “new->Java Class”. In the dialog that comes up enter the name of your Java Class (keep in mind the convention of class names beginning with an uppercase letter). The name of the new class entered is “Box”. Click “finish” when complete, and again you will notice that NetBeans has created the skeleton of the class for you, also note that the file “Box.java” has been created and is now part of our “myapplication” package. Some members will be added to this class so that a Box object can be created in our main class. The code for this is below. Now back in our Main class we can create a Box object and display its volume. Step 4 – Running your application Providing that the source code is free from syntax errors, the application is now ready to be launched . Run your application by clicking the “Run Main Project Icon ” ( programs output. ) or by pressing “F6”. Observe the bottom panel of NetBeans for the If you see the output similar to above then everything ran successfully, and that brings us to the end of this tutorial/introduction to NetBeans. This IDE has many options, feel free to experiment to see what you can discover so you can spend more time programming and less time typing (there is a difference, think about it)
