Packing Guide - Pikes Peak Council
advertisement
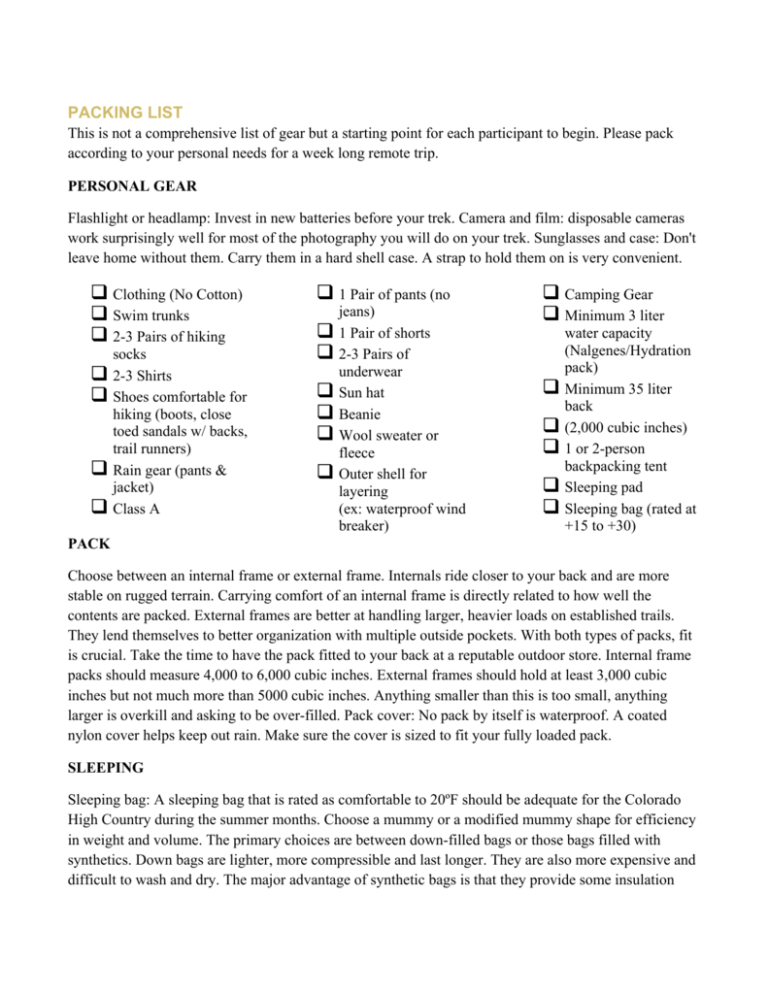
PACKING LIST This is not a comprehensive list of gear but a starting point for each participant to begin. Please pack according to your personal needs for a week long remote trip. PERSONAL GEAR Flashlight or headlamp: Invest in new batteries before your trek. Camera and film: disposable cameras work surprisingly well for most of the photography you will do on your trek. Sunglasses and case: Don't leave home without them. Carry them in a hard shell case. A strap to hold them on is very convenient. Clothing (No Cotton) Swim trunks 2-3 Pairs of hiking socks 2-3 Shirts Shoes comfortable for hiking (boots, close toed sandals w/ backs, trail runners) Rain gear (pants & jacket) Class A 1 Pair of pants (no jeans) 1 Pair of shorts 2-3 Pairs of underwear Sun hat Beanie Wool sweater or fleece Outer shell for layering (ex: waterproof wind breaker) Camping Gear Minimum 3 liter water capacity (Nalgenes/Hydration pack) Minimum 35 liter back (2,000 cubic inches) 1 or 2-person backpacking tent Sleeping pad Sleeping bag (rated at +15 to +30) PACK Choose between an internal frame or external frame. Internals ride closer to your back and are more stable on rugged terrain. Carrying comfort of an internal frame is directly related to how well the contents are packed. External frames are better at handling larger, heavier loads on established trails. They lend themselves to better organization with multiple outside pockets. With both types of packs, fit is crucial. Take the time to have the pack fitted to your back at a reputable outdoor store. Internal frame packs should measure 4,000 to 6,000 cubic inches. External frames should hold at least 3,000 cubic inches but not much more than 5000 cubic inches. Anything smaller than this is too small, anything larger is overkill and asking to be over-filled. Pack cover: No pack by itself is waterproof. A coated nylon cover helps keep out rain. Make sure the cover is sized to fit your fully loaded pack. SLEEPING Sleeping bag: A sleeping bag that is rated as comfortable to 20ºF should be adequate for the Colorado High Country during the summer months. Choose a mummy or a modified mummy shape for efficiency in weight and volume. The primary choices are between down-filled bags or those bags filled with synthetics. Down bags are lighter, more compressible and last longer. They are also more expensive and difficult to wash and dry. The major advantage of synthetic bags is that they provide some insulation when wet. However, with a little care and preventive maintenance, it is not difficult to keep a down bag dry. Choose a good, waterproof stuff sack. Store your sleeping bag in a plastic garbage bag inside the stuff sack. A compression stuff sack may be a valuable space saving feature, especially with synthetic bags. Spend some time and care choosing the right sleeping bag for you. You will, after all, be spending close to one-third of your adventure in it. Sleeping bag liners: Sleeping pad: Important both for comfort and for insulation from cold, damp ground. Two basic types are available. Closed cell foam are inexpensive and lightweight. Self inflating pads are somewhat heavier and more expensive but are quite a bit more comfortable. Weight can be saved by using the 3/4 length version of either type. The sleeping pad should be carried in a nylon stuff sack. SHELTER Tent: Weight and space are the two major factors to consider in tent selection. Try to keep your share of the tent to less than four pounds. How big a tent you need, will be determined by whether you travel with a companion or by yourself. Make sure there is enough room for gear storage as well as for sleeping. You will appreciate a tent that is quick and easy to pitch if you find yourself setting up camp late or in poor weather conditions. Tents can be freestanding or staked. A freestanding tent allows more campsite options, especially on rocky ground, but should be staked for added strength in exposed or windy sites. Most tents need to have the seams sealed before use. The tent should be carried in a stuff sack to protect it and to help keep the pieces together. Tent repair supplies should be included in your group repair kit. Large, four man dome style tents will often cause problems in finding proper backcountry camp sites. FOOTWEAR Hiking boots are probably the most important piece of equipment you will choose for your trip. When shopping for new boots, consider the following guidelines: Buy a boot from a reputable outdoor store with a knowledgeable sales staff. Try on several models with the socks you plan to wear. Tell the salesperson what you plan to use them for and the kind of terrain you expect to encounter as well as the fact that you will be carrying a full pack. Take the boots home and wear them for a few hours inside. If they don't fit then, they won't get better on the trail. Take them back. Choose a boot that is designed for hiking. Work boots and hiking boot look-a-likes aren't comfortable over the long haul and won't hold up or give you the support you need. The trails are rocky and steep in many places, so choose a medium weight boot. Ultra-lite hiking boots won't give enough ankle and arch support or protection from rocks underfoot. Heavy mountaineering boots are more weight than you need to carry on your feet. Remember the old adage, "a pound on the foot is equal to five on the back". Both all-leather and combination nylon/leather boots are suitable for use on the trail. All-leather boots tend to be more waterproof, give more support and protection, and last longer. They are also heavier, hotter and take longer to dry. Allleather boots may take longer to break in than the combination boots. A Gore-Tex liner in the boot is a nice option for either type, if you can afford it. As with all of your gear, buy the best boot you can afford. Trying to save money on the initial purchase by buying poorly made products is false economy. Wear your boots on at least one shorter trip before you attempt a longer hike. Carry a full pack and try to find terrain similar to that found in Colorado. Thicker or thinner insoles can be added to the boot to customize the fit. Most established companies will repair or replace their product should any defects occur during this break-in period. Change of shoes: Lightweight sneakers or sandals are a real treat at the end of the day. They are also very useful in river crossings, and will save your boots from getting wet while providing traction and protection for the feet. Socks Socks deserve your close attention. They are one of the least expensive pieces of equipment that help protect a backpacker's most important asset, their feet. Many excellent socks made specifically for hiking are now available. Frequent washings of the socks help keep your feet healthy and restore some of the cushioning the sock provides. The layering principle applies to socks as well. Sock liners: Inner layer. Thin polypropylene or Hydrofil liners. Designed to "wick" sweat away from your foot into a more absorbent outer layer. Socks: Outer layer. Combination wool blends and synthetic blends. 100% wool tends to wear poorly and is difficult to take care of. Look for no more than 85% wool content. The higher the wool content the warmer the sock, but the slower it dries; a real consideration if your clothes line is located on the top of your pack. Synthetic blends work well for those who don't like wool. Look for socks with plenty of padding, but not so bulky as to make your hiking boot tight. Clothes - Inner Layer Underwear: Try to avoid all cotton. Look for the cotton/poly blends; you'll appreciate the quicker drying time on rainy days as well as on hot sticky ones. A clean pair at night helps to keep your sleeping bag clean. Long underwear (bottom): Polypropylene, Capilene, Thermax and the like are all excellent. Wear under shorts or wind pants on chilly mornings or cool evenings. Also used to extend the temperature range of your sleeping bag on cold nights. Either lightweight or midweight are suitable for trail use in the summer. Long underwear (top): Tops come in a variety of different styles. Crew necks and button "Henley" style are the most versatile. Turtlenecks can be too warm in some situations. Clothes - Middle Layer Shorts: Most of your hike will be spent in shorts. Look for a tough, 100% synthetic in a length that's comfortable for you. Cotton shorts take much longer to dry. A draw string or built-in belt helps keep the shorts from riding too low. Shorts worn over long underwear can substitute for long pants in cooler weather. Look for shorts with cargo pockets. Shorts II:* A pair of lightweight cotton shorts can be a real treat to change into at the end of the day and to sleep in. Shirts: T-shirts are great for warm weather use. You can find cotton/polyester blends in T-shirts that dry quickly. Top insulation: Wool sweaters are the old standby and they work. The new generation of synthetic pile and fleece work even better. Polartec 200 and similar fabrics seem just about right for summer in the mountains. The material holds only a small percentage of its weight in water and therefore dries incredibly fast. It is warm, virtually indestructible and a real treat on a cool evening. A wool or fleece sweater, combined with a windproof/waterproof jacket provides more than adequate insulation for most of the weather you will encounter. Clothes - Outer Layer Headgear: Baseball caps can't be beat in the summer. Bandannas work too. Keep the sun off your head and out of your eyes on sunny days especially when you travel above timberline. Headgear II:* A lightweight wool or fleece ski hat is nice for cool nights and mornings. It can also extend the comfort range of your sleeping bag. Raingear: Raingear serves two principle functions; 1) to keep body heat in and 2) to keep rain, snow and wind out. All well constructed raingear fulfills the first function. The second function is accomplished in basically two different ways. Waterproof / breathable fabrics such as Goretex, Entrant, etc. claim to allow body perspiration to escape while keeping rain out. Waterproof / non-breathable fabrics such as coated nylon, PVC etc. do just as good a job at keeping wind and rain out but tend to get damp inside from trapped perspiration. Breathable raingear is quite a bit more expensive, but many serious hikers consider it worth the investment. A built-in hood is recommended on either type of garment, as are zippered underarm pits, which aid in the ventilation process considerably. Ponchos do not provide adequate rain protection, especially in windy conditions. If you carry rain pants, they can do double duty as wind pants. No trash bags for rain suits! Long pants: If you plan on participating in rock climbing or C.O.P.E. events you will be required to wear long pants. A pair of pants with zip off leggings can work as your shorts too. Gaiters:* Gaiters are leggings that protect your lower legs from brush and wetness. They also add a surprising degree of warmth on windy days. Gore-tex gaiters are waterproof and breathable, but are somewhat more expensive than the nylon versions. Coated nylon gaiters, while waterproof, are less breathable and may feel "sticky" on hot days. Look for gaiters made specifically for hiking or backpacking, they are smaller and lighter. Scout Uniform The Scout uniform is a very important part of the Scouting program. The complete "field uniform" should be worn at the opening and closing meals and campfires while at Camp Alexander. Scouts and leaders are not required or advised to wear the uniform while on high adventure activities. Unacceptable Clothing All Scouts and adult leaders must be informed that the wearing of hats, T-shirts, sweatshirts, jackets, or other items of clothing with alcohol or tobacco ads, drug or sexual connotations, or any other un Scout like design or wording, are not permitted. If observed, Scouts and leaders alike will be asked immediately to remove them. Items of this sort have no place in a Scout camp. Cooking Gear This is not a comprehensive list of gear but a starting point for each participant to begin. Please pack according to your personal needs for a week long remote trip. If you attending the Outback Adventure with another person from you troop, you can partner up on the packing list to share during the trek. Backpacking stove (sealed fuel only) Spork/utensil Cooking Pot Miscellaneous Flashlight (headlamp recommended) Extra batteries Personal hygiene kit (toothbrush, tooth paste, chap stick, deodorant) $5 tips for rafting guides Bug spray Sun block (SPF 30+) Medical form Medications Medication form White Water Rafting form Optional Water filter Water shoes Camera (not a camera phone) Climbing shoes (optional) Climbing harness (optional) Climbing helmet (optional) Bowl Pocket knife/ small multi-tool Bandana COOKING GEAR Gas stove: A compact backpacking. We strongly encourage the use of canister fuel stoves. A stove is also an important element in low impact camping. Butane and propane models are available but re-fill canisters are not easily available. We also recommend that you bring a repair kit. Camp Alexander suggests bringing MSR or Sigg aluminum bottle approved for backpacking and travel. EATING AND DRINKING Water bottles: Metal was out a long time ago, Nalgene (a kind of plastic) is in. Look for the wide-mouth design. They are easier to drink out of, easier to filter into, and have many uses other than carrying water. The most convenient size is 32 oz. (1000 ml). Plan on carrying two, one on each side of your pack to balance the weight. Metal canteens are heavy and bulky, empty plastic 1 or 2 litter soda containers are unacceptable. Drinking cup: A simple plastic cup, available in most camping stores, is usually adequate. Spoon: On the trail a fork is obsolete. Most things you end-up cooking can be eaten with a spoon. Consider a light weight, heavy-duty plastic (or Lexan) one. Knife: Small and lightweight is the key here. Mess kit: Usually all that is needed is a plastic bowl. FOOD Food bag: four nylon stuff sacks to carry your food and double as a bear bag in the evening are essential. Food: All meals are supplied by the camp. Snack items are the responsibility of the individual. DO NOT BRING Firearms / Mace / Large Knives / Ax / Hatchet / Saw / Radio / Large Lantern or Light. FUEL No liquid fuels are allowed on property. Camp Alexander, in conjunction with the National Forest Service, only allows propane/canister fuel or charcoal in camp when permitted.
