CSE 5311 Assignment 1 – Designed to take you step by step into
advertisement
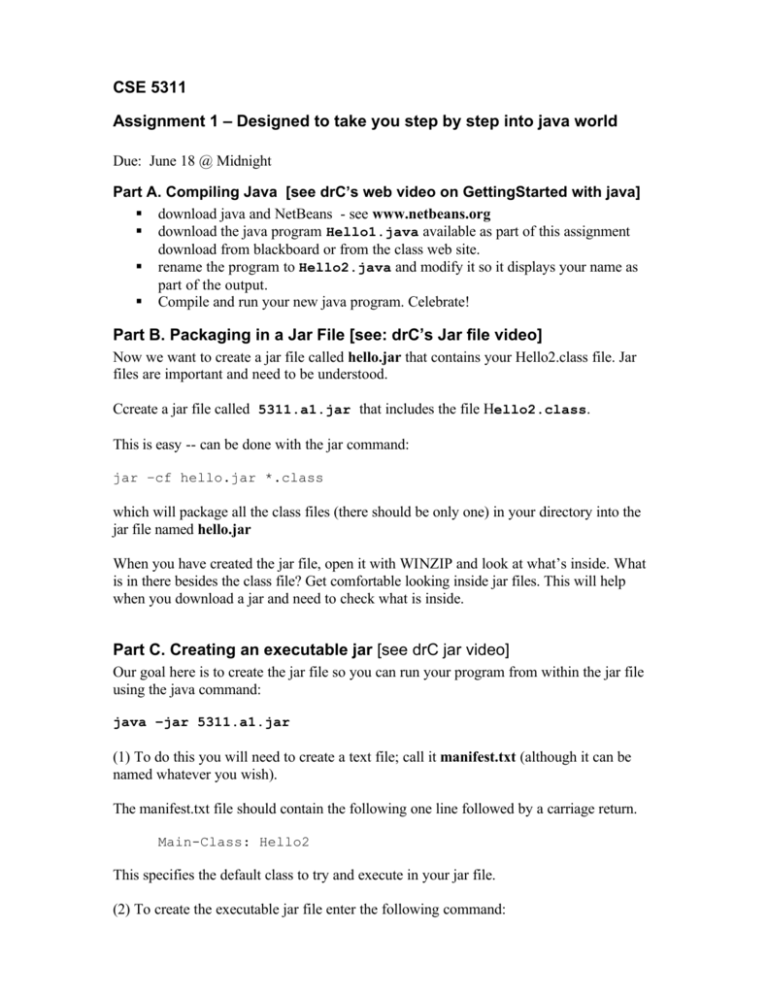
CSE 5311 Assignment 1 – Designed to take you step by step into java world Due: June 18 @ Midnight Part A. Compiling Java [see drC’s web video on GettingStarted with java] § download java and NetBeans - see www.netbeans.org § download the java program Hello1.java available as part of this assignment download from blackboard or from the class web site. § rename the program to Hello2.java and modify it so it displays your name as part of the output. § Compile and run your new java program. Celebrate! Part B. Packaging in a Jar File [see: drC’s Jar file video] Now we want to create a jar file called hello.jar that contains your Hello2.class file. Jar files are important and need to be understood. Ccreate a jar file called 5311.a1.jar that includes the file Hello2.class. This is easy -- can be done with the jar command: jar –cf hello.jar *.class which will package all the class files (there should be only one) in your directory into the jar file named hello.jar When you have created the jar file, open it with WINZIP and look at what’s inside. What is in there besides the class file? Get comfortable looking inside jar files. This will help when you download a jar and need to check what is inside. Part C. Creating an executable jar [see drC jar video] Our goal here is to create the jar file so you can run your program from within the jar file using the java command: java –jar 5311.a1.jar (1) To do this you will need to create a text file; call it manifest.txt (although it can be named whatever you wish). The manifest.txt file should contain the following one line followed by a carriage return. Main-Class: Hello2 This specifies the default class to try and execute in your jar file. (2) To create the executable jar file enter the following command: jar cfm 5311.a1.jar manifest.txt *.class *.java This will put all class files and java files into the jar. (3) Test that it works by entering: java –jar 5311.a1.jar (4) DO: capture the screen output and include in your zip file as a1.screen.jpg Part D : JUnit and Classpath The part of the assignment is intended to have several objectives: A) Download JUnit – a unit testing program. Download junit4.jar from www.junit.org - this is a widely known and extremely useful unit testing program that you should know how to use, both in general, and for this class. Agile programming is based on a test first mentality. B) Understand how to run a downloaded java class file that lives in a jar, using command line options for configuring your CLASSPATH. Trouble with your classpath is the MOST common source of problems and confusion when installing and running Java programs. Once you figure out CLASSPATH, it’s all downhill. Install and test. 1. Unzip the junit4.1.zip file by extracting to some directory – make sure you let your zip extraction program create the needed subfolders. I suggest you extract to c:\ which will create a c:\junit4.1 folder with subdirectories inside. 2. Test the installation by typing in a command window: java org.junit.runner.JUnitCore org.junit.tests.AllTests Do this and get a NoClassDefFoundError – Study this error. It is THE most common error you will ever get when trying to execute a Java program. Don’t freak out – love this message. It tells you what you need to know. Here is the complete message: Exception in thread "main" java.lang.NoClassDefFoundError: org/junit/runner/JUnitCore What the message says is that you have asked Java to run the Java class program org.junit.runner.JUnitCore and java can’t find it. To fix this you need to tell java where this class JUnitCore in the package org.junit.runner lives. There are two ways to tell Java where to look for the class org.junit.runner.JUnitCore. § § Do as the Junit documentation says and add org.junit.runner.JUnitCore to your system CLASSPATH variable Set up a classpath when your run java using the –cp parameter Let’s go with Option 2 ( -cp ) – it’s much more flexible than option 1 and you will need to know how to do the –cp option anyway. Run with –cp to set classpath. Here we tell java to look in the junit-4.1.jar file where the missing JUnitCore class lives. You must give the complete path to the jar file so this will depend on where you installed junit on your system C:\>java -cp c:\junit4.1\junit-4.1.jar org.junit.runner.JUnitCore org.junit.tests.AllTests Output is: JUnit Could Time: OK (0 version 4.1 not find class: org.junit.tests.AllTests 0 tests) Well things are different. We solved one problem and now are confronted with another. But we have an error message : Could not find class: org.junit.tests.AllTests Looking at the documentations with Junit we see that Notice: that the tests are not contained in the junit-4.1.jar but in the installation directory directly. Therefore make sure that the installation directory is on the class path OK, there is another class org.junit.tests.AllTests that java needs to find (It is actually a parameter to the JUnitCore class that we are trying to run). So that Java can find it, we need to put it also on the CLASSPATH. To put multiple classes on a classpath, we separate them with semicolons. When we do this, our command line looks like the following (with no carriage returns): C:\ >java -cp c:\junit4.1\junit-4.1.jar;c:\junit4.1 org.junit.runner.JUnitCore org.junit.tests.AllTests Output looks like: JUnit version 4.1 ................................................I............................... ................................................................................ ........................................................................I....... ....................... Time: 11.484 OK (261 tests) Bingo, done. A successful Junit test prints a dot – when you see lots o dots you have successfully run a Junit test program and validated the installation. But the main purpose of the exercise was to enable you to download some jar file, from anywhere, and execute it by understanding how to use classpath. Some additional notes: 1. You may want to add the full path name to junit-4.1jar to you classpath they way the JUnit documentation says: § add junit-4.1.jar to the CLASSPATH. For example: set § test the installation by running java org.junit.runner.JUnitCore classpath=%classpath%;INSTALL_DIR\junit-4.1.jar;INSTALL_DIR org.junit.tests.AllTests. 2. you may download junit.jar to the default or to wherever you like on your system. You just need to know where it is so you can have it on the classpath when you run junit tests. DO for Part D. Take a screen capture of your successful run of the JUnit test program and submit as part of your zip file submission. Name the capture junitshow.jpg Part E – ANT [see drC’s Understand Ant video] § § download ant (www.ant.org) or use ant from NetBeans write a build.xml with the following targets (use these names) o compile: compiles the Hello2.java program from part A o deploy: creates a jar file that contains the Hello2.class file. The jar file should be set up as executable as in step C. o run: runs Hello2.class [depends on compile] § o all: does compile, deploy and run set the default target of the build file to all Part F – ANT and Junit § § write a junit1.xml file contains a task called test that executes the test program from Part B (i.e. java org.junit.runner.JUnitCore org.junit.tests.AllTests ) to do this you must use the ant classpath element to set up the classpath so both java org.junit.runner.JUnitCore AND org.junit.tests.AllTests can be found. Submit : to Blackboard a zip file named a1.<lastname><firstinitial>.zip (e.g. a1.coylef.zip) § Assignment Summary sheet (txt or doc file) § B: a text file named a1.b.txt that contains the question and answer asked in part B § C: 5311.a1.jar § D: junitshow.jpg § E: build.xml § F: junit1.xml

