Table basics
advertisement
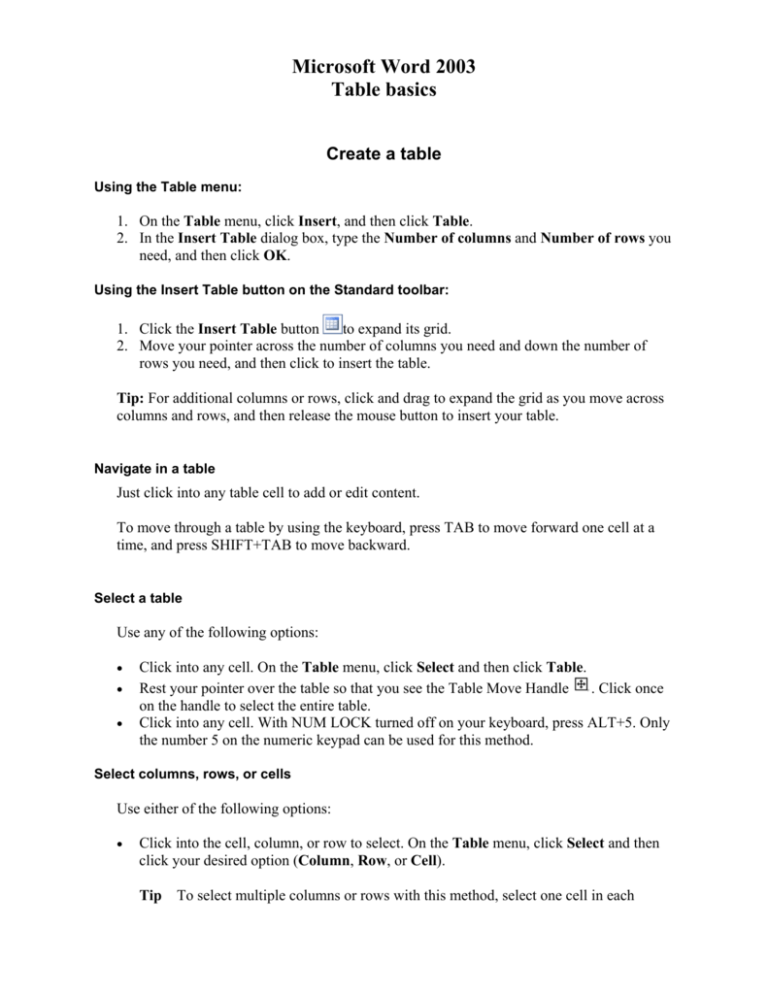
Microsoft Word 2003 Table basics Create a table Using the Table menu: 1. On the Table menu, click Insert, and then click Table. 2. In the Insert Table dialog box, type the Number of columns and Number of rows you need, and then click OK. Using the Insert Table button on the Standard toolbar: 1. Click the Insert Table button to expand its grid. 2. Move your pointer across the number of columns you need and down the number of rows you need, and then click to insert the table. Tip: For additional columns or rows, click and drag to expand the grid as you move across columns and rows, and then release the mouse button to insert your table. Navigate in a table Just click into any table cell to add or edit content. To move through a table by using the keyboard, press TAB to move forward one cell at a time, and press SHIFT+TAB to move backward. Select a table Use any of the following options: • • • Click into any cell. On the Table menu, click Select and then click Table. Rest your pointer over the table so that you see the Table Move Handle . Click once on the handle to select the entire table. Click into any cell. With NUM LOCK turned off on your keyboard, press ALT+5. Only the number 5 on the numeric keypad can be used for this method. Select columns, rows, or cells Use either of the following options: • Click into the cell, column, or row to select. On the Table menu, click Select and then click your desired option (Column, Row, or Cell). Tip To select multiple columns or rows with this method, select one cell in each Table Basics Page 2 column or row that you want to select before accessing the Table menu. • Place your insertion point to the left of any cell or row, or directly above any column, and when you see an arrow appear, click to select it. Then click and drag down or across to select multiple cells, rows, or columns with this method. Copy or move all or part of a table Cut, copy, and paste a table or a selected part of a table by using the same methods you use for text and objects (on the Edit menu, Cut, Copy, and Paste, or press CTRL+X, CTRL+C, and CTRL+V, respectively). Add text and graphics to a table • • To add text to a table, just click into any cell and type as you would in the body of the document. To add a picture to a table cell, paste or insert it just as you would into the body of your document. Tip To place graphics easily in table cells and keep them easy to manage, use the In line with text layout option. After you place the graphic in the table, select the graphic. On the Format menu, select Picture or Object. Then, on the Layout tab of the Picture or Object dialog box, click In line with text and then click OK. Table editing Delete columns or rows Use either of the following options: • • Select the rows or columns to delete. Then, either press BACKSPACE, or right-click on the selection and then click Delete Columns or Delete Rows. Click into the row or column to delete (or select at least one cell in each column or row). On the Table menu, click Delete and then click Columns or Rows. Insert columns or rows Use either of the following options: • • Click into the column or row neighboring where you need a new column or row. On the Table menu, click Insert and then click Columns to the Left or Columns to the Right or Rows Above or Rows Below, as needed. Select the neighboring row or column. Right-click and select Insert Rows or Insert Columns. Table Basics Page 3 Tip To quickly insert multiple columns or rows, select the same number of columns or rows as you want to insert before using one of the above options. Resize rows and columns with the mouse • • Click and drag the right edge of a column or selected cell, or the bottom edge of a row, to resize it. To resize more precisely, press and hold the ALT key while dragging. The column width or row height will appear on the rulers as you drag. Tip To resize several contiguous columns or rows to be equal in size, select the columns or rows. On the Table menu, point to AutoFit, and then click Distribute Columns Evenly or Distribute Rows Evenly. However, be careful using the Distribute Rows Evenly feature, as it will automatically set row height for any rows included in the distribution — which may cause the table rows not to adjust to changes in content. Use AutoFit options On the Table menu, point to AutoFit, and then click the desired option as follows: • • • AutoFit to Contents: Fits a table to adjust to the size of its content. AutoFit to Window: Fits a table to adjust to the space between the margins. Fixed Column Width: Keeps the width of columns from changing to accommodate the content. Using the Table Properties dialog box Table tab • • Align a table on the page or set the width of a table. Access the table options, where you can change cell margins for the entire table. Column tab • Change the width of columns using your default unit of measurement or as a percentage of the table size. Row tab • Set the height of rows to an exact or minimum size, and set the option to allow a row to break across pages. Cell tab • Set the width of cells as well as the vertical alignment of content in cells. Access cell options to change cell margins for selected cells only. • Table Basics Page 4 Table formatting Use table styles • Change the table formatting, such as borders and shading, by applying a different table style. To access table styles, on the Table menu, click Table AutoFormat. Select from a list of table styles, or create or modify your own. Note You can also alter borders and shading through the Borders and Shading dialog box on the Format menu. Select the appropriate option in the Apply to drop-down list to apply formatting to text, paragraphs, cells, or the entire table. Use font and paragraph formatting in tables • You can format text inside tables by using most of the same font and paragraph formatting that you use in the body of your document. You can even apply paragraph and character styles to quickly format table content.

