Using the Verbatim Mode Change Tool
advertisement
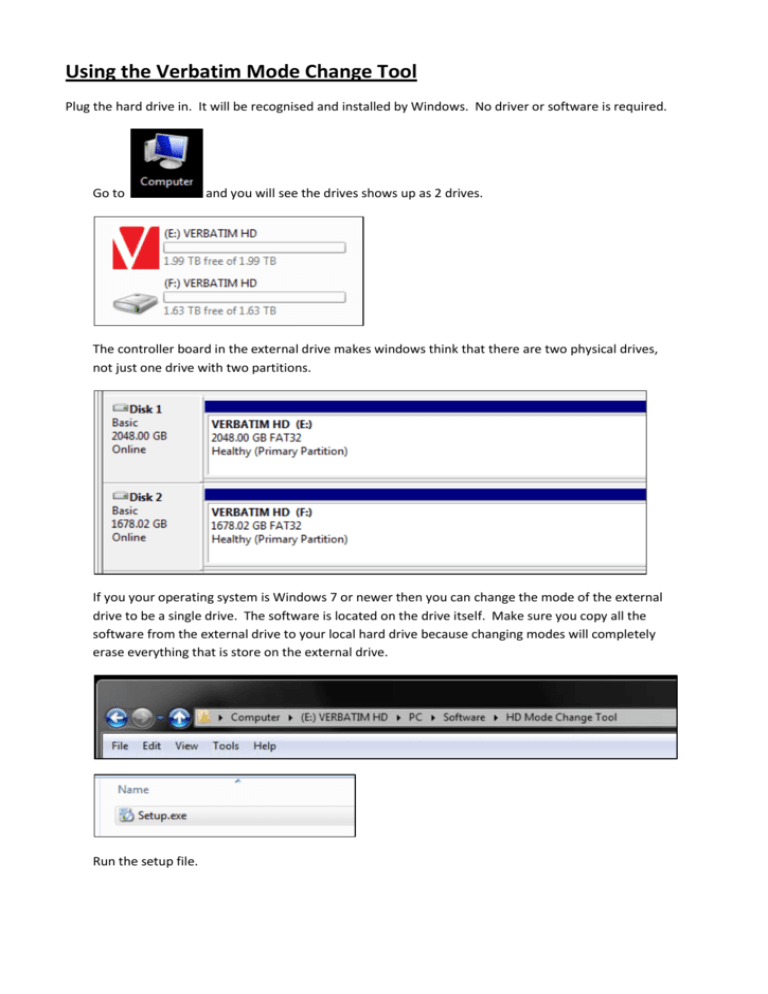
Using the Verbatim Mode Change Tool Plug the hard drive in. It will be recognised and installed by Windows. No driver or software is required. Go to and you will see the drives shows up as 2 drives. The controller board in the external drive makes windows think that there are two physical drives, not just one drive with two partitions. If you your operating system is Windows 7 or newer then you can change the mode of the external drive to be a single drive. The software is located on the drive itself. Make sure you copy all the software from the external drive to your local hard drive because changing modes will completely erase everything that is store on the external drive. Run the setup file. Progress through these screens until the software is installed. The mode change tool will start once installed. Click start to begin. Click on Standard Mode and click the tick box at the bottom to acknowledge that you understand that the drive will be earased during this process. When you tick the box, the change mode button will appear. Click on change mode and allow the process to begin. It will take a few minutes to complete. Once the process is completed you will now see that the drive is showing as one disk.


