PXT Extrication Terms - Puyallup Extrication Team
advertisement
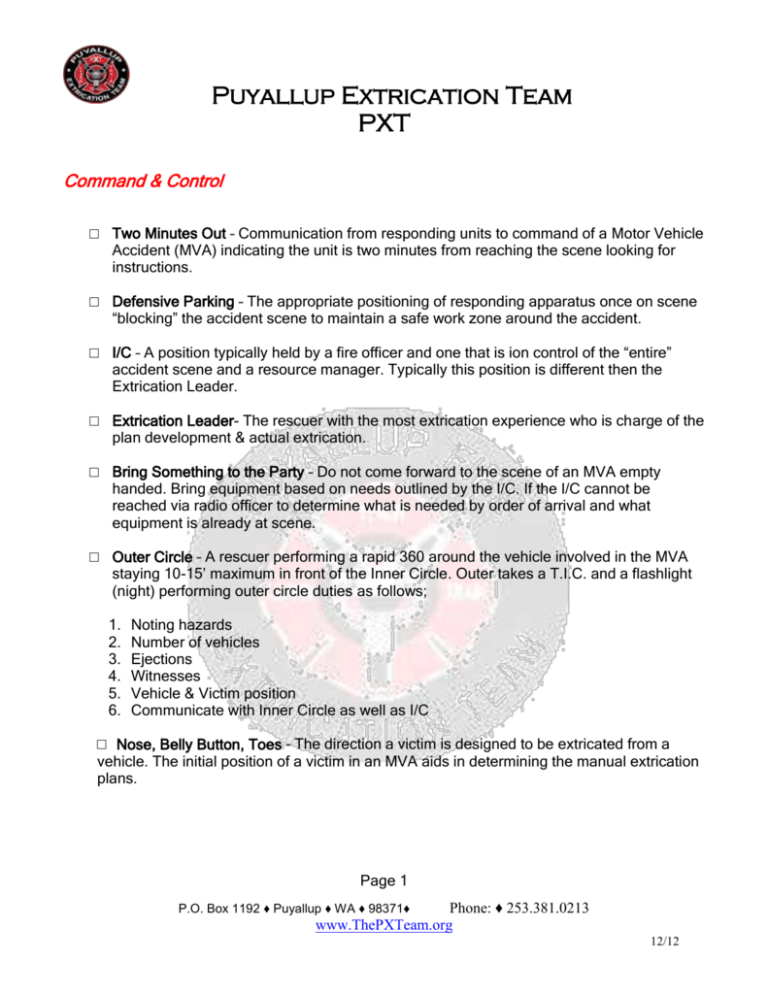
Puyallup Extrication Team PXT Command & Control □ Two Minutes Out – Communication from responding units to command of a Motor Vehicle Accident (MVA) indicating the unit is two minutes from reaching the scene looking for instructions. □ Defensive Parking – The appropriate positioning of responding apparatus once on scene “blocking” the accident scene to maintain a safe work zone around the accident. □ I/C – A position typically held by a fire officer and one that is ion control of the “entire” accident scene and a resource manager. Typically this position is different then the Extrication Leader. □ Extrication Leader- The rescuer with the most extrication experience who is charge of the plan development & actual extrication. □ Bring Something to the Party – Do not come forward to the scene of an MVA empty handed. Bring equipment based on needs outlined by the I/C. If the I/C cannot be reached via radio officer to determine what is needed by order of arrival and what equipment is already at scene. □ Outer Circle – A rescuer performing a rapid 360 around the vehicle involved in the MVA staying 10-15’ maximum in front of the Inner Circle. Outer takes a T.I.C. and a flashlight (night) performing outer circle duties as follows; 1. 2. 3. 4. 5. 6. Noting hazards Number of vehicles Ejections Witnesses Vehicle & Victim position Communicate with Inner Circle as well as I/C □ Nose, Belly Button, Toes – The direction a victim is designed to be extricated from a vehicle. The initial position of a victim in an MVA aids in determining the manual extrication plans. Page 1 Phone: ♦ 253.381.0213 www.ThePXTeam.org P.O. Box 1192 ♦ Puyallup ♦ WA ♦ 98371♦ 12/12 Puyallup Extrication Team PXT □ Inner Circle – A rescuer performing a rapid “tight” 360 around the vehicle involved in the MVA approaching from the patient side going same direction as Outer Circle. Inner Circle takes extinguisher and minimum cribbing. Vehicle is NOT touched by either Outer or Inner do to potential electrical hazards. Duties of Inner as follows: 1. 2. 3. 4. 5. 6. 7. 8. 9. Immediate Victim contact –determine if Rapid Extrication is warranted Place minimal cribbing to stop vehicle movement Mitigate any immediate hazards Gain information from entrapped victim Note deployed or non deployed SRS – 5/10/20 Rule Determine level of victim entrapment Hazzard lights activated once deemed safe to do so Victim positioning for Extrication Plans Convey ALL findings to I/C and Outer Extrication Terms □ Manual Extrication – The systematic removal of vehicle components / parts by using manpower and/or tools. Safety is first and foremost for rescuers as “The Art of Making Space” is being performed. Remember to “Try before you Pry”. □ Rapid Extrication – Entrapped victim is considered a “Red / ALS” patient and not extricated within the 0-10 minute window once units are on scene pt. may expire in vehicle □ Standard Extrication – Entrapped victim is not considered “Rapid” so the extrication timeline goal is 0-20 minutes □ Cutter Person – Rescuer assigned to hydraulic cutters □ Spreader Person – Rescuer assigned to hydraulic spreaders □ Saw-Zall (Reciprocating Saw) Person – Same as above…..Saw-zall Page 2 Phone: ♦ 253.381.0213 www.ThePXTeam.org P.O. Box 1192 ♦ Puyallup ♦ WA ♦ 98371♦ 12/12 Puyallup Extrication Team PXT □ Air Chisel Person – Same as above…. (see Saw-Zall) □ Basic Stabilization - Wood or synthetic cribbing used to provide the first “grip” or “hand hold” of the involved vehicle(s). 4 and 6 point stabilization is comprised of Basic Stabilization. □ Advanced Stabilization – Commercial struts, chain, airbags, First Responder Jacks ect…used in the second “grip” or “hand hold” of the involved vehicle(s) in order to provide advanced stabilization. □ Interior Stabilization Stabilizer (I/S) – If possible this position should be filled by a fire based Paramedic and preferably started on the outside of the vehicle by making verbal and or visual contact with the victim(s). The Interior Stabilizer transitions into the inside of the vehicle through an opening created by the vehicle (crash) or through one created manually. Once inside the vehicle the I/S performs the necessary visual, verbal and manual functions assigned to that position. □ 12 Volt (battery) mitigation – The systematic disconnecting of the vehicles 12 volt battery system. Once located disconnect or cut the negative cable first followed by the positive. If the cables must be cut remove a “section” of each of the cables to eliminate the cables abilities to reconnect. By activating the vehicles hazard lights prior to D/C’ng the battery the rescuer(s) can determine the deactivation of the 12 volt system □ Debris Pile – A set geographic location away from the vehicle where the extrication is being performed to place the debris and parts of the vehicle that are being removed. Typically a minimum of 20’ away preferred. □ Glass Management – When it is determined that “Manual Extrication” is needed their needs to be a systematic removal of the vehicles glass. There should be of placing soft protection over the victim(s) prior to glass removal. □ Patient Landing Zone – In the absence of a gurney -Two 4x4’s are placed approx 36” apart and located close to the vehicle. Placement should be in the direction of the victims egress from the vehicle. The 4x4’s offer an elevated platform to aid in securing the patient to a backboard as well as keeping them off wet, hot and cold surfaced. □ Cut & Cover – Following the removal (cutting) of the affected vehicles components the sharp edges left behind on the vehicle should be covered for security reasons with soft protection or dedicated “sharps covers” Page 3 Phone: ♦ 253.381.0213 www.ThePXTeam.org P.O. Box 1192 ♦ Puyallup ♦ WA ♦ 98371♦ 12/12 Puyallup Extrication Team PXT □ Soft Protection – Items such as tarps, blankets, clothing, car mats, liners ect… used to cover sharps as well as the entrapped victims in an order to reduce further injury to the victim or rescuers. □ Hard Protection – Rigid yet thin sheet metal & plastic components with hand holds cut in used for patient protection from sharps, tools, blades ect.. Backboards also work well for Hard Protection Extrication Plans / Maneuvers (Plans A, B, C Etc…) □ Trunk Tunnel – Removal of trunk lid, tension (spring steel) rods, hat/package rack and back of rear seat. □ Rear Hatch Removal – Removal of hatch (door) followed by seat manipulation or removal for in-line victim removal. Roof Options □ Rear Window Tent – Enlarging the opening in the center of the rear window using hand tools such as a First Responder Jack or Hydraulic spreaders. □ Roof Flap – Removal of a portion of the vehicles roof by making relief cuts as well as cutting vehicles A, B, C, D post(s). □ Roof Trench Cut – Making two parallel cuts into the roof of the vehicle using pneumatics (air chisel) or saw-zall (consider inside/out cutting operation) rear window to windshield approx 6” to 8” in from each side. □ Roof Pivot – Once roof posts are stripped completely cut through all but the designated “pivot” post. This post will only need to be cut ½ way through the roof can then be pivoted on that post away from the entrapped victims. Roof can be set onto trunk or hood area. □ Roof Removal – With all posts stripped use appropriate cutting tools to sever all posts as low as possible with the exception of the post closets to the victim(s). This post should be the last post to cut and should be cut as high as possible using hydraulics or the least obtrusive cutting tool. Page 4 Phone: ♦ 253.381.0213 www.ThePXTeam.org P.O. Box 1192 ♦ Puyallup ♦ WA ♦ 98371♦ 12/12 Puyallup Extrication Team PXT Door Options □ Door Removal – The opening and removal of a single door on a vehicle □ Third Door Conversion – With the plan to remove a single door on a two door vehicle strip then cut the B-post of the removed door. Next strip and cut the panel directly behind the B-post making a vertical cut as far back as needed. Next cut the bottom of this panel along the rocker panel. Once completed the opening will resemble a “Third Door” making the exit hole for patient removal much larger □ Maxi Door – This maneuver can be completed starting from either the rear or front door of a four door vehicle. Performing the proper strip, cutting and opening techniques both doors will swing open or be completely removed exposing the entire side of the vehicle Dash / Steering Column □ Steering Column Lift – In an order to make additional space use a grade 70 or stronger chain of appropriate length as well as manual (such as the First Responder Jack) or hydraulic tools the steering column is lifted away from the entrapped victim. Assure that the 12 volt system has been D/C’d if there is non-deployed SRS (airbags). Make sure hard protection is used for patient protection □ Steering Wheel Cut – Using manual, electric or hydraulic (preferred) tools cut the “spokes” of the steering wheel in an order to remove it entirely. Assure that the 12 volt system has been D/C’d if there is non-deployed SRS (airbags). □ Dash Roll – This maneuver is used when there is victim lower extremity entrapment by way of dash, steering wheel/column or other vehicle components. Using hard protection, manual (such as the First Responder Jack) or hydraulic tools and appropriate cribbing the dash is “rolled” off of the entrapped victim once the necessary cuts are made in the upper and lower “A” post and fender support. □ Dash Lift – Same as above but the dash is lifted in a vertical fashion. Page 5 Phone: ♦ 253.381.0213 www.ThePXTeam.org P.O. Box 1192 ♦ Puyallup ♦ WA ♦ 98371♦ 12/12 Puyallup Extrication Team PXT □ Center Dash Lift – Once the center dash supports has been severed make a purchase point in the center of the dash with hydraulic spreaders (closed) positioned in a vertical fashion. With the bottom spreader arm/tip on the transmission tunnel and the upper arm/tip placed under the horizontal bar/support of the upper dash. Activate the spreaders to lift the dash. □ Reverse Hood Removal – Using a pry tool, Haligan bar and/or 4x4 wedges force the hood open as close to the hinges as possible. Once exposed cut the hinges and force the hood open. □ Seat Push Down – Once manual or electrical options have been exhausted remove the adjoining window then place a 48”or 60” First Responder Jack base on the top of the seat to be pushed down and the lifting nose placed under the roof with the handle of the FRJ facing out. With the victim supported “off” the seat operate the FRJ until the seat is lowered to the desired location. □ S.H.A.D.E. S – Size Up & Survey Inner & Outer Survey (360 circles) for H – Hazard location / Hose line placement Hybrid / Alternative Fuel Badging A – A ccess Patients – Immediate Aid & Airway D – Disconnect batteries Disentanglement E – Extricate & remove from vehicle Page 6 Phone: ♦ 253.381.0213 www.ThePXTeam.org P.O. Box 1192 ♦ Puyallup ♦ WA ♦ 98371♦ 12/12

