to the helpful article: Printing with
advertisement
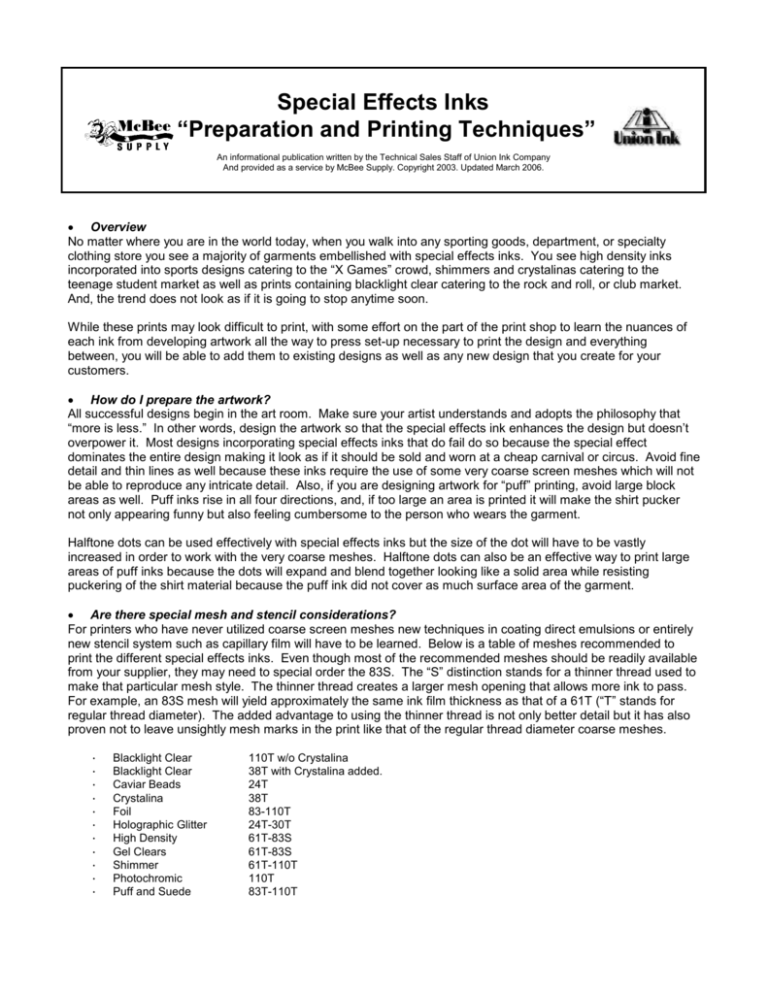
Special Effects Inks “Preparation and Printing Techniques” An informational publication written by the Technical Sales Staff of Union Ink Company And provided as a service by McBee Supply. Copyright 2003. Updated March 2006. Overview No matter where you are in the world today, when you walk into any sporting goods, department, or specialty clothing store you see a majority of garments embellished with special effects inks. You see high density inks incorporated into sports designs catering to the “X Games” crowd, shimmers and crystalinas catering to the teenage student market as well as prints containing blacklight clear catering to the rock and roll, or club market. And, the trend does not look as if it is going to stop anytime soon. While these prints may look difficult to print, with some effort on the part of the print shop to learn the nuances of each ink from developing artwork all the way to press set-up necessary to print the design and everything between, you will be able to add them to existing designs as well as any new design that you create for your customers. How do I prepare the artwork? All successful designs begin in the art room. Make sure your artist understands and adopts the philosophy that “more is less.” In other words, design the artwork so that the special effects ink enhances the design but doesn’t overpower it. Most designs incorporating special effects inks that do fail do so because the special effect dominates the entire design making it look as if it should be sold and worn at a cheap carnival or circus. Avoid fine detail and thin lines as well because these inks require the use of some very coarse screen meshes which will not be able to reproduce any intricate detail. Also, if you are designing artwork for “puff” printing, avoid large block areas as well. Puff inks rise in all four directions, and, if too large an area is printed it will make the shirt pucker not only appearing funny but also feeling cumbersome to the person who wears the garment. Halftone dots can be used effectively with special effects inks but the size of the dot will have to be vastly increased in order to work with the very coarse meshes. Halftone dots can also be an effective way to print large areas of puff inks because the dots will expand and blend together looking like a solid area while resisting puckering of the shirt material because the puff ink did not cover as much surface area of the garment. Are there special mesh and stencil considerations? For printers who have never utilized coarse screen meshes new techniques in coating direct emulsions or entirely new stencil system such as capillary film will have to be learned. Below is a table of meshes recommended to print the different special effects inks. Even though most of the recommended meshes should be readily available from your supplier, they may need to special order the 83S. The “S” distinction stands for a thinner thread used to make that particular mesh style. The thinner thread creates a larger mesh opening that allows more ink to pass. For example, an 83S mesh will yield approximately the same ink film thickness as that of a 61T (“T” stands for regular thread diameter). The added advantage to using the thinner thread is not only better detail but it has also proven not to leave unsightly mesh marks in the print like that of the regular thread diameter coarse meshes. • • • • • • • • • • • Blacklight Clear Blacklight Clear Caviar Beads Crystalina Foil Holographic Glitter High Density Gel Clears Shimmer Photochromic Puff and Suede 110T w/o Crystalina 38T with Crystalina added. 24T 38T 83-110T 24T-30T 61T-83S 61T-83S 61T-110T 110T 83T-110T As with any type of printing, whether it is special effects or standard plastisols, the sharpest prints are always achieved by stretching the mesh to the mesh manufacturer’s recommended tensioning levels. Just by asking, all mesh manufacturers will be happy to provide you with this chart As you can see, except for Blacklight Clear without the addition of Crystalina flakes, Photochromic, foil prints suede and puff; most meshes required for each ink series are extremely coarse. This is because in the case of a shimmer, glitter or crystalina ink the mesh opening must be large enough for the metallic particle to pass through unobstructed. If the mesh is too fine, it will act as a filter. letting the clear base used to suspend the particles pass, but preventing the particle from passing through the smaller opening. In the case of the high density and gel clears, the coarser meshes allow you to put down the thick ink film required to produce the look. Last but not least, foil prints, caviar bead prints, glass bead prints have to have a coarse mesh as well as a thick stencil buildup on the print side of the screen so the foil or beads are strongly bonded to the garment to produce a durable print. Depending upon which emulsion you are direct coating to produce your stencil it may be necessary to add an extra coat on the print side after the initial coating. Emulsions come in different viscosities or solid contents. They can range from 25% solids in diazo types to over 50% solids in some of the fast-exposing pure photopolymers. The solids contents lets you know how much is actual product and how much is water. For example, a direct emulsion with a solids content of 25% would contain 75% water and be on the thin side. On the opposite end of the spectrum, an emulsion with a solids content of 52% would contain 48% water and be on the thicker side. If you are using a diazo or dual cure emulsion low in solids, I would recommend that you switch to a pure photopolymer with a higher solids content. This will speed up your screen production because the screen will require less coats to build up the stencil thickness needed to lay down the correct ink film thickness for the desired effect. Also, pure photopolyers also have a longer shelf life as well as screens having a longer pre-exposure storage life. Another method of speeding up the stencil process is to use any of the capillary or thick films that are available from most emulsion manufacturers. These films are actually direct emulsions that have been coated onto carrier sheets and are available in a variety of stencil thicknesses. This thickness of the film is measured in microns and range anywhere from 20 microns to 1000 microns in thickness. If you are plan to use a capillary or thick film to produce your stencil the following table will serve as a guideline for the particular mesh and ink series that you are using. • • • • • • • • • • • • • Ink Mesh Recommended Film Thickness In Microns Blacklight Clear Blacklight Clear Caviar Beads Crystalina Foil Glass Beads Holographic Glitter High Density Gel Clears Shimmer Photochromic Puff Suede 110T w/o Crystalina 38T with Crystalina added. 61T 38T 83T-110T 13T 24T-30T 61T-83S 61T-83S 61T-110T 110T 61T-110T 83T-125T 50 Microns 100 Microns 250-400 Microns 100 Microns 50-70 Microns 150-250 Microns 150-250 Microns 250-700 Microns 250-400 Microns 70-100 Microns 50-70 Microns 70- 100 Microns 50-70 Microns The advantage to using films over direct emulsion is in speed of application. Screen makers using capillary or thick film in the lower thicknesses have had screens press ready in as little as one hour. High density, caviar or glass beads, and gel clear require very thick ink deposits to achieve the effect and if using a direct emulsion it could take anywhere from 15-25 times of a coat, dry, coat technique to achieve the stencil thicknesses needed to produce the thick print. However, by using a capillary or thick film, you can get your desired stencil thickness immediately by applying whatever thickness you want in one application. There are several tricks involved making screens with these thicker films so always consult your stencil materials manufacturer for exact instructions on applying the capillary or thick films. Are there special printing considerations when using special effects inks? Special printing considerations should be taken when printing high density, gel clears or the adhesives for caviar beads. Because you are using coarse meshes along with thicker films it will require you to generously flood the image prior to the squeegee stroke. Completely fill the ink well of the design with ink and cut the ink off at the top of the design. To completely clear the ink from the screen a slower than normal squeegee stroke is recommended because you are transferring a thick ink film to the garment. As always, minimal off-contact should be set so the screen peels off the garment approximately 1-1 1/2 inches behind the squeegee. This will ensure the sharpest prints with the least amount of effort. For all other inks, normal flood and print strokes produce excellent results. Preferably, in a perfect world, triple durometer squeegee blades 70/90/70 would be utilized although single composite squeegees in the 70 durometer range yield excellent results as well. Try rounding the edge of the sharp blade by taking a piece of sand paper and slightly dulling the edge. You are pushing a large amount of ink through the screen and this will help you achieve the end result. How do I cure special effects inks? Designs containing special effects inks require special curing procedures. In its simplest form a print will cure completely when the resin, one of the main components in the ink absorbs all the liquid (plasiticizer). Only when this happens will you achieve a solid ink film that bonds to the garment and will stay there washing after washing. Variables in curing involve the fabric thickness of the garment, ink film thickness and the particular characteristics of the ink in which you are printing. There are three stages to the curing process. First, all moisture must be removed from the garment. This will be more important if you are printing on a heavyweight 100% cotton garment and are located in a high humidity area. Cotton garments absorb and hold moisture more than polyester/cotton garments and require a longer time in the dryer to remove the moisture. Next, the fabric must be brought up to temperature and will require a longer curing time if you are printing a sweatshirt versus a t-shirt. Last, the ink film has to be brought up to the cure temperature. Because different special effects inks cure at different temperatures always refer to the Technical Data Sheet for the particular ink in which you are printing. With the exception of Black Light Clear or Photochromic inks, most special effects inks are printed with a very thick ink film and require an increase in heat and longer dwell time in the dryer. Also, inks such as crystalinas, shimmers and glitters reflect infrared heat so not only are you challenged by thick ink film you are challenged by the metallic particles reflecting the heat as well. Why does my glitter not look as sparkly as my competition? More than likely you are printing a mixed glitter where you have either purchased it from your supplier pre-mixed or you have mixed the glitter particles into the clear base. Your competition is probably doing what is called the “Dry Dusted Glitter” effect. His prints look more sparkling because his glitter particles are sitting on top of the base and your glitter particles are encapsulated by the base. To produce prints that look as sparking as your competion print the clear base (preferably the PAGL-9030 Glitter Clear Base or the PLFX-9040 Hi-Gloss Gel) Clear and then sprinkle dry metallic flakes directly on top of the wet base. The challenges occurred in using the “dry dusted glitter” technique is in the durability of the print. Prints using this technique generally lose their sparkling effect after a few washings because the glitter particle is not bound to the print like a pre-mixed glitter binds the particle. An excellent alternative to pre-mixed glitters and the “dry dusted glitter” technique is to mix your dry glitter particles into a special base called Premium Glitter Clear (PAGL-9032). This based is made with a thinner viscosity that not only binds the particle to the print better but the thinner viscosity allows the particle to sit on top of the surface producing a sparkling effect that is much better than the older, pre-mixed versions but gives the print better durability than the “dry dusted glitter” technique”. Also, on the market today is Union’s newest special effects ink, Holographic Glitter. Holographic Glitter Plastisol (HALO) is a series of 14 intense sparkling, glitter colors. Designs will have the appearance of a multi-colored glitter when direct sunlight or a point light source is reflected off the holographic particles. Designs printed with Holographic Glitter are extremely stunning when viewed in direct sunlight. Even though Holograhpic Glitter prints do not give off the same multi-colored effect indoors under diffused light sources, they still produce a beautiful special effects accent in any print. When I mix “sugar glitter” into my clear base there is no sparkle, why? Because the .015” x .015” sugar glitter particle is clear and the glitter base that you are mixing it with is clear. For no better term the two clears are “cancelling each other out” leaving the print looking as if has nothing but a thin clear coat over it, or at best very little sparkle at all. Sugar Glitter should be sprinkled on top of a clear base. Print Union’s PAGL-9030 Glitter Clear Base through a 110 mesh using regular direct emulsion and then sprinkle the sugar glitter on top of the wet base. Most printers use a can with a lid that has holes punched in the lid to sprinkle the glitter onto the design. How do I achieve the two-color foil distressed look? To achieve this effect print your design with Foil Adhesive (FOIL-9200P) through an 83-110 mesh and cure the entire ink film at 300° F. After placing the garment on the transfer press, take the first foil sheet and crumple it tightly into a firmly-packed ball. Because the foil sheets are brittle, when you reflatten the sheet some of the foil will fall off leaving randomly exposed areas in the foil. Place this sheet color side up over the printed area and transfer for 15-20 seconds with medium-high pressure at temperatures between 325°-350° F. Let sheet cool completely and and peel from garment. Take second color of foil (leave flat, DO NOT CRUMPLE) and place over design and transfer using the same parameters that were used to transfer the first sheet. Peel second color from design after sheet has cooled. The second color will only adhere to the exposed parts of the adhesive where the first color fell off the sheet. Keep in mind that because you cannot control which parts of the foil falls off the first sheet each desing will be somewhat different. Conclusion As stated at the beginning of this article, printing special effects inks can be a challenge. However, this can be easily overcome if you properly preparing your art and screens and practice your printing techniques prior to selling the designs to your customers. We cannot overstate the fact that you need to test the techniques in this article prior to selling and printing a job for your customer. A confirmed order is no place to do your research and development on any new printing process. By learning special effects printing and incorporating this process into your repertoire it can garner more profits for your business as well as giving the image to your customers that you are staying on the “cutting edge” of your industry. Disclaimer Customer testing is required and should be mandatory with this product or any new product or process before running production. Our technical advice and recommendations given verbally, in writing, or by trials are believed to be correct. They are not binding also with regard to the possible rights of third parties and do not exempt you from your task of examining the suitability of our products for the intended use. We cannot accept any responsibility for application and processing methods that are beyond our control, nor can we accept responsibility for misuse by you of the products or use by you of the products outside the specified written instructions given with the products. User must protect sensitive skin, exposed wounds and eyes from contact with products. For More Information This paper was written and produced for your information by the staff of Union Ink Company. For more information about these product, processes or any other Union Ink product please call McBee Supply at 1-800622-3304 or Union Ink at 1-800-526-0455.
