UNITY/HEAT HIV RT OraQuick Advance Protocol
advertisement
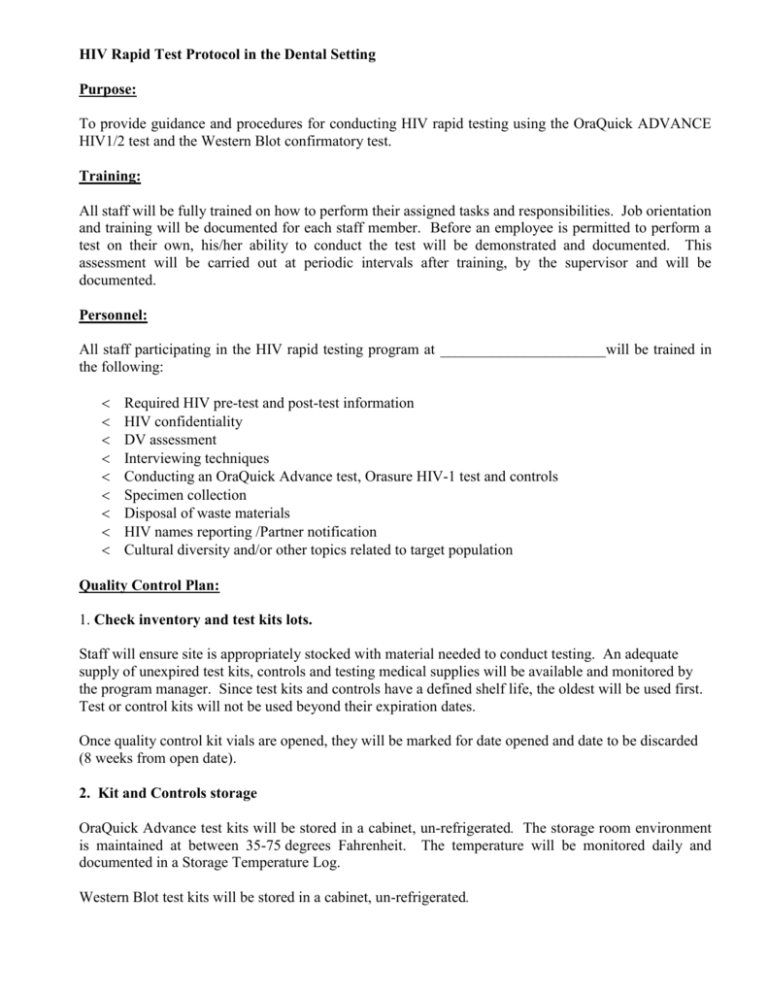
HIV Rapid Test Protocol in the Dental Setting Purpose: To provide guidance and procedures for conducting HIV rapid testing using the OraQuick ADVANCE HIV1/2 test and the Western Blot confirmatory test. Training: All staff will be fully trained on how to perform their assigned tasks and responsibilities. Job orientation and training will be documented for each staff member. Before an employee is permitted to perform a test on their own, his/her ability to conduct the test will be demonstrated and documented. This assessment will be carried out at periodic intervals after training, by the supervisor and will be documented. Personnel: All staff participating in the HIV rapid testing program at ______________________will be trained in the following: Required HIV pre-test and post-test information HIV confidentiality DV assessment Interviewing techniques Conducting an OraQuick Advance test, Orasure HIV-1 test and controls Specimen collection Disposal of waste materials HIV names reporting /Partner notification Cultural diversity and/or other topics related to target population Quality Control Plan: 1. Check inventory and test kits lots. Staff will ensure site is appropriately stocked with material needed to conduct testing. An adequate supply of unexpired test kits, controls and testing medical supplies will be available and monitored by the program manager. Since test kits and controls have a defined shelf life, the oldest will be used first. Test or control kits will not be used beyond their expiration dates. Once quality control kit vials are opened, they will be marked for date opened and date to be discarded (8 weeks from open date). 2. Kit and Controls storage OraQuick Advance test kits will be stored in a cabinet, un-refrigerated. The storage room environment is maintained at between 35-75 degrees Fahrenheit. The temperature will be monitored daily and documented in a Storage Temperature Log. Western Blot test kits will be stored in a cabinet, un-refrigerated. Controls will be kept in the refrigerator which is monitored by the laboratory director. To ensure the temperature is within the limits of the acceptable range of 35 to 46 degrees Fahrenheit, a daily reading of the thermometer inside the refrigerator will be documented in a Refrigerator Temperature Log. Accuracy of thermometers will be monitored every 6 months, and batteries checked. 3. Temperature monitoring and maintenance Staff will check temperature daily. A thermometer will be kept in the storage room where the test kits are stored, and staff will record the storage temperature in the Storage Temperature Log. A thermometer will also be kept in the testing area. Each time a test or a control is conducted the room temperature shall be recorded in the Testing Area Temperature Log. All of the above logs will be kept in one binder with dividers to keep them readily available. The Clinical Supervisor shall review the logs, note and sign that the logs were reviewed once a week. Corrective action for temperatures that go above and below the range will include adjustment to the environmental condition (heat/air conditioner). If storage temperature falls out of range, an external control will be performed on the supply to ensure product quality. Action will be documented and reviewed by supervisor. The Program Coordinator will ensure that the controls, testing device and developer solution, once removed from the refrigerator, have come to room temperature between 59 and 99 degrees Fahrenheit before opening and using. 4. Testing area readiness: Lighting and testing surface Tests are conducted in the dental treatment rooms, which is environmentally stable, well-lit, and has a stable surface (counter top/table). The supervisor will conduct periodic direct observation of testing activities to ensure corrective action will be taken, if necessary. External Quality Control(QC) QC is performed with a negative/positive test as required by manufacturer. Each new tester will run a control as part of training, when a new test kit lot is opened, when a new shipment comes in, if the temperature of the storage area falls outside of the temperature range, and/or if the test area falls outside of the temperature range. In addition, control tests are done every month (if no testing has been conducted within 30 days). If either the negative or positive controls do not provide expected results, the supervisor will be notified. Staff will review process for conducting the control with a new control kit to rule out cross contamination. If corrective action does not resolve the problem, testing with the kits will cease and the company will be contacted. To detect and resolve problems that occur at any point in the testing process, especially those that may affect the accuracy of test results, staff will follow guidance for: When to discontinue testing (e.g., when the external control results are unacceptable as described in the package insert or the test results are Invalid more than once). How to take corrective action in response to a problem (e.g., contacting the supervisor when the external control results are unacceptable). How to document problems and the action taken (e.g., a logbook where problems and corrective actions taken can be recorded). How to verify that the corrective actions taken addressed the problem Significant problems will be immediately reported to the appropriate supervisory personnel/laboratory director. External control records will include the date and time of control testing, lot numbers and expiration of the test kit, lot number and expiration date of the controls, control results and corrective action taken if control results are unacceptable. Control records will be kept in the log book and in the order in which they were completed so they can be easily compared with the test records. This will assist in finding answers if there are questions about testing performed within a specific time frame. Confidentiality Standard HIV confidentiality measures, in compliance with New York State HIV Confidentiality Law (Public Health Law Article 27-F will be followed in the case of rapid testing. Test results are covered under the confidentiality policies of Article 27-F of the Public Health Law and cannot be shared with others. All client and partner information is confidential, whether the client is tested or declines testing. Releasing of test results or any information leading to disclosure of the identity of a client without the written consent of the client is a breach of confidentiality and punishable by applicable statutes and administrative regulations. Streamlined pre-test and post test sessions are ideally performed in a closed treatment room one-onone. If this is not possible, arrangements should be made to accommodate the patient’s confidentiality to the best of your ability. Documentation of test results will be placed in the patients existing medical file. These files are only accessible to the staff identified in your policy and procedure manual. Testing Procedures All testing will be conducted in compliance with Article 27 F of the PHL and NYS Guidelines. All clients will be provided with the required points of information to obtain informed consent. Per the agency’s policy and procedures staff will either obtain verbal consent from the patient and document in the record or have the patient sign a consent form and place in patient record. Staff will collect OraQuick Advance specimens as per manufacturers requirement The test will be process as per manufacturer’s instructions (20 minutes). Staff will read and record the test result on a Lab Result Slip. Staff will report the result to client; ensure client understands meaning of result. If reactive, staff will collect a supplemental Western Blot test as per manufacturer’s requirement and will send to approved laboratory for analysis.. Staff will set up an appointment for the patient to see an HIV Specialist within 48 hours of receiving preliminary results for follow up care. If necessary the HIV specialist will set an additional appointment with the patient to receive the results of the confirmatory WB test. Dental provider will document appointment information in patient record. Staff will document preliminary results in client chart and on master log. Staff will clean up testing area and dispose of waste as indicated. Confirmatory testing and linkage to care All individuals who have a preliminary positive HIV antibody test using the OraQuick Advance test will be tested with a Dried Blood Spot specimen by fingerstick and sent to the Wadsworth Virology Laboratory for Western Blot processing An appointment will be made within 48 hours of receiving the preliminary reactive result with an HIV Specialist at ____________________________________ for follow up care. If necessary the HIV specialist will set an appointment with the patient to receive the results of the confirmatory WB test. Dental provider will document appointment information in patient record and the provision of the WB test result. Tracking of confirmatory testing Dental providers will document the date the confirmatory specimen is sent and the date the results of the test is received from the lab. Test results will be provided to the HIV specialist for whom the individual is receiving care. An authorization for the release of information will be obtained (may or may not need this based on the relationship of the care provider and the dental provider, new law states it is allowable) If the person refuses the confirmatory test at the time of the preliminary positive result, the tester will document the reason why (i.e. previously known HIV positive, prefers to go to different provider) and offer another appointment for a follow-up and other HIV testing referrals Laboratory Guidelines OraQuick ADVANCE The OraQuick ADVANCE Rapid HIV-1/2 Antibody Test is a single use, qualitative immunoassay to detect antibodies to Human Immunodeficiency Virus Type 1 (HIV-1) and Type 2 (HIV-2) in oral fluid. The OraQuick ADVANCE Rapid HIV-1/2 Antibody Test is intended for use as a point-of-care test to aid in identifying infection with HIV-1 and HIV-2. The test results are interpreted after 20 minutes but not more than 40 minutes after the introduction of the test device into the developer solution containing the test specimen. Supplemental Western Blot A Dried Blood Spot specimen by fingerstick will be administered and sent to the Wadsworth Virology Laboratory for Western Blot processing as per instruction sheet. METHOD This procedure is for use with preliminary oral specimens and confirmatory finger stick Western Blot tests. OraQuick Advance Equipment: Test Stand Developer Solution Vial Timer or Watch Thermometer Disposable Gloves Disposal Container Unexpired Test Device Pre-Collection of OraQuick Advance: 1. Prepare patient field and assemble supplies by opening the two chambers of OraQuick Advance divided pouch, leaving Test Device in pouch. Check expiration date. 2. Seat patient comfortably 3. Remove the Developer Solution vial. 4. Remove cap on Developer Solution vial. 5. Slide Developer Solution vial into Stand, making sure not to splash contents and vial is seated in bottom of the slot in the Stand. Collection of OraQuick Advance: 6. Put on a new pair of gloves 7. Have person being tested be seated in the dental treatment chair and have the trained dental staff member remove the Test Device from its Pouch. DO NOT ALLOW staff to touch the Flat Pad. Check that an absorbent package is included with the Test Device. 8. The staff member will insert the Flat Pad at the right upper canine and swipe the upper vestibule and then repeat the process on the lower vestibule. The Flat Pad will be in the mouth for a maximum of 5 seconds. The staff member will be careful not to swab roof of mouth, inside of cheek or the tongue. Either sides of Flat Pad may be used; however, the Flat Pad does not have to be flipped to use both sides. 9. The staff member will then insert the Flat Pad of the Test Device all the way into the Developer Solution Vial. Make sure Flat Pad touches bottom of Solution Vial. The Result Window should be facing towards you. 10. Start timer. The window will look pink and will gradually disappear as the test develops. 11. READ the results after 20 minutes, but not more than 40 minutes in a fully lighted area. Do not remove Test Device from Vial until you have read the results. Test Result and Interpretation: 12. Refer to the Test Result & Interpretation of Test Result section in the OraQuick ADVANCE Package Insert. 13. Determine if the test result is reactive or non-reactive. 14. If the test result is non-reactive, relay the results to the patient and document in patient’s medical records. 15. If the test result is reactive, relay the results to the patient, document in the patient’s medical record, provide information on prevention and the need for immediate conduction of a second test for confirmatory testing and follow up care with an HIV Specialist.. Post-Collection: Dispose of all other test kit pieces according to procedures. Dispose of gloves and wash hands Result Reporting: Record results in Log Book. Criteria for corrective action: Test Device is expired. Test Device not packaged with absorbent package. Area being tested does not fall between 59-99 degrees F. Reading test results earlier or later than 20 minutes. Confirmatory Western Blot - Fingerstick Procedure Equipment Needed ● Alcohol preps for cleansing area Dry gauze pads Sterile lancet with automatic retracting feature Band-aid Gloves Sharps container / waste receptacle Work surface Barrier Procedure Assemble equipment necessary for fingerstick procedure and explain procedure to client. Prepare the work area where you will perform the fingerstick and test procedure. See product instructions for general test preparation. Instruct client to rest arm in a downward position for about 30 seconds to allow blood to flow to fingertips. To stimulate blood flow, you may stroke the client’s arm with a gentle downward motion from the forearm to the hand. Consider warming site if necessary (wash with warm water, rub hands together, or shake hands). Always don gloves (must be clean and changed between clients) before proceeding to next step. Choosing either the middle or third finger, cleanse the fingertip with an alcohol prep. Allow alcohol to air dry thoroughly or wipe dry with a gauze pad before proceeding. Take off Lancet cap. Do not use the lancet if the protective cap has been previously removed. When selecting the site, move toward the side of the finger (this area contains a larger amount of capillaries and less nerve endings). Grasp the client’s finger firmly between your thumb and index finger with the palm of the client’s hand facing up. • Place the lancing device on the skin and hold firmly. Activate the release button. The lancet will automatically retract into the device after use. Dispose in sharps container. Squeeze the finger gently to obtain a drop of blood. Wipe away this first drop of blood with a sterile gauze square to avoid tissue fluids which may result in inaccurate results. Continuing to grasp the finger, collect the blood sample. Have the client hold a small gauze pad over the puncture site to stop the bleeding. Perform testing procedure adhering to procedure instructions. Check the condition of the patient and that bleeding is under control. Apply bandaid. Place any contaminated materials such as gauze pads or gloves in appropriate containers. Helpful Hints Avoid puncturing a finger that is cold or cyanotic, swollen, scarred, or covered with a rash. Also avoid using areas which are callused, burned or injured. Do not use a finger with a tight ring on it. Excessive squeezing or milking of the client’s finger should be avoided to eliminate diluting specimen sample with tissue fluids, which can cause an inaccurate test result. The best locations for fingersticks are the 3rd and 4th fingers of the non-dominant hand. Do not use the tip of the finger or the center of the finger. Avoid the side of the finger where there is less soft tissue, where vessels and nerves are located, and where the bone is closer to the surface. The 2nd (index) finger tends to have thicker, callused skin. The fifth finger (pinky) tends to have less soft tissue overlying the bone. The puncture should be made perpendicular to the ridges of the fingerprint so that the drop of blood does not run down the ridges. For deeper skin penetration, place the lancet parallel to the finger. If you wish to achieve less penetration, hold finger perpendicular to the lancet. Dried Blood Spot (DBS) Specimen Collection and Mailing Procedure 1. Label the Specimen Collection Card with client name and collection date before opening the card to expose the blotter paper. Lift the flap where shown to open the card. The blotter paper should not lay flat against the work surface when used. To angle it slightly above the work surface, gently bend the flap away from the back side of the blotter paper when opening the card. 2. Perform the fingerstick and have the client hold his/her finger over (not touching) a circle on the DBS card while a large drop of blood forms. Allow drop to fall into the circle; do not layer blood drops in the same circle. Blood may extend slightly beyond the circle. Collect as many circles on the DBS card as possible. 3. When the collection is complete, bend the card in the manner above increase the angle so adequate air flows beneath the blotter paper when the card is placed on a flat surface to dry. 4. Card must dry at least 4 hours and no more than 24 hours prior to mailing. Allowances can be made when mailing delays occur because of weekends or holidays. 5. Off-site specimen collection: For transport of DBS card within 4 hours of collection, fold the cover under the sample and tuck into flap. The cover should not touch the filled circles before 4 hours have elapsed. Place card on a sheet of glassine paper in the drying box. Cover with the lid ensuring that the air holes are pointing upwards. 6. Do not refrigerate or freeze the specimen card. 7. After drying, discard the glassine paper, if used, then fold the DBS card at the crease line and place the dried blood spot card and completed test requisition (DOH-49) in a plain envelope. To the envelope attach a label addressed to: Monica Parker, PhD. NYSDOH - Wadsworth Center David Axelrod Institute PO Box 22002 Albany, NY 12201-2002 8. Multiple DBS specimen cards may be sent in same envelope. Affix sufficient postage and send via first class mail using US Postal Service. 9. Put envelope in an indoor mailbox to avoid extremes in temperatures. 7 14 2011 Laboratory Director: ______________________________ Date: ____________
