the tutorial. - Westminster Campus Store
advertisement
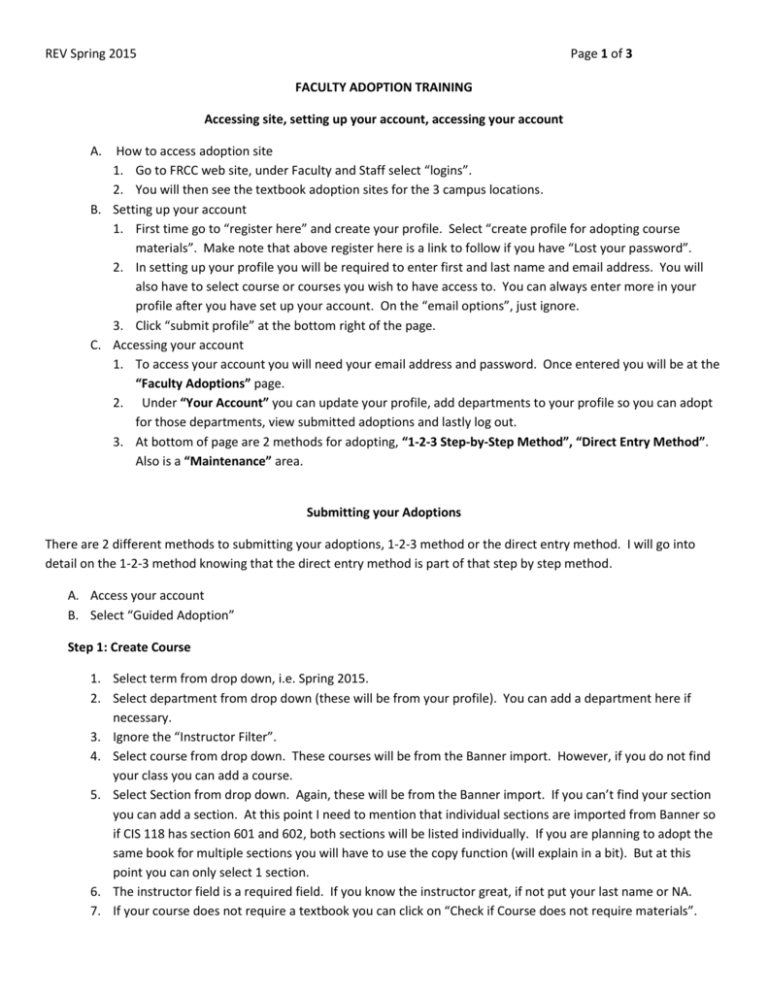
REV Spring 2015 Page 1 of 3 FACULTY ADOPTION TRAINING Accessing site, setting up your account, accessing your account A. How to access adoption site 1. Go to FRCC web site, under Faculty and Staff select “logins”. 2. You will then see the textbook adoption sites for the 3 campus locations. B. Setting up your account 1. First time go to “register here” and create your profile. Select “create profile for adopting course materials”. Make note that above register here is a link to follow if you have “Lost your password”. 2. In setting up your profile you will be required to enter first and last name and email address. You will also have to select course or courses you wish to have access to. You can always enter more in your profile after you have set up your account. On the “email options”, just ignore. 3. Click “submit profile” at the bottom right of the page. C. Accessing your account 1. To access your account you will need your email address and password. Once entered you will be at the “Faculty Adoptions” page. 2. Under “Your Account” you can update your profile, add departments to your profile so you can adopt for those departments, view submitted adoptions and lastly log out. 3. At bottom of page are 2 methods for adopting, “1-2-3 Step-by-Step Method”, “Direct Entry Method”. Also is a “Maintenance” area. Submitting your Adoptions There are 2 different methods to submitting your adoptions, 1-2-3 method or the direct entry method. I will go into detail on the 1-2-3 method knowing that the direct entry method is part of that step by step method. A. Access your account B. Select “Guided Adoption” Step 1: Create Course 1. Select term from drop down, i.e. Spring 2015. 2. Select department from drop down (these will be from your profile). You can add a department here if necessary. 3. Ignore the “Instructor Filter”. 4. Select course from drop down. These courses will be from the Banner import. However, if you do not find your class you can add a course. 5. Select Section from drop down. Again, these will be from the Banner import. If you can’t find your section you can add a section. At this point I need to mention that individual sections are imported from Banner so if CIS 118 has section 601 and 602, both sections will be listed individually. If you are planning to adopt the same book for multiple sections you will have to use the copy function (will explain in a bit). But at this point you can only select 1 section. 6. The instructor field is a required field. If you know the instructor great, if not put your last name or NA. 7. If your course does not require a textbook you can click on “Check if Course does not require materials”. REV Spring 2015 Page 2 of 3 8. Estimated enrollment and pre-enrollment will be auto populated from Banner or you can overwrite with your own numbers. 9. Once making your selections click continue. Step 2: Find Books On this page you will now have in the task bar (blue bar under Step1, Step 2) 5 ways you can find your book(s). Make note that on the right hand margin is your Adoptions cart indicating term, department, course and section. As you add adoptions this field will be updated with those selected titles. The 5 possible ways to enter your book: 1. “Your Book List” The first time you do this you will not have a book list, but as you submit adoptions these titles will be added to your list. Make note, that all the information listed for books is current and up to date, you will be informed of old editions, out of prints, etc.. If you wish to select a book just click adopt and then continue. 2. “Browse Books” This is for those folks who are not sure which book they wish to use. It starts with general areas and drills down to more detailed subjects. Again, if you find a book you wish to use click “adopt” and then continue. 3. “Book Search” If you know which book you wish to use and you have the author, title or ISBN you can use this to directly enter that info. (This is basically the direct entry method) Use the drop down menu to select your search criteria. Once you’ve found the textbook, click adopt, then click on “continue” at the bottom of the page. 4. “History” If you wish to select a book from past history you can do so from this selection. You will select a department and term and click search. All of the courses for that term will be displayed and you can “view” the titles from that course. You can now adopt your book and continue. Make note, that for all 3 campus locations Fall 2014 has been entered and you can access that history. 5. “Add a Book” This is a case where you know what you want but you have not found the book with the other 4 methods. Most likely this will be a new custom that you and the publisher have agreed to use. You will enter an Author, title, ISBN and publisher. Adopt and continue. Step 3: Select Usage On this page you will select the usage codes for each selected titles. These usage codes are determined by the bookstore so there may seem to be some odd selections. You should only use the “REQUIRED” or “OPTIONAL”. If you have a case where you have multiple texts and students only need 1 of the texts make both required. On this page you can also make messages to the bookstore. If you wish not to copy the same information into the other section of a multiple section course you could leave a message here stating that you wish to use these adoptions for another section of the same course. ENG 121 and MAT 121 may wish to do this so as not to have to copy the information 20 or more times. Once done with your usage selections and writing a message click continue. Step 4: Adoption Review This is the screen that shows you the term, department, course and section you are adopting for and all of the textbooks you have adopted. At this point there are only 2 choices and that is to submit the adoption or cancel. You can also enter an email address to anyone you wish to have a notification of this adoption (i.e. admin person) If the admin folks would like to receive emails automatically the textbuyers can go into the backroom setup and attach your email address REV Spring 2015 Page 3 of 3 to the submitters name. The textbuyers would just need to know who those adopters are. You don’t have to enter your email, it was already set up when you did your profile. If you like everything click submit. The next screen will indicate that “submit” was completed. And you are done. Shortly, you will (and anyone you have included) receive an email confirming your submission. At this point if you wish to copy the adoption into another section you can click on “Copy Adoption to new course”. On the next page all you would need to do is change the section to the new section and click submit. Notice your books are already there. Again use this when adopting for multiple sections of the same title. After you have submitted your Adoptions Your textbook submission will electronically be placed in the textbuyers system to be approved. Once the textbuyer approves your adoption you will receive an email notification. Once you receive this notification the adoption is now in the ordering screens for the textbuyer and ordering decisions will be made. The textbuyer can “unapprove” the adoption in which case you will have to make a change and resubmit the adoption, but in most cases if there is a question about an adoption the textbuyer will contact the adopter immediately to figure out the problem. (Just like it has always been)


