BPEEP Learning Experience 1.6
advertisement
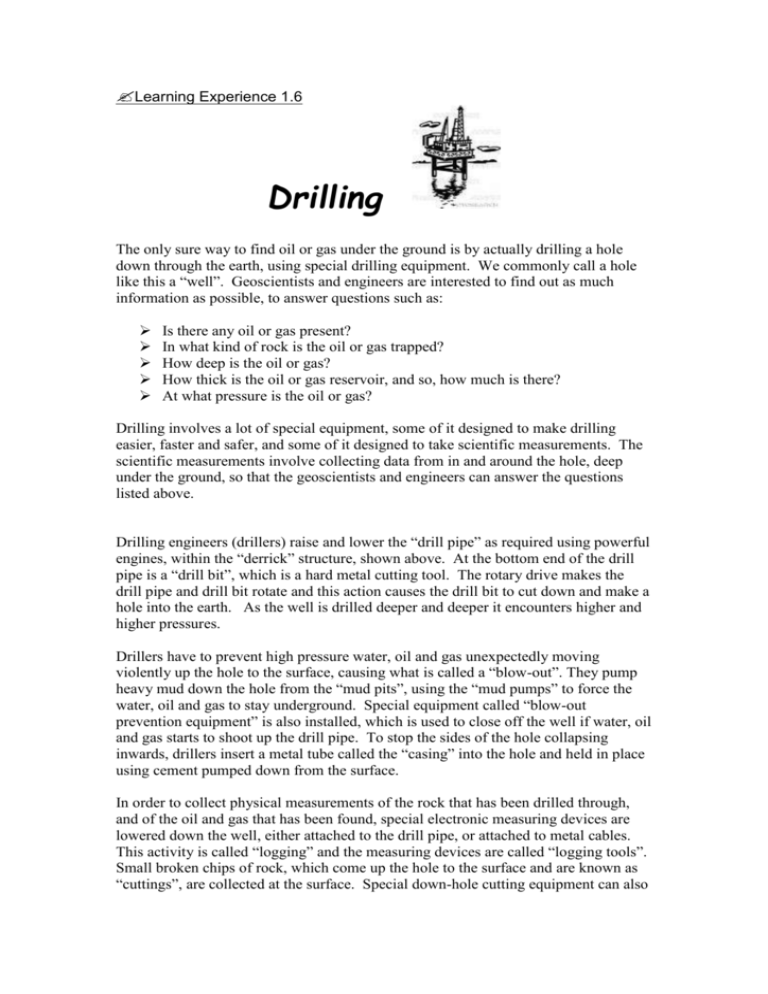
Learning Experience 1.6 Drilling The only sure way to find oil or gas under the ground is by actually drilling a hole down through the earth, using special drilling equipment. We commonly call a hole like this a “well”. Geoscientists and engineers are interested to find out as much information as possible, to answer questions such as: Is there any oil or gas present? In what kind of rock is the oil or gas trapped? How deep is the oil or gas? How thick is the oil or gas reservoir, and so, how much is there? At what pressure is the oil or gas? Drilling involves a lot of special equipment, some of it designed to make drilling easier, faster and safer, and some of it designed to take scientific measurements. The scientific measurements involve collecting data from in and around the hole, deep under the ground, so that the geoscientists and engineers can answer the questions listed above. Drilling engineers (drillers) raise and lower the “drill pipe” as required using powerful engines, within the “derrick” structure, shown above. At the bottom end of the drill pipe is a “drill bit”, which is a hard metal cutting tool. The rotary drive makes the drill pipe and drill bit rotate and this action causes the drill bit to cut down and make a hole into the earth. As the well is drilled deeper and deeper it encounters higher and higher pressures. Drillers have to prevent high pressure water, oil and gas unexpectedly moving violently up the hole to the surface, causing what is called a “blow-out”. They pump heavy mud down the hole from the “mud pits”, using the “mud pumps” to force the water, oil and gas to stay underground. Special equipment called “blow-out prevention equipment” is also installed, which is used to close off the well if water, oil and gas starts to shoot up the drill pipe. To stop the sides of the hole collapsing inwards, drillers insert a metal tube called the “casing” into the hole and held in place using cement pumped down from the surface. In order to collect physical measurements of the rock that has been drilled through, and of the oil and gas that has been found, special electronic measuring devices are lowered down the well, either attached to the drill pipe, or attached to metal cables. This activity is called “logging” and the measuring devices are called “logging tools”. Small broken chips of rock, which come up the hole to the surface and are known as “cuttings”, are collected at the surface. Special down-hole cutting equipment can also be used to produce solid rock “cores”. Geologists use the logging, cuttings and core results together to describe the properties of the rock, such as its type, age, density, porosity and which kinds of fluids it contains- whether water, oil or gas. When drilling at sea, equipment similar to that shown and described above is mounted on a floating vessel, together with accommodation for the geoscientists, engineers, and crew. In shallow water, “jack-up” rigs are used, in which the platform holding the equipment and accommodation rests on three or four strong steel legs. The legs can be raised and lowered, depending on the water depth. In deeper water, “semi-submersible” rigs are used, in which the legs have floating pontoons attached, so that the rig actually floats. There is also an engine, so that the rig can be propelled around like a boat from one drilling location to the next. Whilst a well is being drilled, anchors are used to make sure the rig does not move too much in the wind and sea currents. In very deep water, typically greater than 1500 m, drilling ships are used. In this case, the drilling equipment is mounted on a ship. Rather than using anchors, the ship uses special water thrusters and GPS technology to make sure the ship stays relatively still whilst drilling. Wells used to explore for new accumulations of gas and oil are called “exploration wells”. Once an accumulation has been discovered, further wells are drilled to collect more data on the properties of the field, such as those listed above. These are called “appraisal wells”. Finally, if the company decides to produce hydrocarbons from the field, then “production wells” are drilled. At the bottom of such wells, perforations or meshes are constructed using special tools, which allow the oil and gas out of the rocks and up the well bore to the surface, where they may be produced and transported to the refinery or gas plant for processing. Often, the oil or gas will come out of its own accord, due to the high pressure found at these great depths below the surface. If the pressure too low, the oil and gas may need a little help. With oil fields, this is done by injecting water, gas or even steam into the reservoir down additional wells called “injection wells” to push the oil out. Gas at low pressure is often extracted by ‘sucking’ it out, using huge turbine engines at the surface. The following experimental activity illustrates how some of these processes work. A Model Oil Well Source: http://earthnet-geonet.ca/activities/activity9_e.php Objectives: 1. To demonstrate how a fluid such as oil or water can flow out of an underground reservoir and up to the surface via a well. 2. To discover the characteristics of a reservoir (porosity/permeability) and the important characteristics of a seal. 3. To investigate removal of fluids using a well. Background Information: Some sedimentary rocks are filled with fluid. At the time of deposition, water associated with the sediment grains is trapped within the pores. Burial and subsequent hardening will seal much of the water within the sediment. The migration of hydrocarbons will often displace the water where porosity and permeability permits. Movement of fluids within a sediment layer which possesses permeability is primarily controlled by pressure. Fluids will flow upward (toward lower pressure) until they reach an impermeable layer (seal). Materials: a clear container preferably 12-15 cm (minimum) across the bottom (large beaker, juice bottle or small aquarium); 2 glass tubes or transparent drinking straws a funnel a piece of plastic (rubber) tubing which will fit both the tubing (straws) and the funnel aquarium or garden gravel (approx. 5 mm sized grains) sand Plasticine or "Play Dough" to simulate clay water (food colouring should be added) cooking oil Procedure: 1. Fit one tube (straw) with the rubber tubing and funnel. 2. Place the aquarium gravel (coarse sand) in the bottom of the container and fill to a height of 8-10 cm. 3. Make a layer of "clay" at least 2 cm in thickness that approximately fits the shape of the container. Shape holes in the clay on opposite sides of the layer, that fit around the tubing. 4. Place the “clay” layer on top of the gravel. Push each piece of tubing through the holes to a depth of 2 cm below the base of the clay. The tubes should be at opposite sides of the container, next to the outside so the fluid may be observed. 5. Seal carefully around each tube and against the side of the container, ensuring that there are no visible gaps or cracks. 6. Add a layer of sand (3-4 cm) on top of the "clay" layer. 7. Pour coloured water into the funnel and observe the flow of water. Add more water until it fills one third of the gravel layer. Observe the results. 8. Gradually add cooking oil to the funnel until the fluid level reaches the base of the “clay” layer. Observe the initial results and again after 5-10 minutes. 9. Using your mouth gently blow air into the funnel and observe what happens. Blow harder and observe. Source: http://earthnet-geonet.ca/activities/activity9_e.php Questions: 1. Make a sketch of the model and show the path of the water. What happened to the air between the pores of the gravel as you poured in the water? ___________________________________________________________________________ ___________________________________________________________________________ ___________________________________________________________________________ _________________________________________________________ 2. What role did the “clay” layer play? What would have happened if it was not there? ___________________________________________________________________________ ___________________________________________________________________________ ___________________________________________________________________________ _________________________________________________________ 3. What happened to the oil initially, then after a few minutes? Explain your observations. ___________________________________________________________________________ ___________________________________________________________________________ ___________________________________________________________________________ _________________________________________________________ 4. What effect did you have when you blew into the funnel? Explain your observations. ___________________________________________________________________________ ___________________________________________________________________________ ___________________________________________________________________________ _________________________________________________________ 5. What happened when you blew harder into the funnel? Explain your observations. ___________________________________________________________________________ ___________________________________________________________________________ ___________________________________________________________________________ _________________________________________________________ 6. Assuming the liquid was already in the gravel layer, what other means could be used to remove it? _____________________________________________________________________ _____________________________________________________________________ _____________________________________________________________________ _____________________________________________________________________
