JellOlenses_Teachers
advertisement
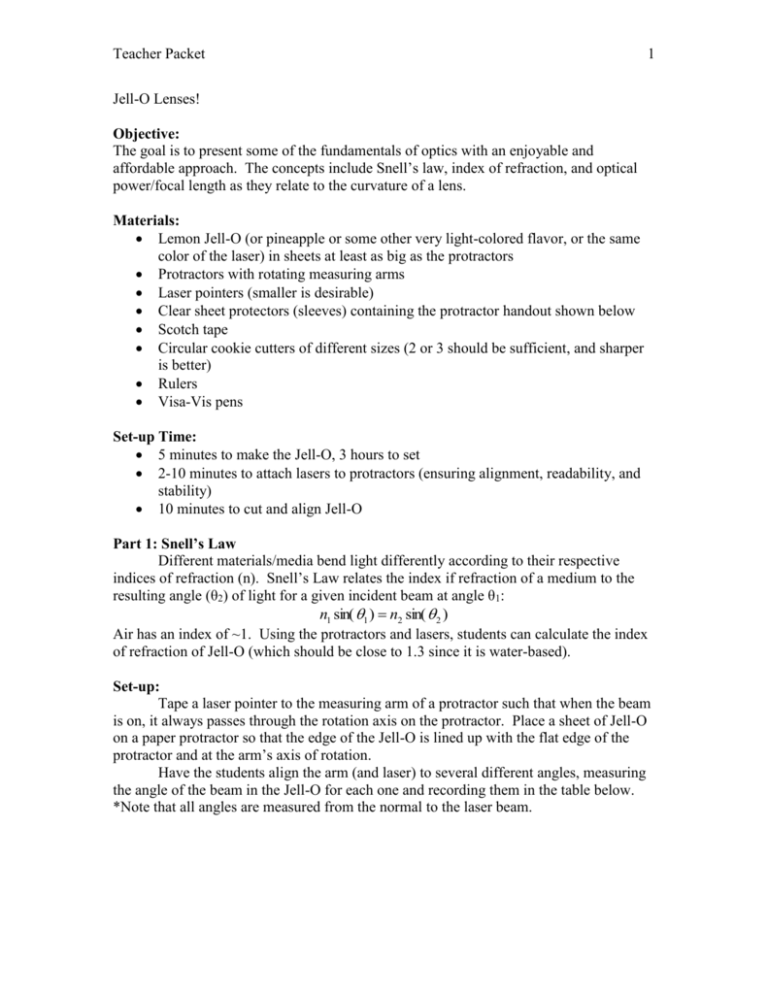
Teacher Packet 1 Jell-O Lenses! Objective: The goal is to present some of the fundamentals of optics with an enjoyable and affordable approach. The concepts include Snell’s law, index of refraction, and optical power/focal length as they relate to the curvature of a lens. Materials: Lemon Jell-O (or pineapple or some other very light-colored flavor, or the same color of the laser) in sheets at least as big as the protractors Protractors with rotating measuring arms Laser pointers (smaller is desirable) Clear sheet protectors (sleeves) containing the protractor handout shown below Scotch tape Circular cookie cutters of different sizes (2 or 3 should be sufficient, and sharper is better) Rulers Visa-Vis pens Set-up Time: 5 minutes to make the Jell-O, 3 hours to set 2-10 minutes to attach lasers to protractors (ensuring alignment, readability, and stability) 10 minutes to cut and align Jell-O Part 1: Snell’s Law Different materials/media bend light differently according to their respective indices of refraction (n). Snell’s Law relates the index if refraction of a medium to the resulting angle (θ2) of light for a given incident beam at angle θ1: n1 sin( 1 ) n2 sin( 2 ) Air has an index of ~1. Using the protractors and lasers, students can calculate the index of refraction of Jell-O (which should be close to 1.3 since it is water-based). Set-up: Tape a laser pointer to the measuring arm of a protractor such that when the beam is on, it always passes through the rotation axis on the protractor. Place a sheet of Jell-O on a paper protractor so that the edge of the Jell-O is lined up with the flat edge of the protractor and at the arm’s axis of rotation. Have the students align the arm (and laser) to several different angles, measuring the angle of the beam in the Jell-O for each one and recording them in the table below. *Note that all angles are measured from the normal to the laser beam. Teacher Packet 2 Collect Data Angle (in degrees) θ1 θ2 Trial 1 Trial 2 Trial 3 Trial 4 Trial 5 Data Analysis: The objective is for students to see that the index of refraction is a) calculable, b) constant, and c) useful for predicting the behavior of light. First, have the students rewrite Snell’s law, solving for n2. Then, using their data, have them calculate n2 for each pair of angles. They can then find the average value (and do the error analysis, if desired). Using the average value, have them predict θ2 for some θ1 they haven’t yet measured, and then verify their prediction by measuring it. Things to Beware: Make sure the laser goes through the Jell-O (i.e. the Jell-O is thick enough and the laser isn’t mounted too high). Make sure the laser not only stays stationary at the Jell-O, but so that the protractor numbers can be read, too. If possible, have the button on top so the students can move the protractor arm without dislodging the laser. Have the Jell-O cut and on the table before the lab if at all possible Hand sanitizer, while not critical for the experiment, is a good idea if the students will be allowed to eat the Jell-O at the end. Only let one person handle the Jell-O, and don’t let that person handle the laser, worksheets, or calculators. Use Jell-O brand, and make Jigglers. If you use a knock-off brand, check it and make sure you can remove it from its container easily without cracking it. If you’re working with high school students, do a demonstration first! It may help to explain that they are going to both measure and calculate certain values, and that the point is to compare the experiment to the hypothesis (or theory). Do not use Jell-O with cracks within—these cause scattering, reflection, and undesired refraction. Basically it is a mess. Teacher Packet 3 Part 2: Optical Power and Focal Length of a Thin Lens Optical power can be thought of as how strong a lens is: i.e., how much it bends light. The inverse of optical power is focal length. For a thin lens with only one curved surface, they are both related to the index of refraction of the lens material and the curvature of the lens via the following equation: n n1 1 , 2 f R Where R is the radius of curvature (i.e. the radius of the cookie cutter), n1~1 for air, and n2 is the index of refraction of Jell-O. Note that R is positive in the convex case and negative in the concave case (shown below). The focal length, f, is also the distance at which collimated light (like laser light!) focuses, or crosses the optical axis. Using the cookie cutters, the students will create a set of lenses each with a different focal length. The students will calculate the focal lengths of their lenses, and then they will verify their calculations by measuring the focal lengths using the laser and a ruler. optical axis R f f optical axis R Set-up: Using the cookie cutters, have students cut Jell-O into lenses of different radii, starting with plano-convex. *Note that each cookie cutter can make 2 different lenses— one positive and one negative! In order to find the focal length of a negative lens, though, the students will have to mark where the beam exits the lens and at some point along the beam’s divergence, and then trace a line through both points and back to the axis on the other side of the lens. They WILL NOT be able to measure it directly. Teacher Packet 4 Data Collection: Students will then lay one lens on the optical axis and shine the laser through the lens, incident parallel to the optical axis (like the red path in the image above). Using their hand, their worksheet, or an index card, they should then trace the beam to the point at which it crosses the axis. This point can also be described as “where the light doesn’t move as the laser is translated up and down the lens (remaining parallel to the axis). They should mark that point and measure the focal length. *Note: if the light travels up and down with the laser pointer, the focal length is further out. If the light travels opposite the laser pointer, the focal length is closer to the lens. *Another note: depending on how exact you want to be, the students can measure the focal length from the vertex of the lens to the mark, or the center of the lens to the mark (the latter being more accurate). Data Analysis: Using the radius of the cookie cutter and the index of Jell-O calculated via Snell’s Law, have students calculate the expected focal length of each lens and compare to their measured values. Things to Beware: Scattering makes quantitative analysis of these lenses challenging. Remember this is a simple proof of concept. The radii of the lenses are flexible, which is a potential source of error. Again, the Jell-O needs to be thick enough, and the laser needs to be fairly level. Make sure students keep the laser parallel to the axis. It is easiest to see the refraction if the laser is incident on the curved surface of the laser first. Other Applications: Instead of calculating and verifying the focal lengths, students can measure the focal lengths, find the respective radii, and then measure the radii to verify their calculations. The lens can also be treated as a thick lens (of thickness t), and the total power can be found using the following equation: n 1 1 n2 n2 1 1 n2 t 1 2 f R1 R2 R1 R2 n2 or 1 t 1 2 1 2 . f n2 This can then be compared to the thin lens approximation. Total internal reflection, color absorption, and multiple lens systems can also be explored. *Note: These applications require more precision in the Jell-O cutting and more power from the laser than the first two sections in order to work reasonably. Teacher Packet 5


![jello_shot_marketing_plan_updated[1]](http://s2.studylib.net/store/data/005413963_1-5ca15ea29741410bad074b2fef9bfa74-300x300.png)
