Chlorophyll Extraction Methods:
advertisement
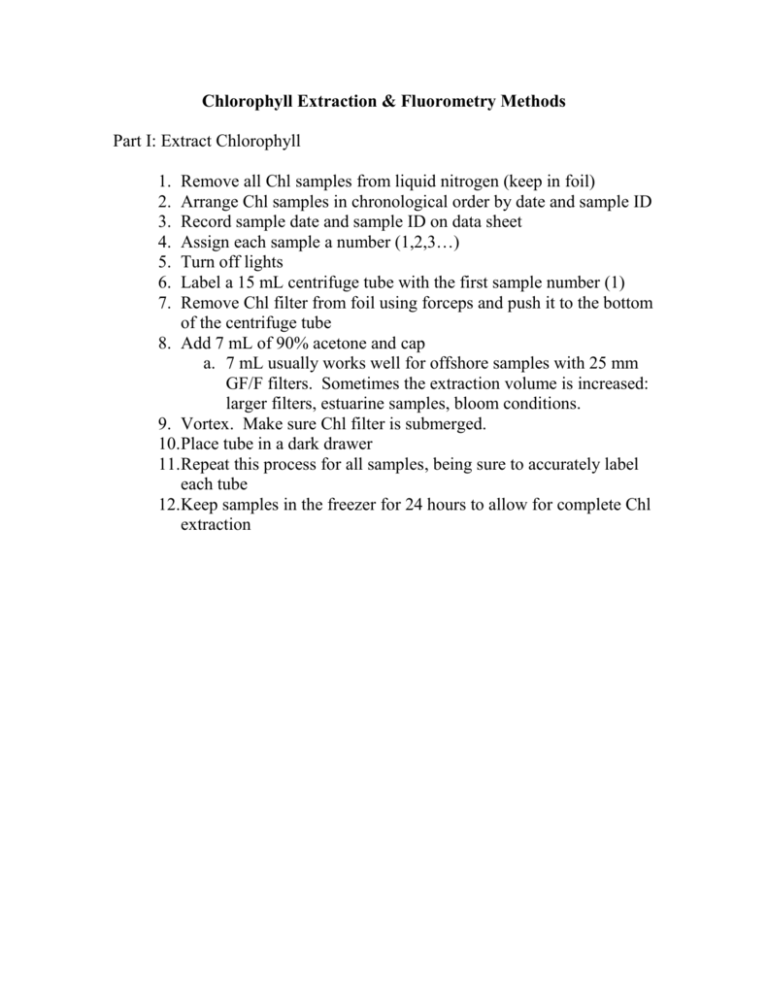
Chlorophyll Extraction & Fluorometry Methods Part I: Extract Chlorophyll 1. 2. 3. 4. 5. 6. 7. Remove all Chl samples from liquid nitrogen (keep in foil) Arrange Chl samples in chronological order by date and sample ID Record sample date and sample ID on data sheet Assign each sample a number (1,2,3…) Turn off lights Label a 15 mL centrifuge tube with the first sample number (1) Remove Chl filter from foil using forceps and push it to the bottom of the centrifuge tube 8. Add 7 mL of 90% acetone and cap a. 7 mL usually works well for offshore samples with 25 mm GF/F filters. Sometimes the extraction volume is increased: larger filters, estuarine samples, bloom conditions. 9. Vortex. Make sure Chl filter is submerged. 10.Place tube in a dark drawer 11.Repeat this process for all samples, being sure to accurately label each tube 12.Keep samples in the freezer for 24 hours to allow for complete Chl extraction Part II: Fluorometry Preparation 1. Remove samples from refrigerator 1-2 hours before analysis, allowing them to warm up to room temperature. a. Keep samples in the dark during this time – in a drawer or under foil, etc. b. Fluorometric response is a function of temperature. 2. Turn off lights 3. Turn on fluorometer (Turner Designs - Aquafluor) 4. Make sure fluorometer is on channel B (‘B’ will be displayed in lower left corner of the screen) Run Blanks and QC standards: 5. Put ~3 mL of 90% acetone in a culture tube (12x75mm) 6. Use a Kimwipe to remove any smudges from the tube 7. Place tube in fluorometer and press ‘read’ 8. Record the number displayed in the ‘FLB’ column of the data sheet 9. Using a Eppendorf Repeater pipette, add 100µl of 10% HCl to the tube 10.Press ‘read’ and record the number displayed in the ‘FLA’ column of the data sheet 11.Dump liquid (Acetone,HCl) in ‘Hazardous Waste’ container 12.Throw away used culture tubes in glass disposal 13.Repeat this process twice (total of 3 blanks) 14.Repeat process with QC standards. a. There are three QC standards in the lab freezer – they are in brown HDPE bottles. Run Solid Standard: 15.Remove the sample chamber insert and place the solid standard in the fluorometer, with the tall side at 12:00 16.Press ‘read’ and record the number displayed in the FLB column corresponding with the sample label ‘STD 12’ 17.Repeat for 3:00, 6:00 and 9:00 orientations. Run Chl Samples: 18.Place Chl samples (in centrifuge tubes) in the Eppendorf centrifuge 19.Spin the samples at 1500 rpm for 5 minutes. 20.Remove the tubes from the centrifuge and place them in a rack 21.Using a disposable transfer pipette, transfer ~3mL of liquid from centrifuge tube #1 to a glass culture tube 22.Remove smudges with a Kimwipe and place the culture tube in the fluorometer 23.Press ‘read’ on the fluorometer and record the number displayed in the FLA column of the data sheet 24.Using an Eppendorf Repeater pipette, add 100μl of 10% HCl to the culture tube 25.Press the ‘read’ button and record the number displayed in the FLB column of the data sheet (This number should be LESS than the FLA number) 26.Pour all liquid (from centrifuge and culture tubes) into the ‘Hazardous Waste’ container 27.Throw glass culture tube in glass disposal 28.Throw centrifuge tube, transfer pipette and Kimwipe in the trash 29.Repeat this process for each Chl sample Run 3 Blanks and 4 STDs 30.Run 3 blanks and 4 STDs as outlined previously Clean Up & Follow Up 31.Turn off and put away fluorometer 32.Cover and put away ‘Hazardous Waste’ container 33.Return remaining 10% HCl to the original container and wash the pipette tip 34.Enter data into the Chl spreadsheet on the computer Notes: When transferring the Chl solution from the centrifuge tube to the culture tube, take the liquid from the top of the centrifuge tube to avoid filter particles in the sample If the fluorometer turns off, simply turn it back on, make sure it’s still on channel B and proceed If the FLA reading is greater than the FLB reading, rerun the sample with the remaining solution
